Teaching - Admin
Steps
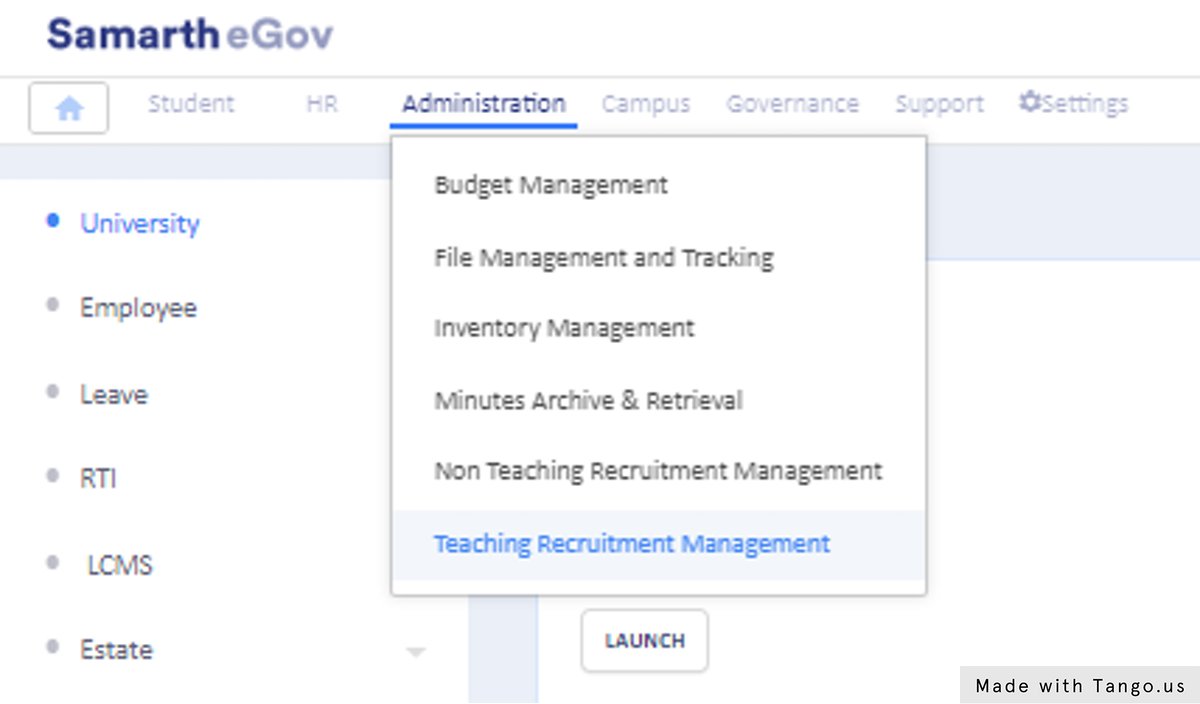
Click on the Teaching Recruitment Management to access the module
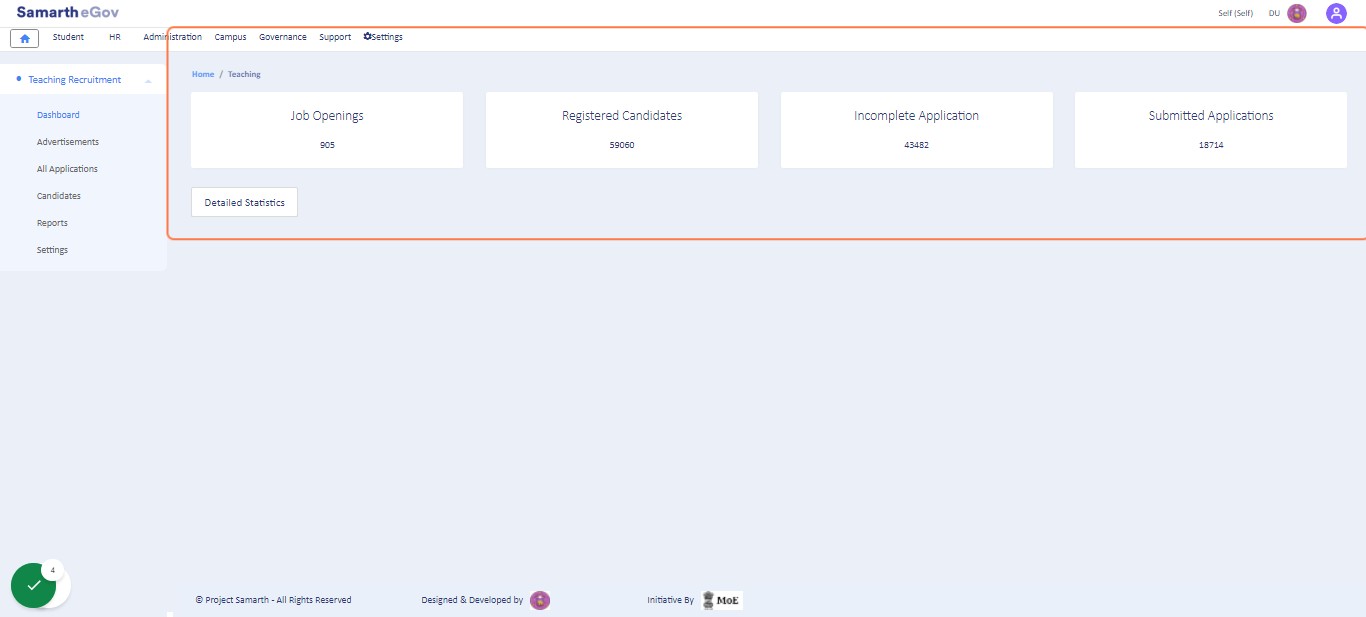
Dashboard
The dashboard shows the complete statistics of module. Admin can view the total no of vacancies, total no of candidates registered, no of the submitted application, and in-process applications with their count. Admin can view the applications by clicking on the Detailed Statistics Button. Admin can also see all the details of each vacancy with the Advertisement no. Department the vacancy is for, profile/post name, starting and closing date, their status (in-process/submitted), and the total amount received while filling the form by candidates.
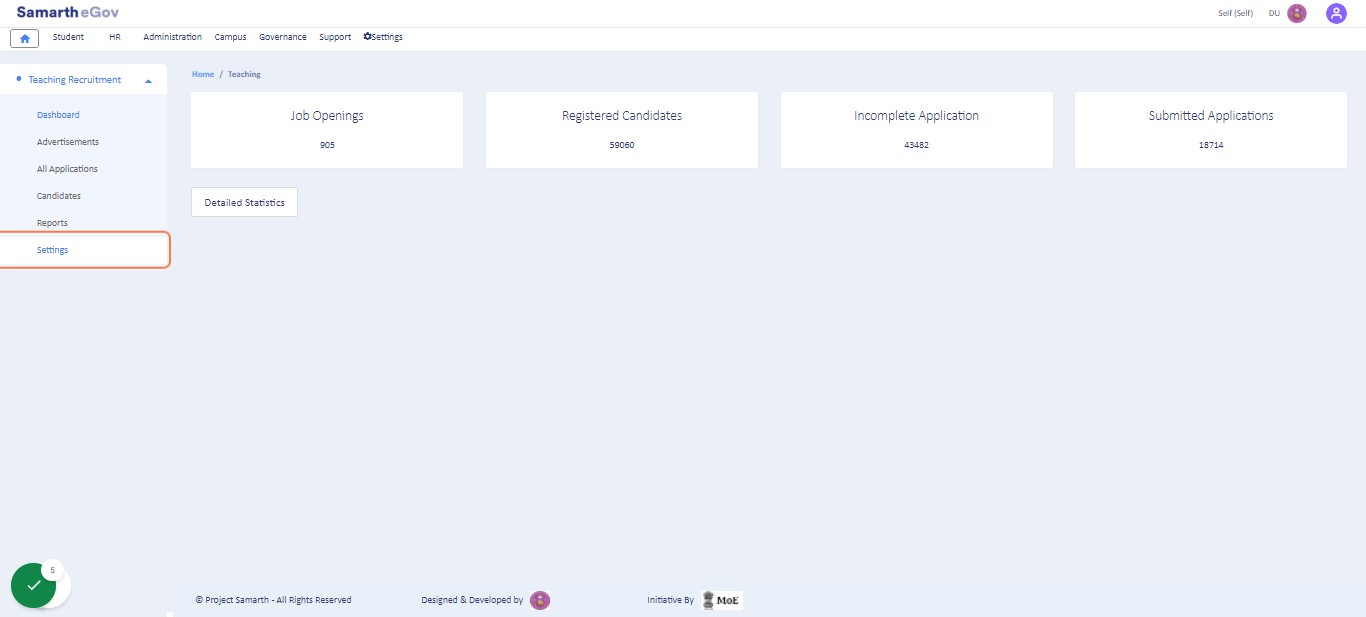
Settings
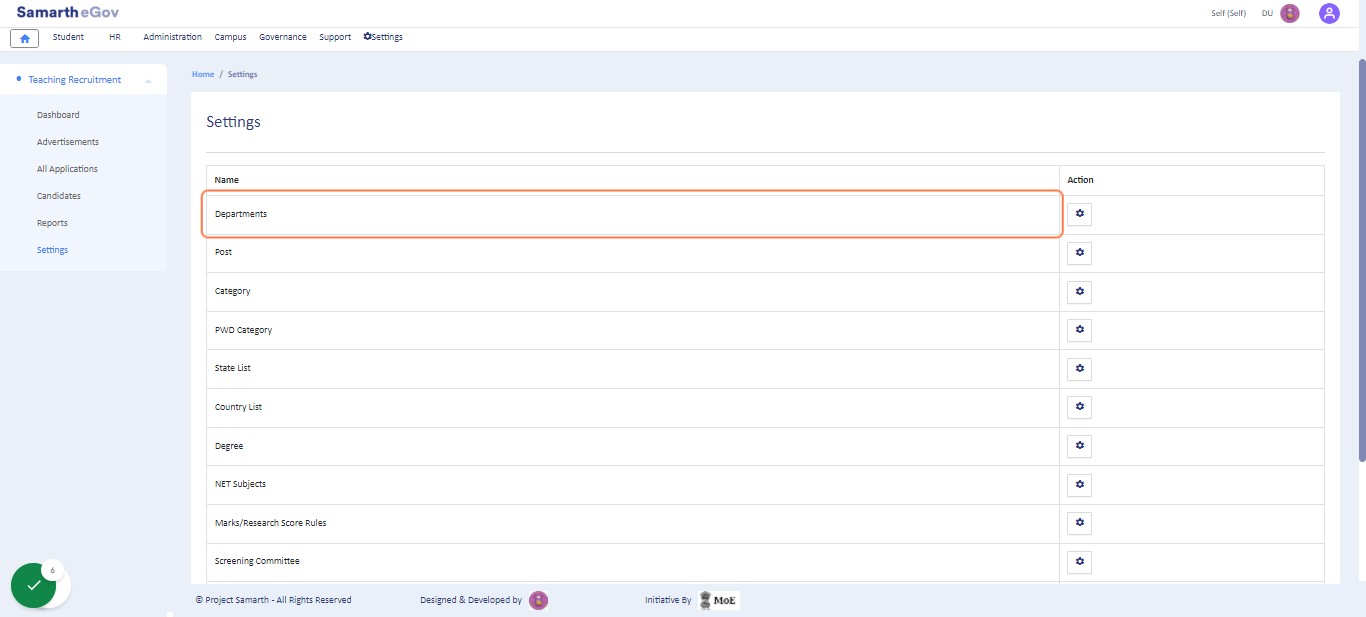
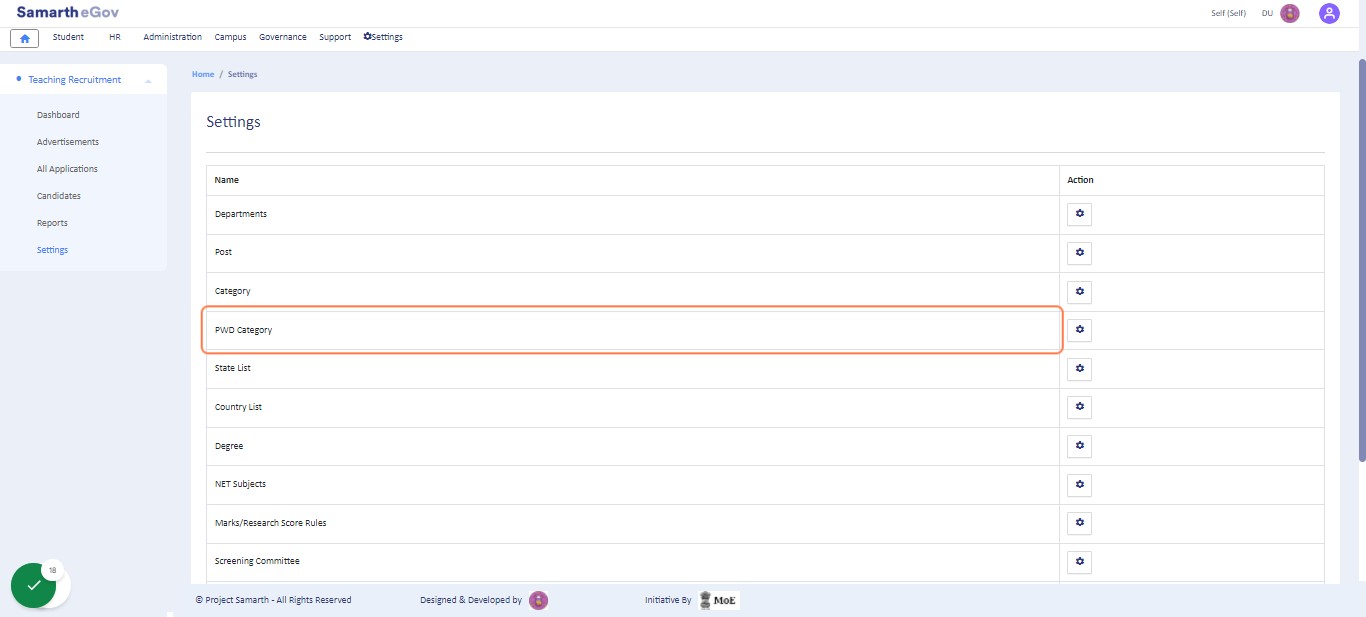
This section contains the configuration details related to the Teaching Recruitment module. Before using the module, the University has to configure the settings first. Only the admin with the rights of teaching_recruitment_admin can view and configure these settings.
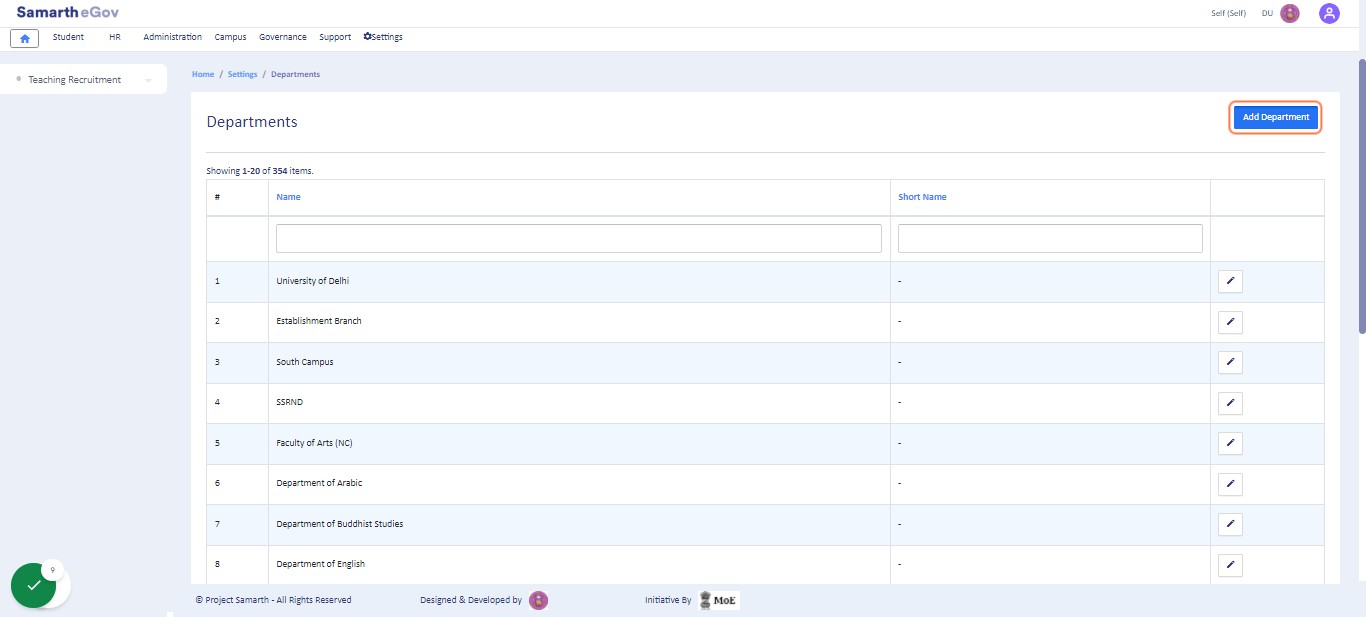
Click on the gear button of Departments to view the University Departments. In this field, all the Departments which are being added to the Organization Unit will get listed.
Click on Add Department to refresh the list of added Department
Click on gear button for Post to view the added posts
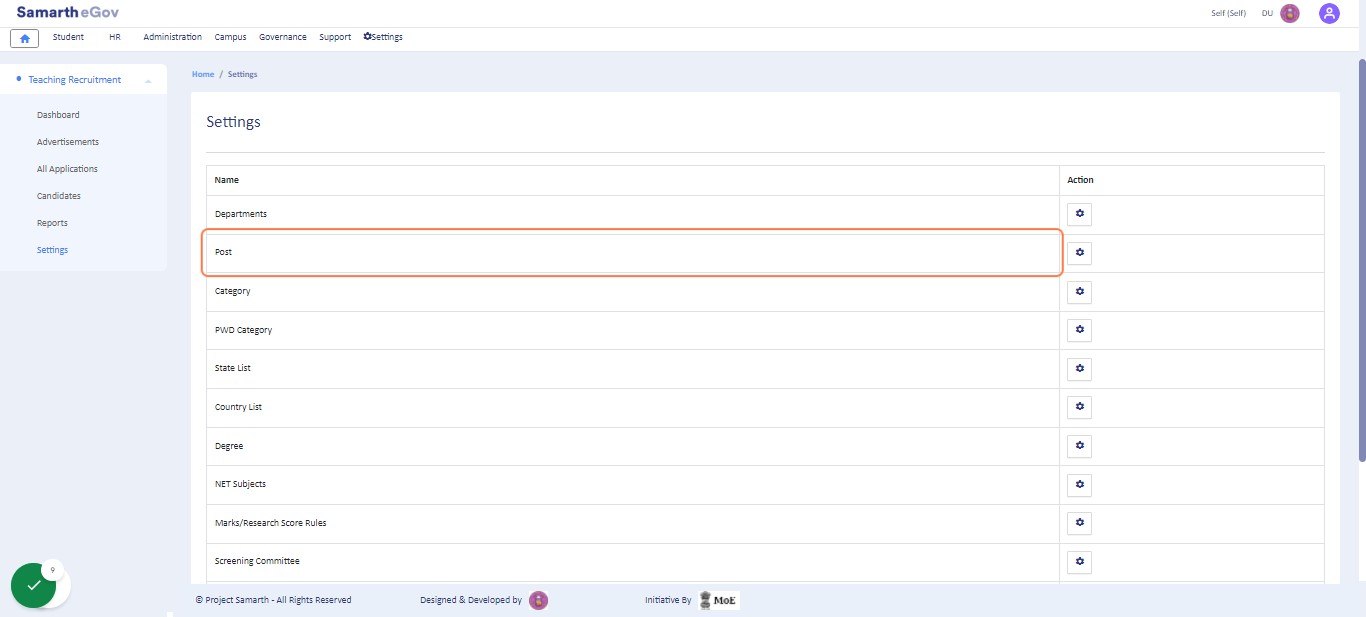
Note: If any other post is required to be added, University can request the Samarth Team to add the same via email.
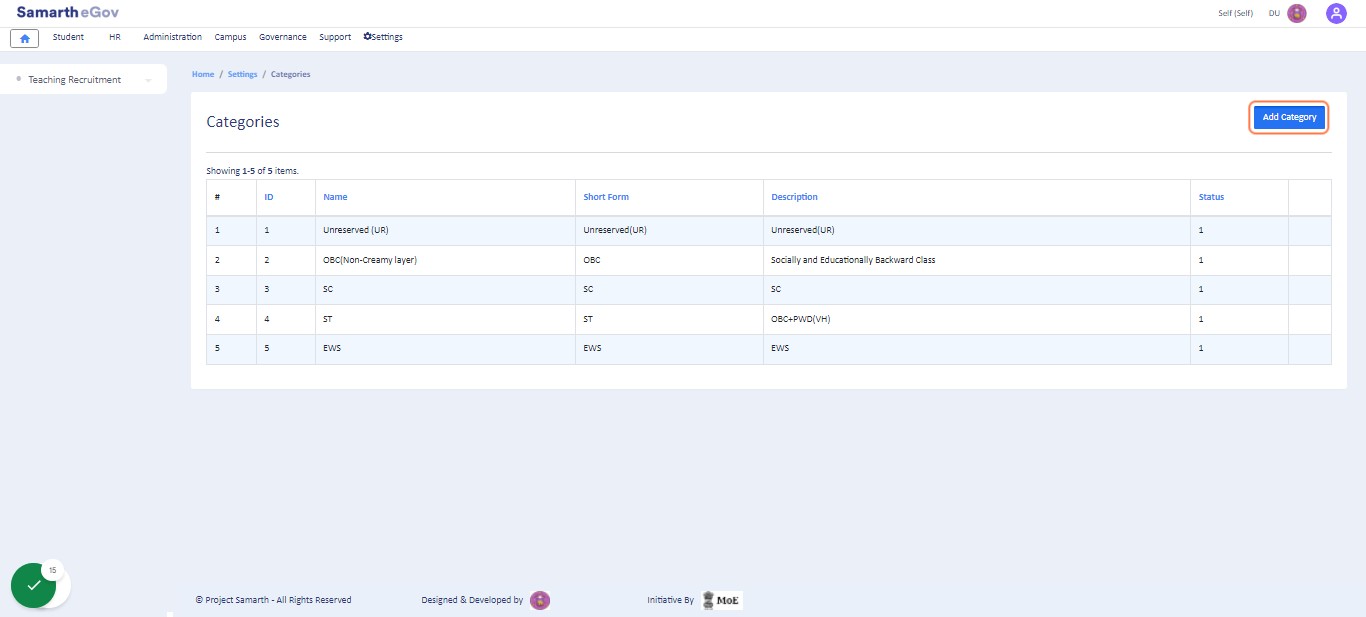
Click on the gear button of Category to view the added categories
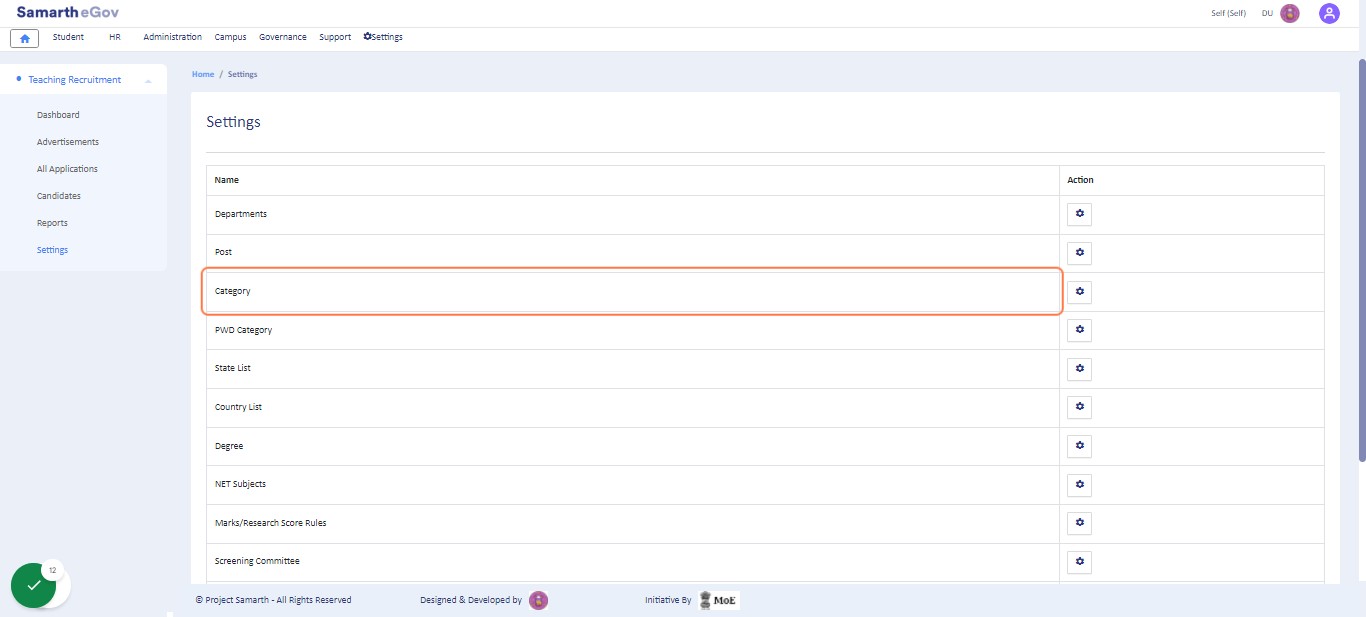
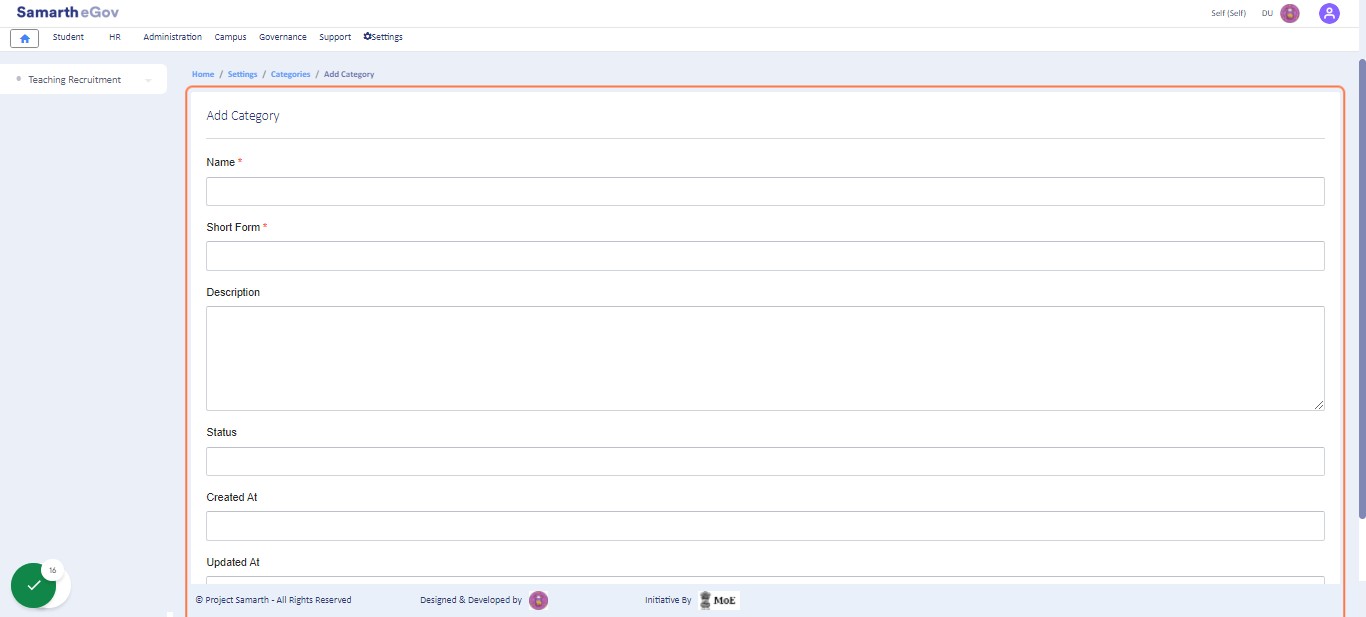
Click on Add Category to add new categories for Teaching Recruitment
Fill the Details to add new category
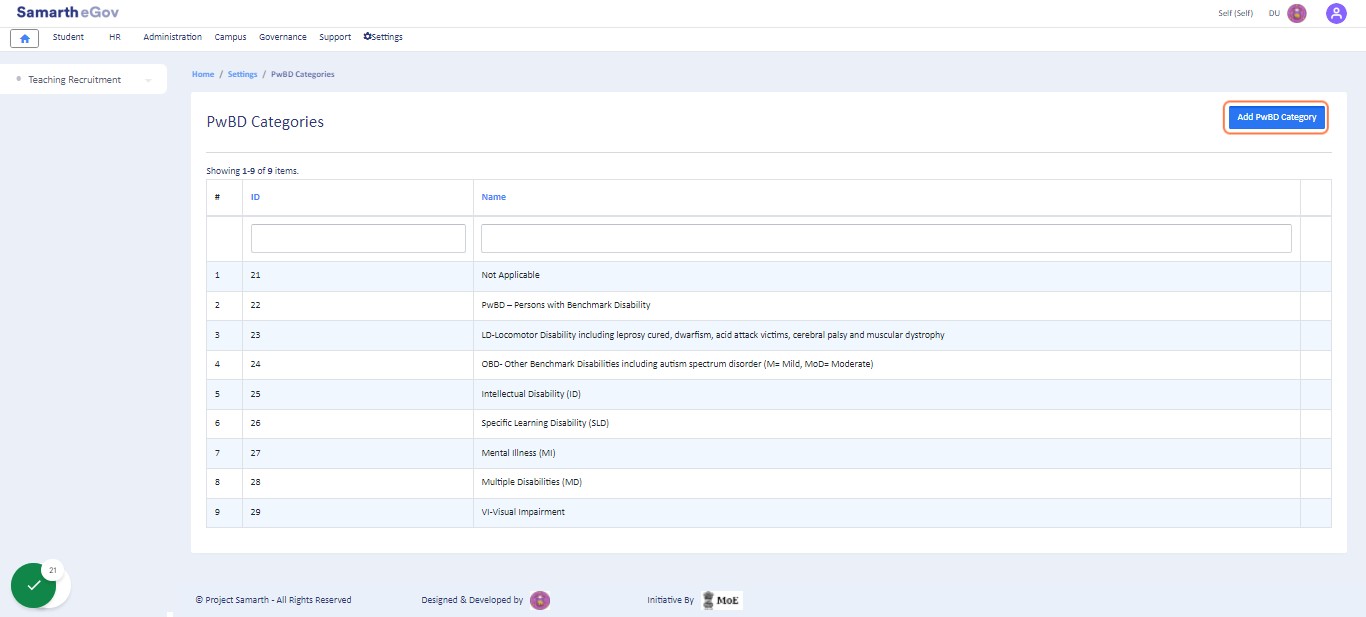
Click on the gear button of PWD Category to view the added PWD categories
Click on Add PwBD Category to add new category
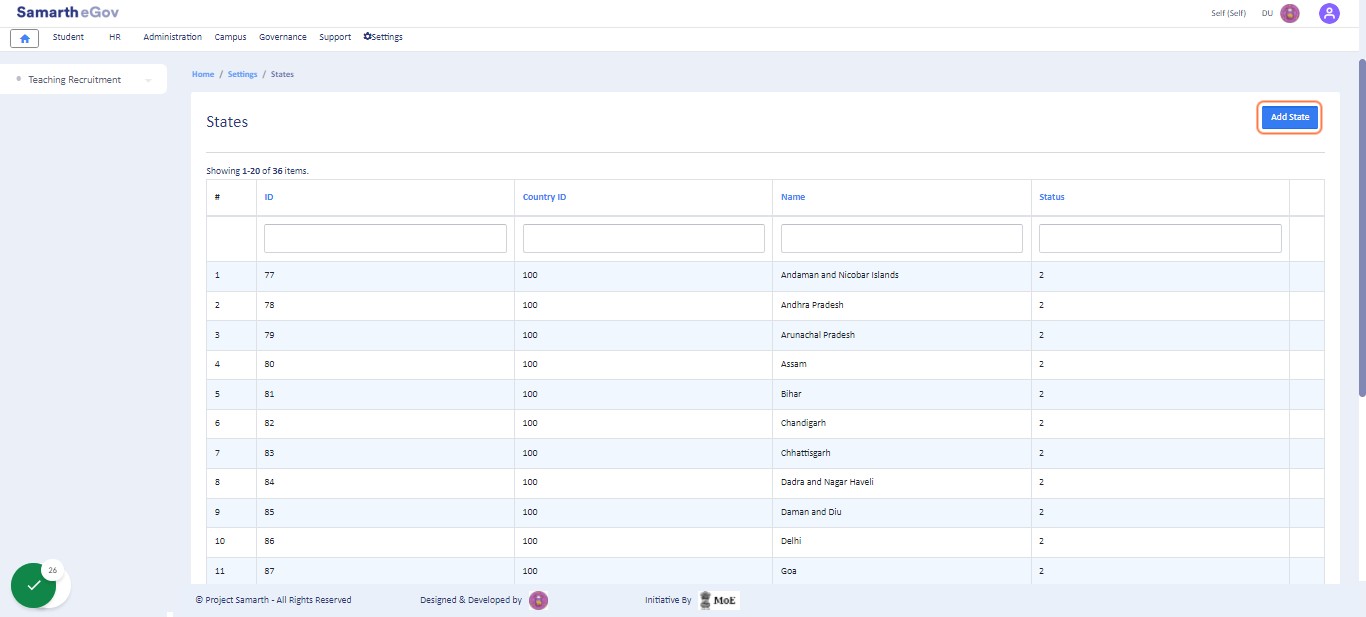
Click on the Gear button of State List to view the pre-added State list
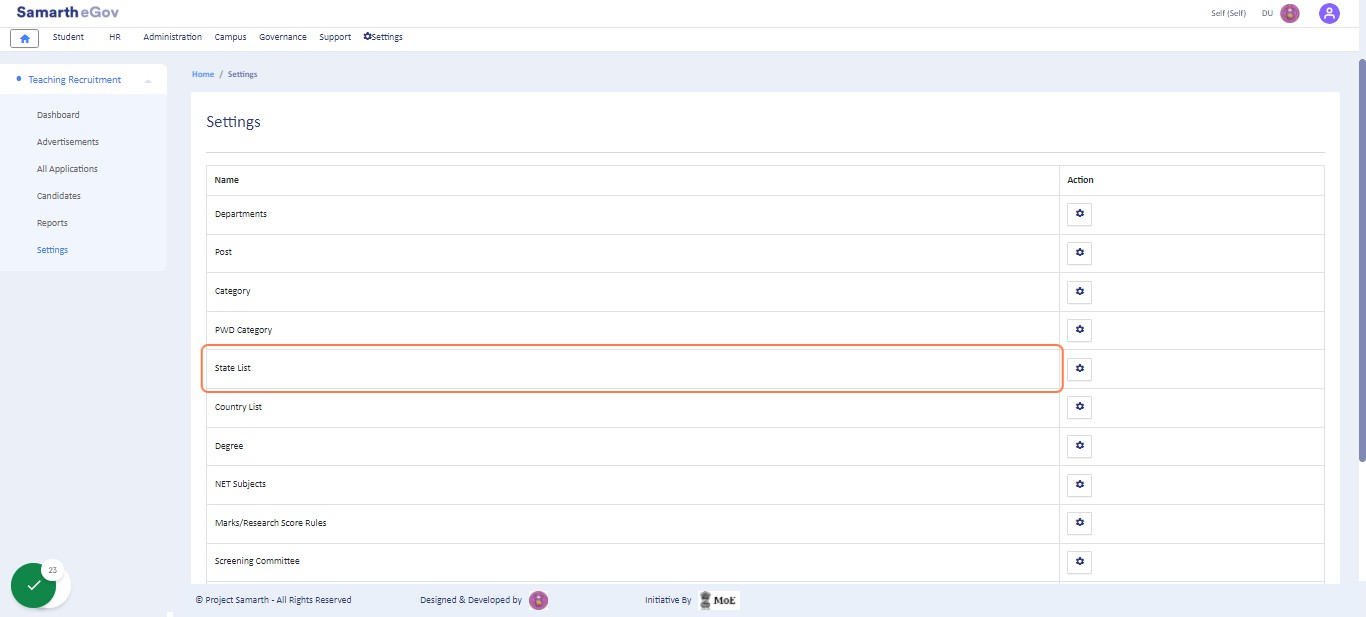
Click on Add State button to add a new state
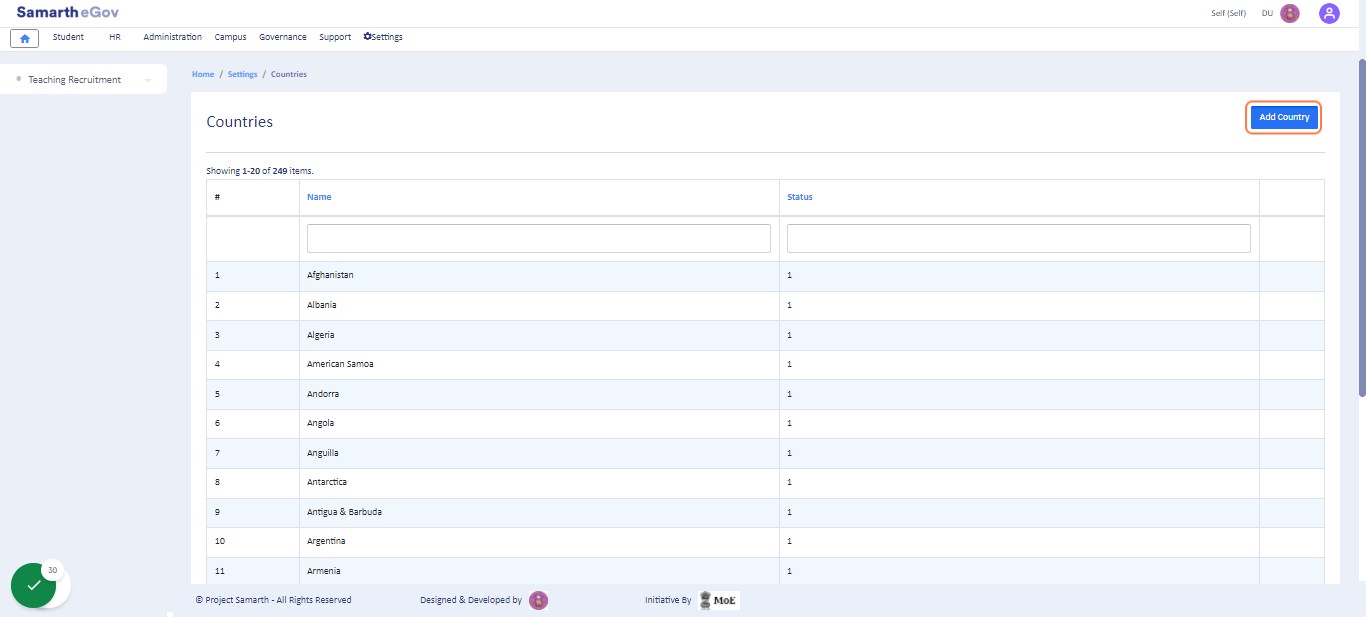
Click on the gear button of Country List to view the pre-added countries
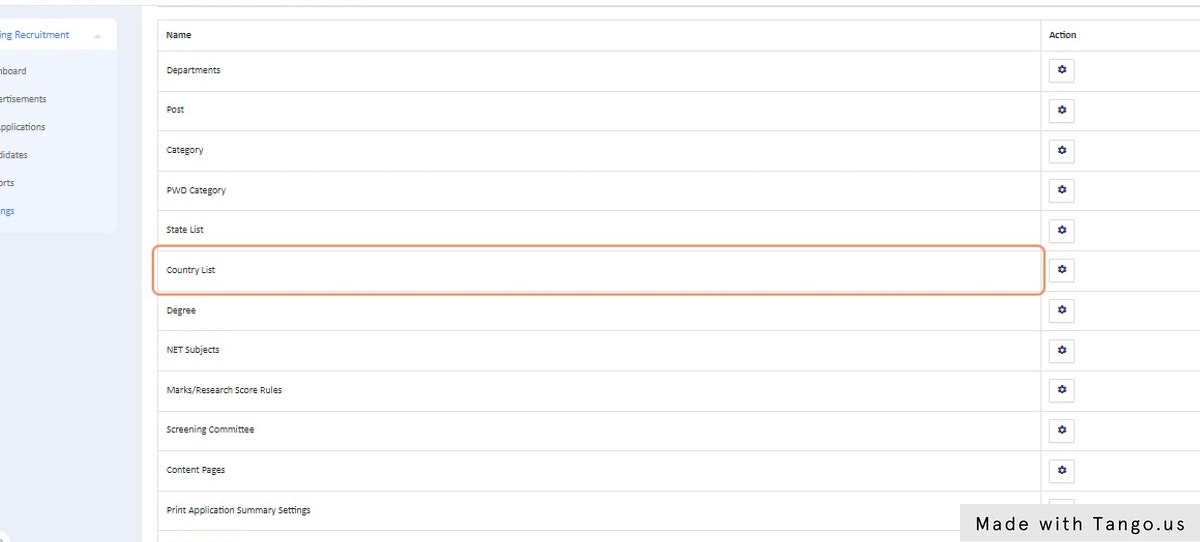
Click on Add Country Button to add a new country
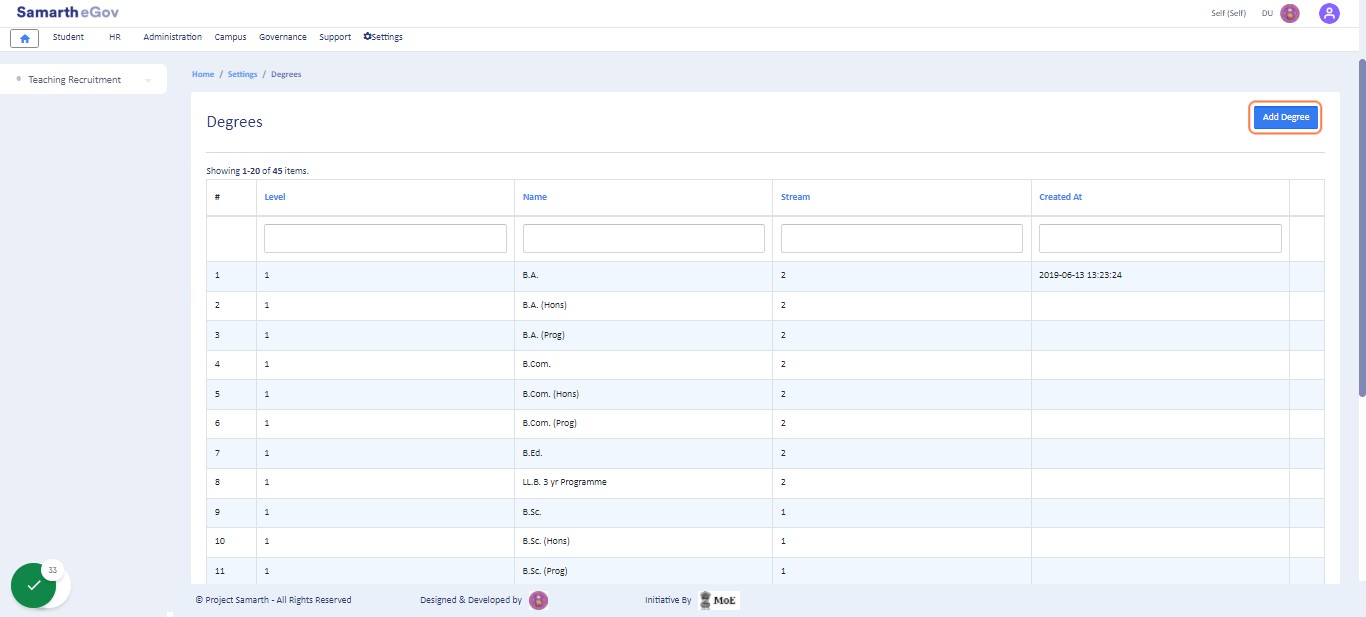
Click on the gear button of Degree to view the pre-added Degrees
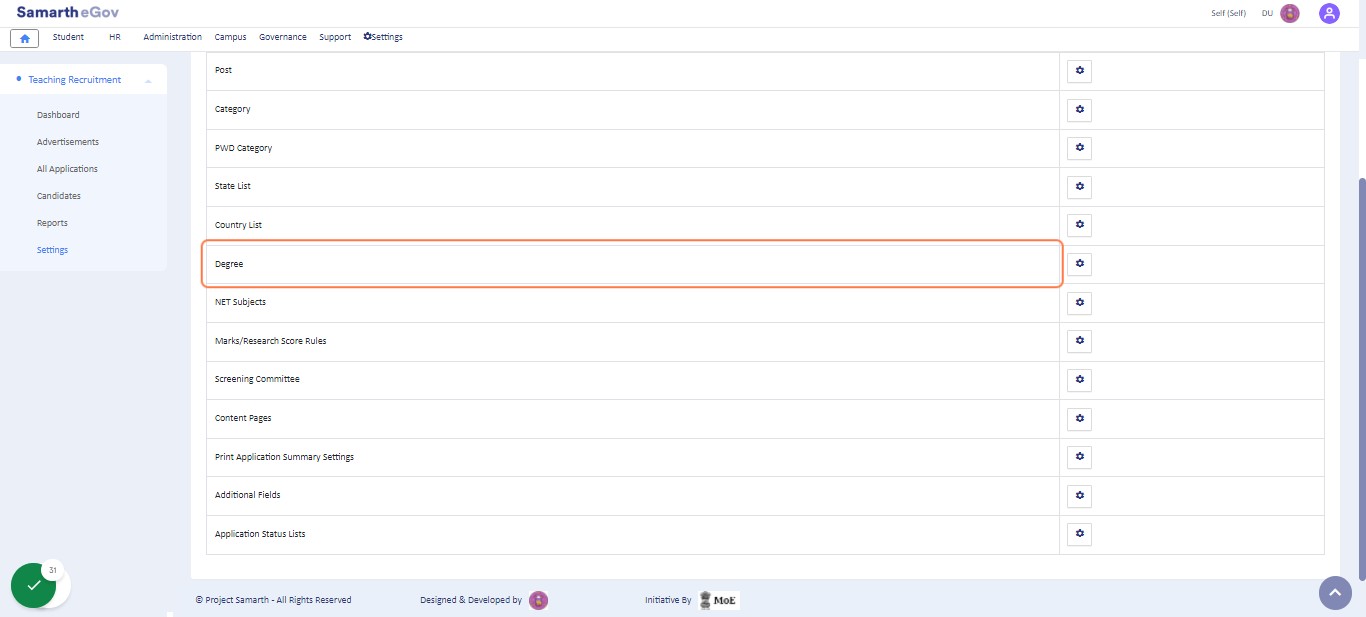
Click on Add Degree to add a new degree other then the pre-added degrees
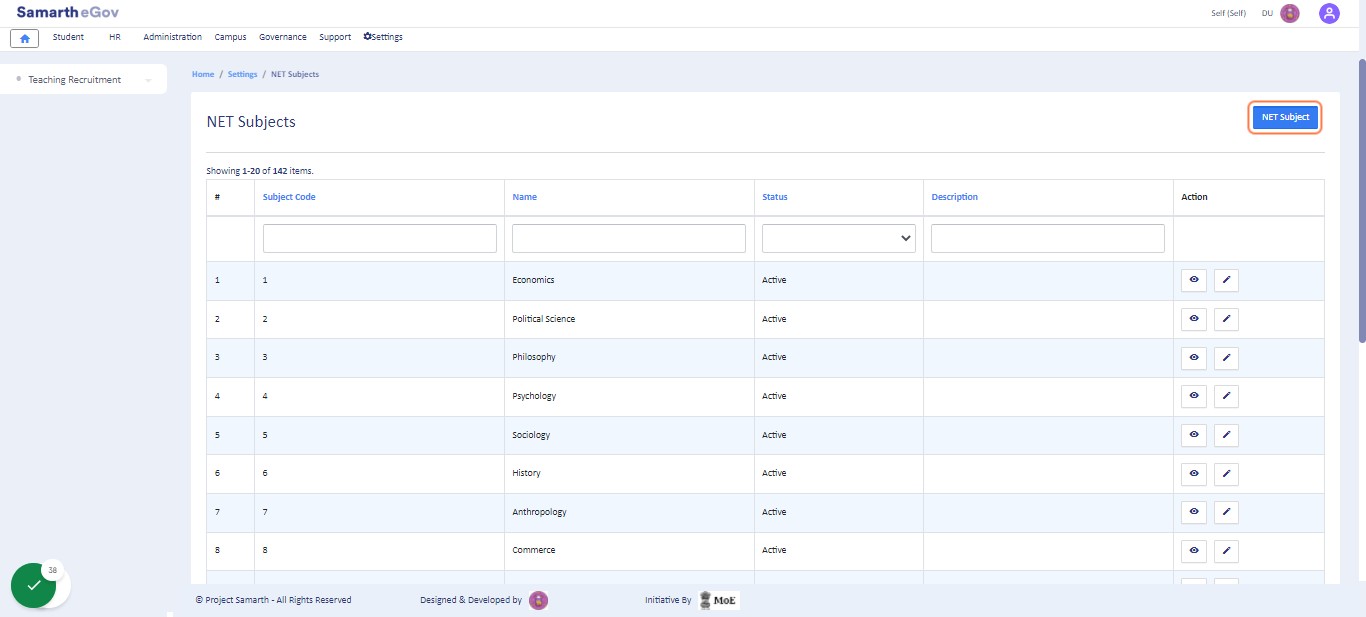
Click on the gear button of NET Subjects to view the pre-added NET subjects
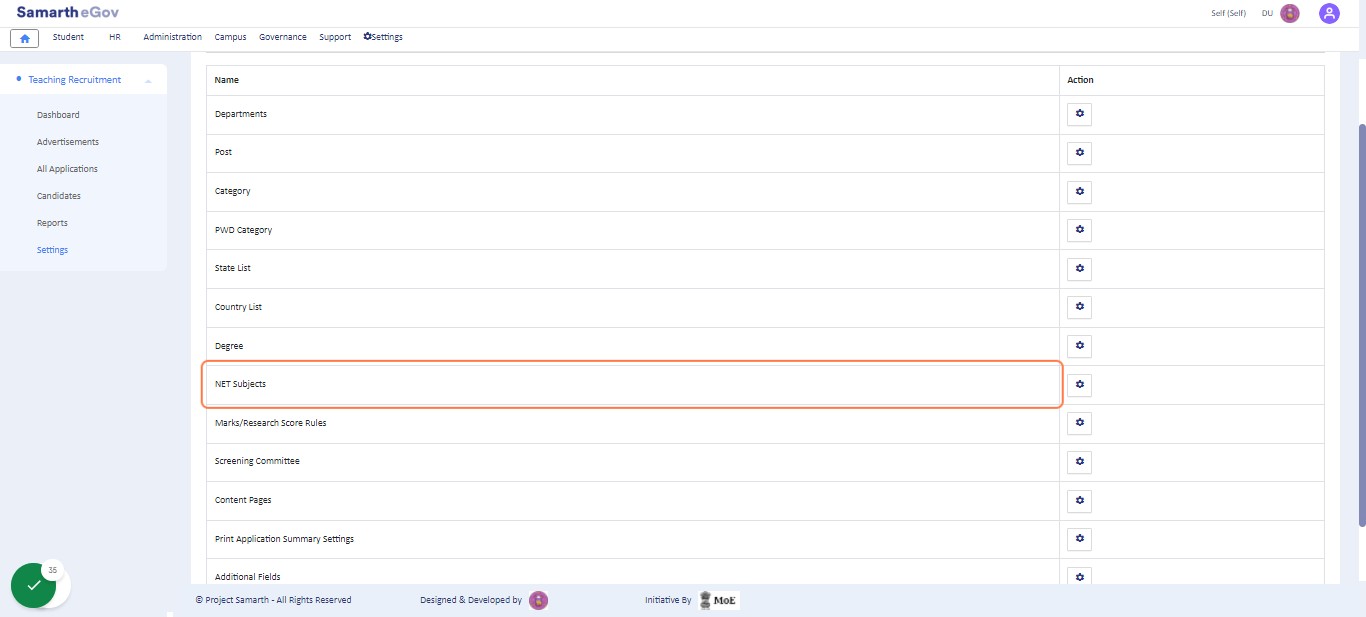
Click on NET Subject button to add new NET subjects apart from the pre-added subjects
Click on the gear button of Marks/Research Score Rules to view the pre-added Marks/Research Score Rules. These scores are as per the latest guidelines of the UGC.
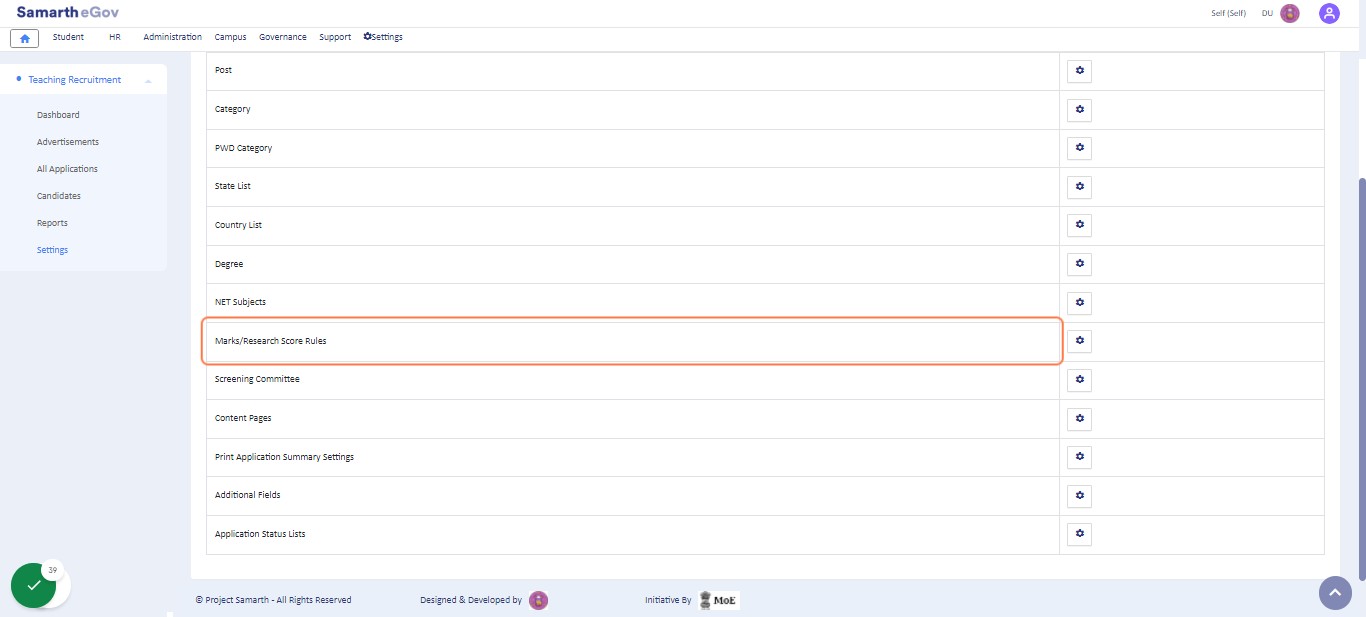
Note: These assigned marks will get calculated for all the candidates according to the details filled by them in the application form.
Screening Committee
In this setting, the user accounts provided to the screening committee members will be mapped for the respective job postcode.
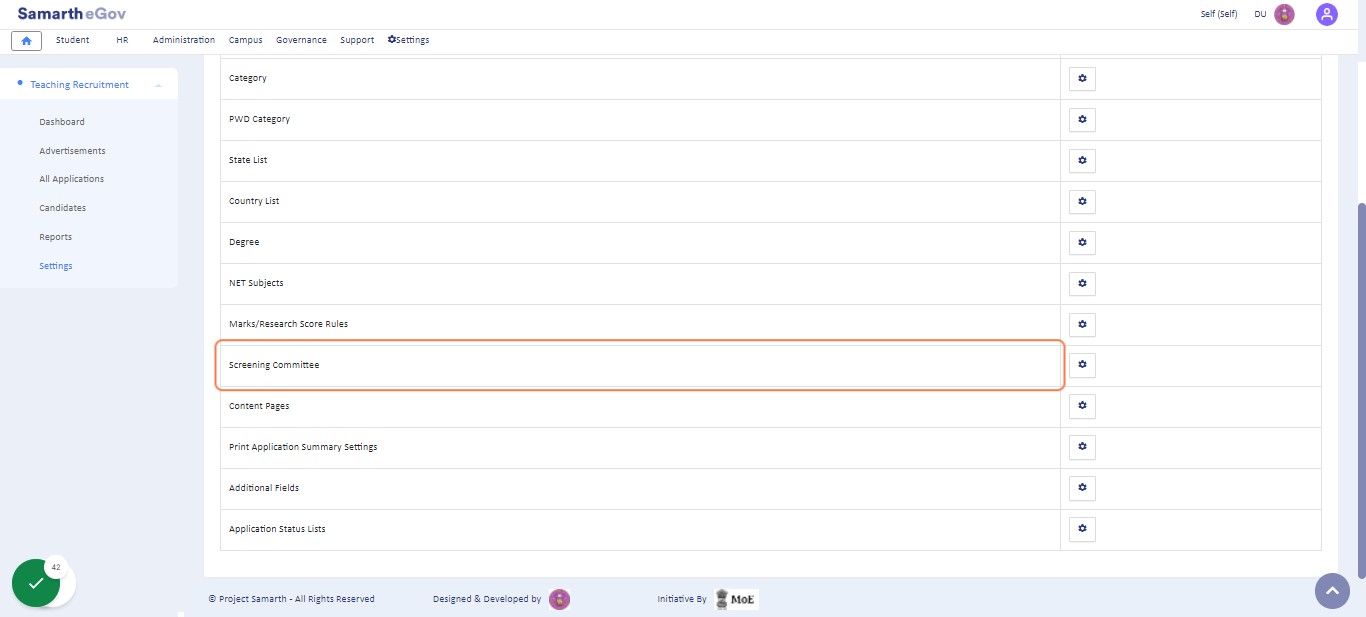
Note: The respective Screening Committee Member will only be able to see the applications for the assigned job postcode.
Click on Add Screening Committee button to add new Screening Committee Members
Admin can add a new member to the screening committee by clicking on the Add Screening Committee button present on the top right side of the portal and filling in the required details:
- Job Vacancy
- User

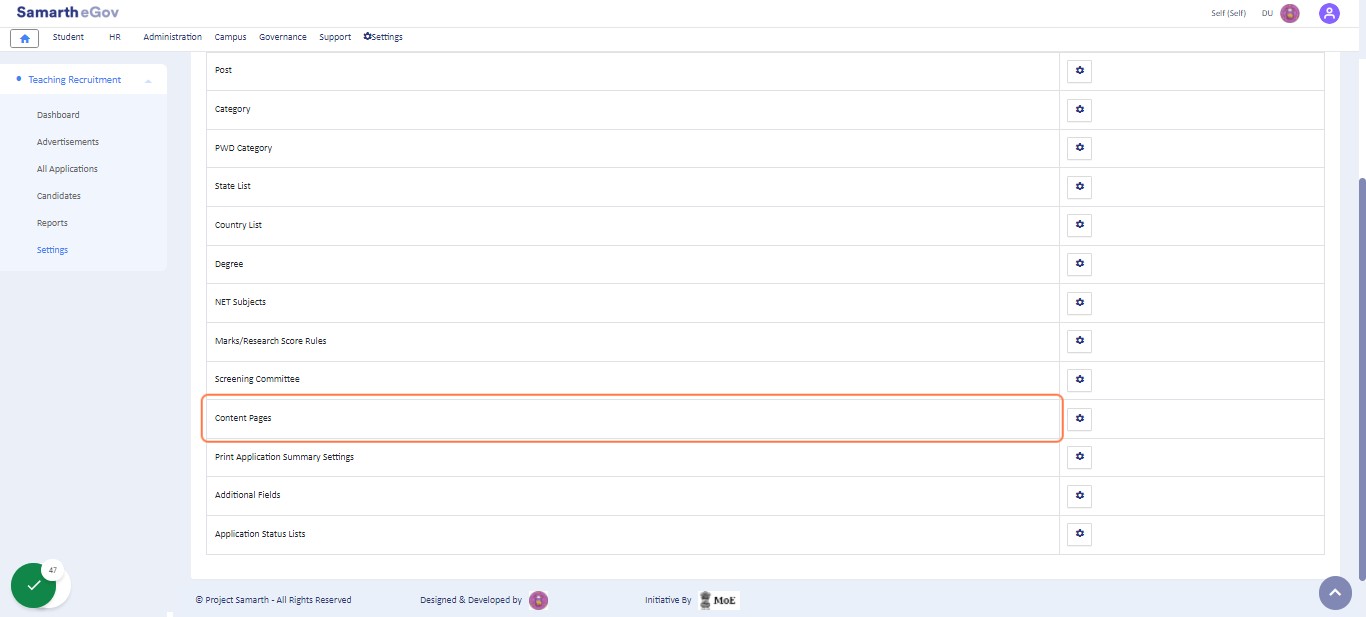
Content Pages
In this setting, the admin will be able to create a content page through HTML syntax, which will get mapped with the Candidate Portal under the Important Information Section.
Click on Add Content Page Button to add new content page. Admin can add a new contribution area by clicking on the “Add Content Pages” button present on the top right side of the portal and filling in the required details:
- Page Name
- Page Content
- Status(Active/Inactive)
Print Application Summary
In this setting, the Admin will be able to configure the columns which will be visible in the Application Summary.

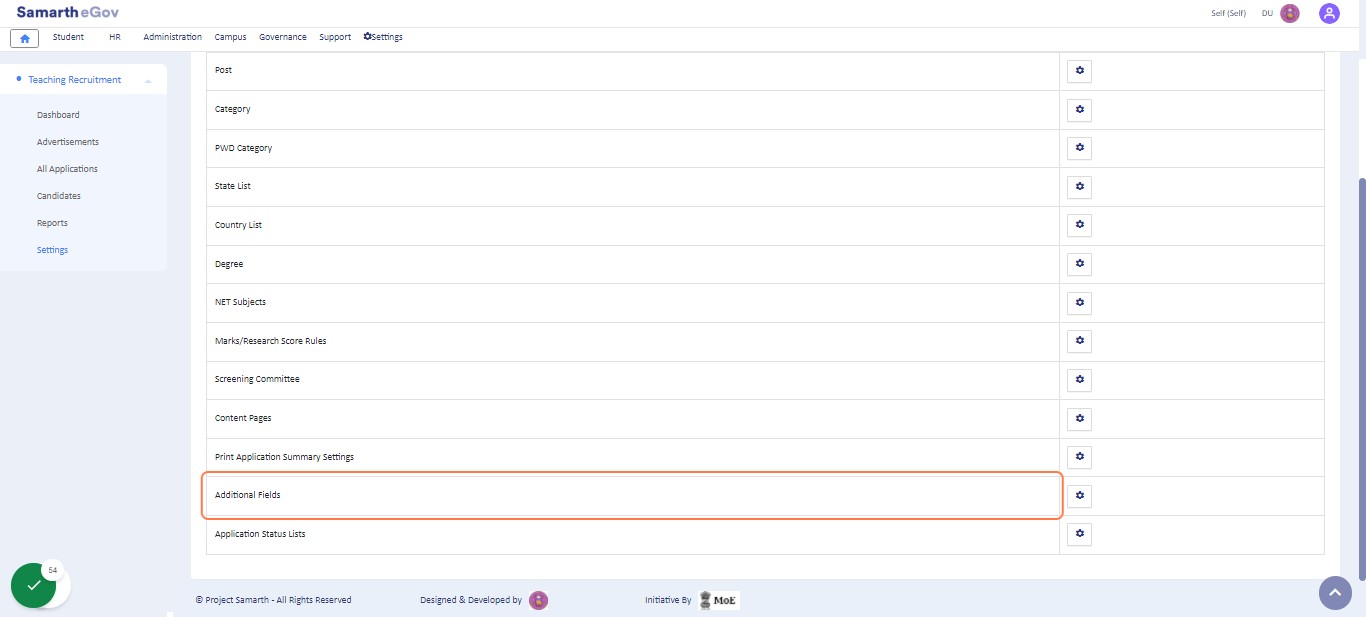
Additional Fields
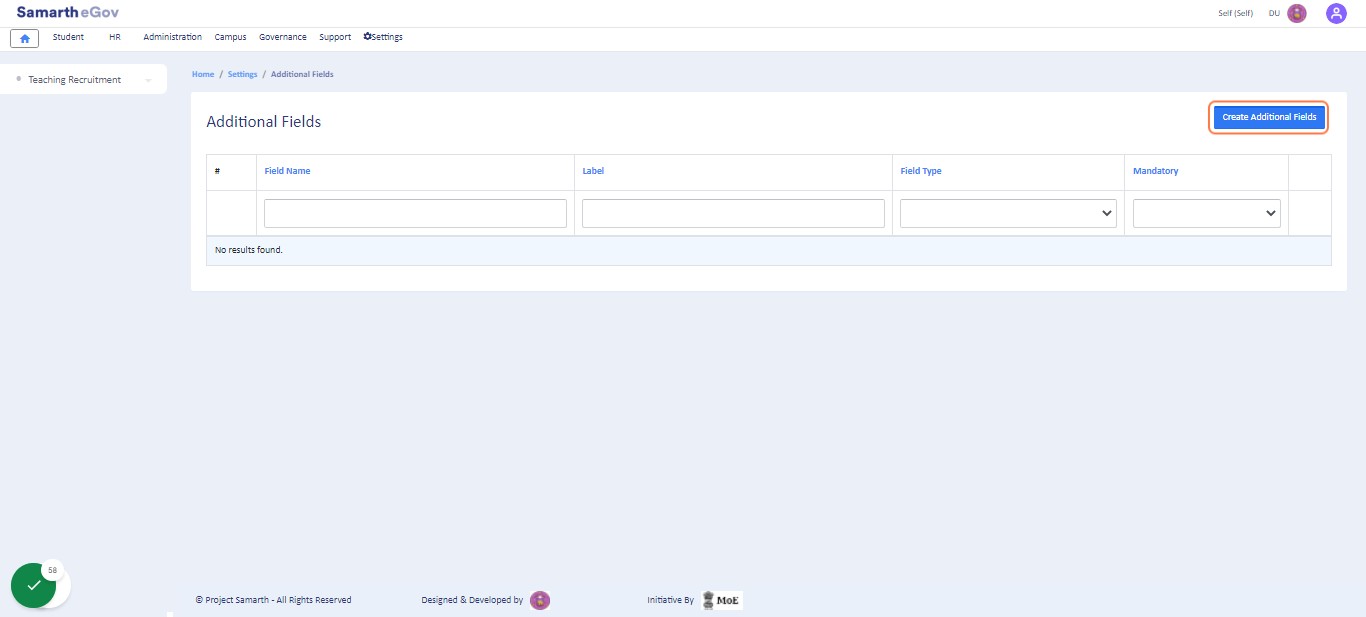
In this setting, the Admin will be able to configure the Additional Fields by Create Additional Field button which will get added to all job-post codes.
Click on Create Additional Fields button to add new Additional Fields
After clicking on the button, add the details of the Additional Field such as the Name, Type, Label, and if it is Mandatory or not.
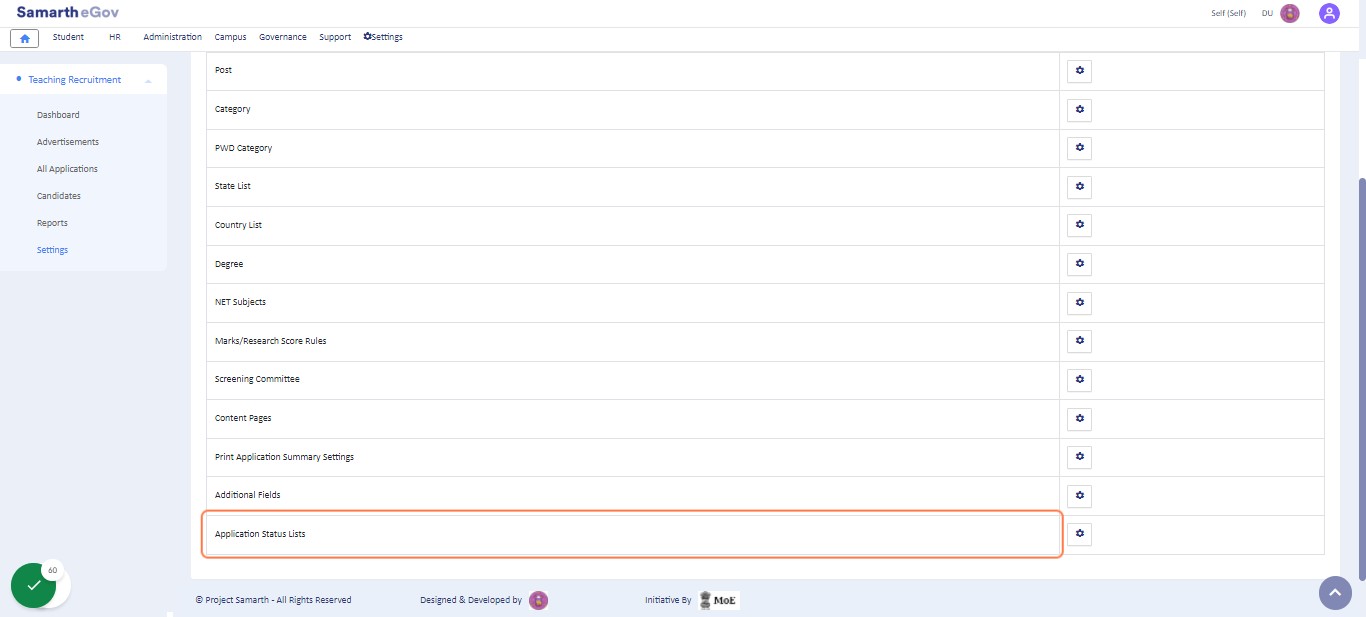
Application Status
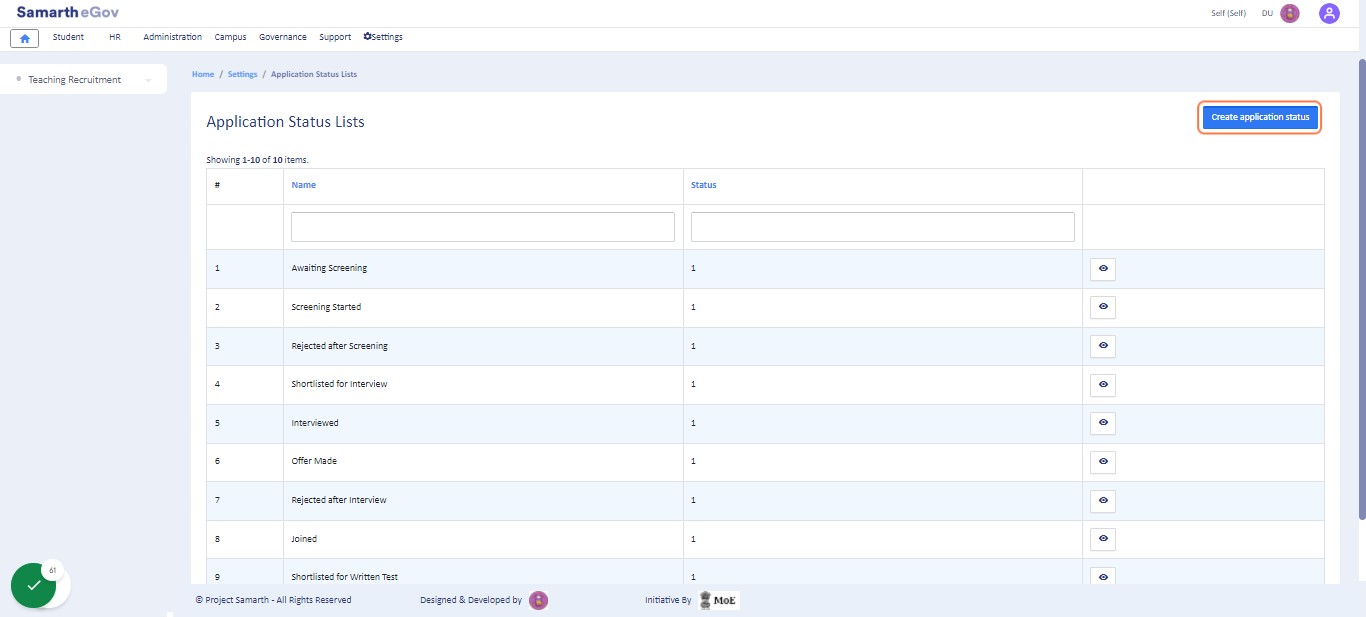
In this setting, all Status of applications that are in the system will be visible.
Click on Create application status button to add new Application Status
If the Admin wants to add any other status, it can be added using the Create Application Status button.
Advertisement
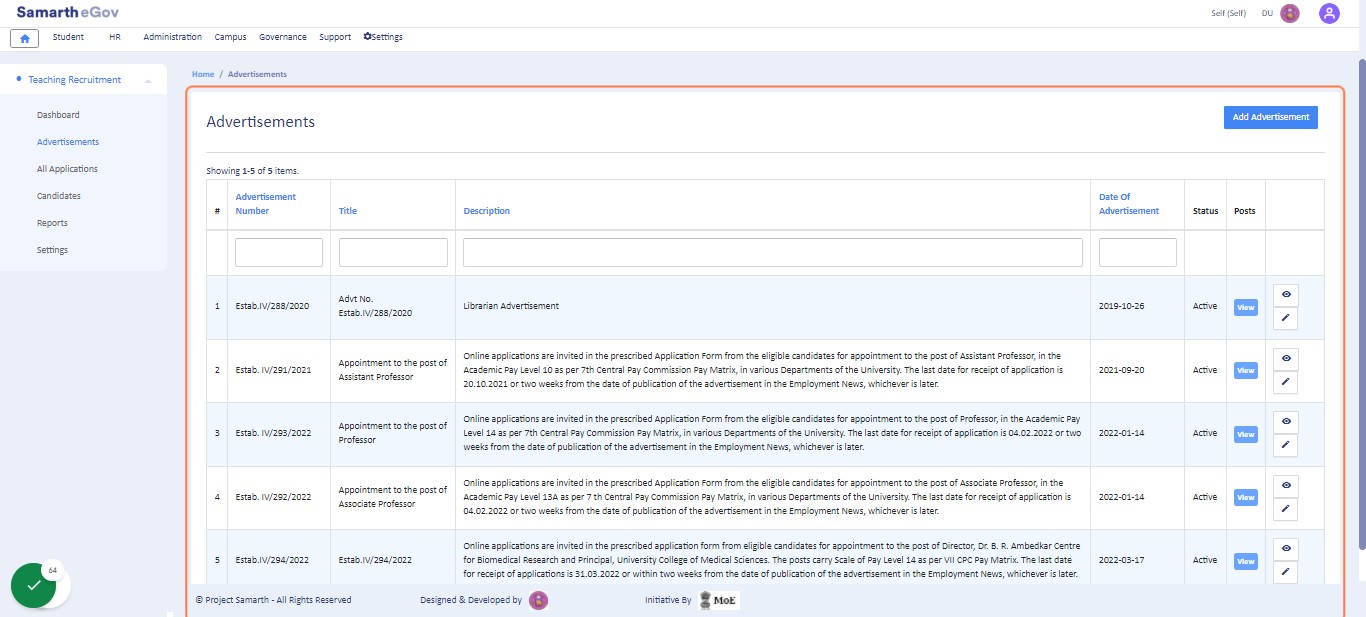
Admin can see details of advertisements (post, department, start date, close date, status) under this Advertisement tab and filter them by Post/Department according to the requirement.
Admin can view the details by clicking on the view icon available in front of every entry.
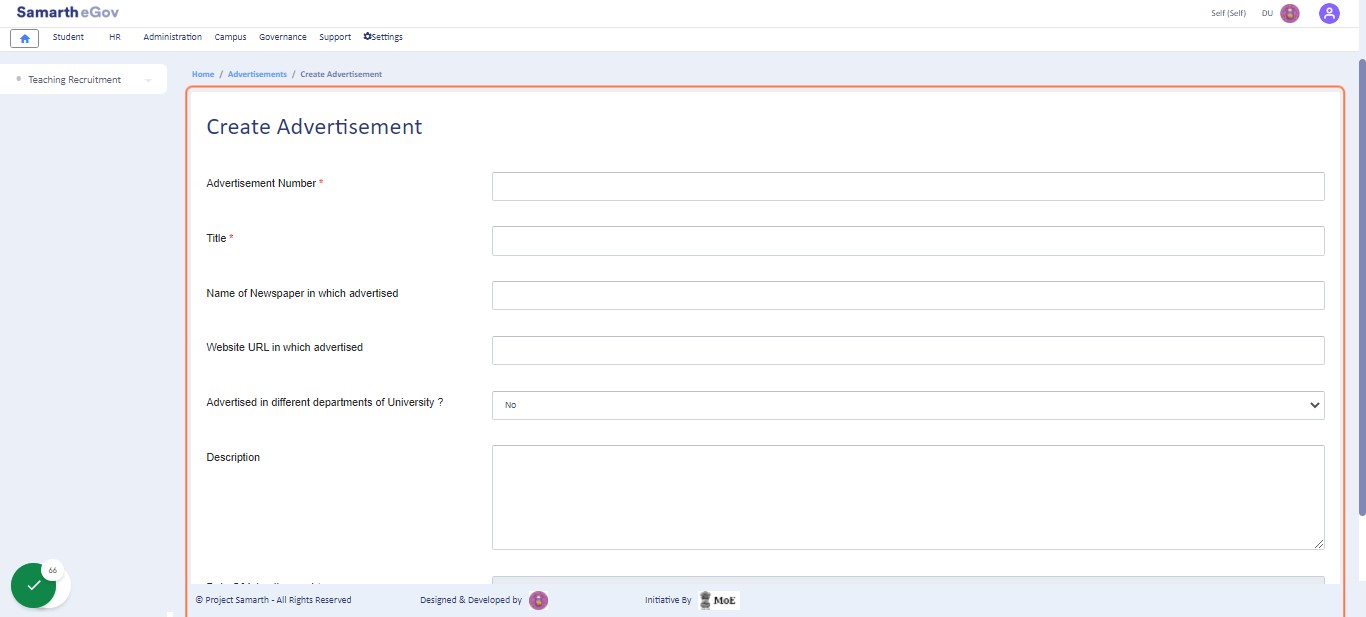
Add Advertisement
Admin can add a new advertisement by clicking on the Add Advertisement button present on the top right side of the portal and filling in the required details:
- Advertisement Number
- Title
- Name of the newspaper in which advertised
- Website URL in which advertised
- Advertised in different departments of the University? (Yes/No)
- Description
- Date Of Advertisement
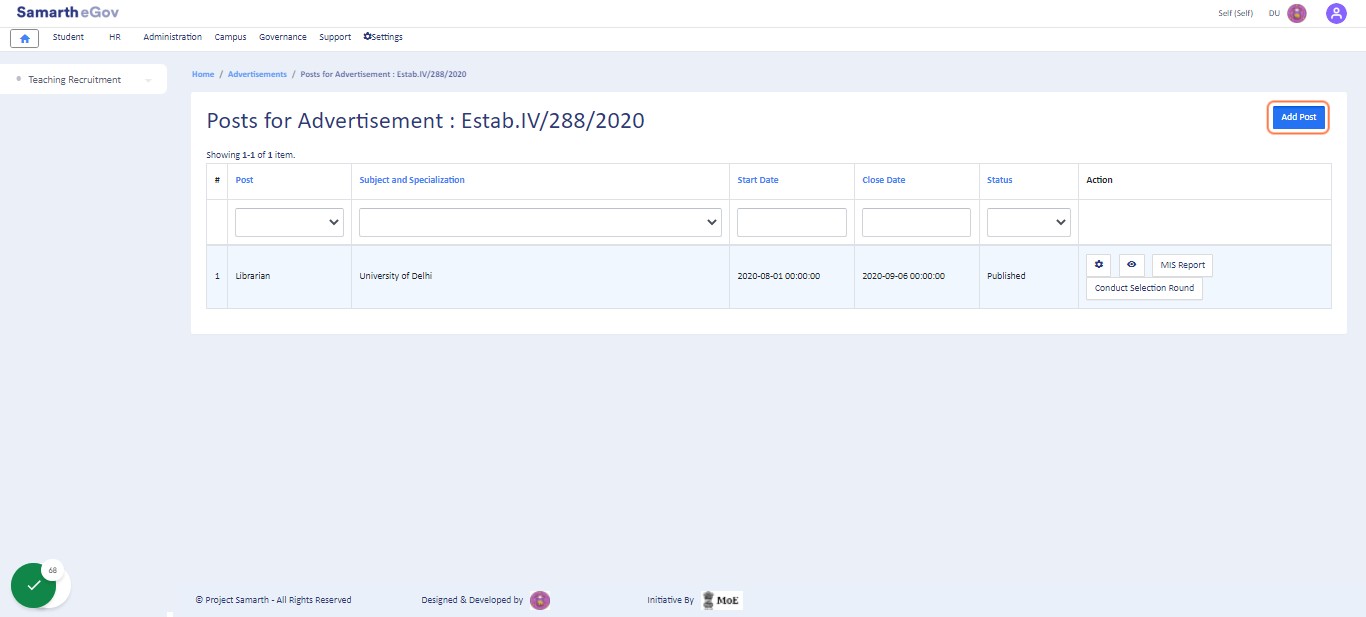
Add Post
Here, the Admin can view the post associated with the Advertisement and can perform actions on these posts. After adding an advertisement, the post has to be defined. All the posts added here in this section will be visible in the front end to opt/apply for by the applicant.
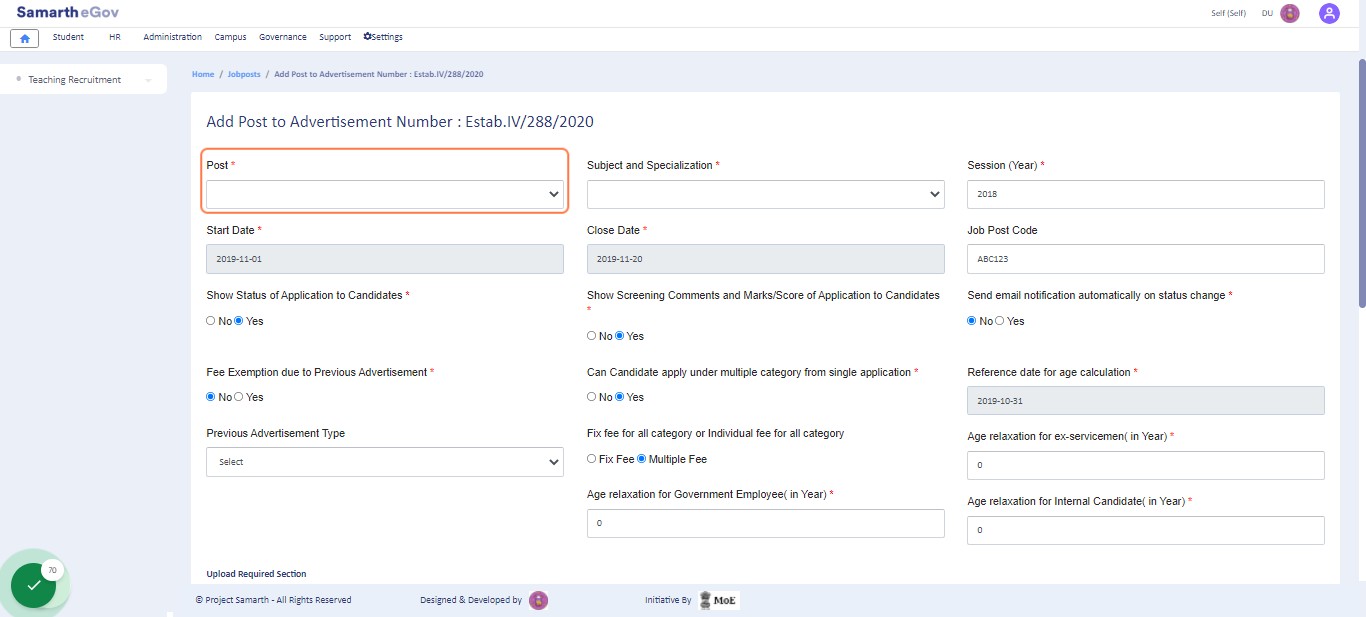
Job-post Configuration
Admin can add a new post by clicking on the “Add Post” button present on the top right side of the portal and filling in the required details.
Note: The Admin can select from the following options in the drop-down under the “UGC Rule Applied” as per the post:
- College Rule: NET and Master’s degrees will be mandatory at the User portal at the time of form submission.
- University Rule: Ph.D. will be mandatory at the User portal at the time of form submission.
- Not Applicable: None of the above-mentioned rules will be active, it can be selected to make a Ph.D. non-mandatory for the post of Assistant Professor.
Category-wise Vacancy configuration
Admin can configure the post details before publishing it by clicking on the update button present on every section/block. The vacancy configuration can be updated using the Update button.

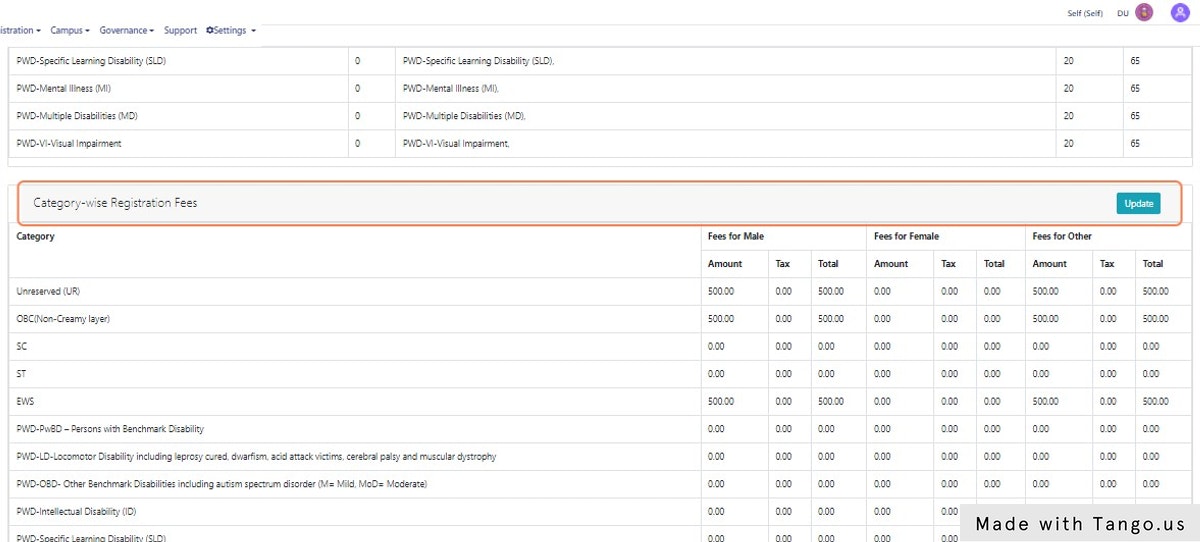
Category-wise Registration Fees
Click on update button to add the application fee as per the gender and category.
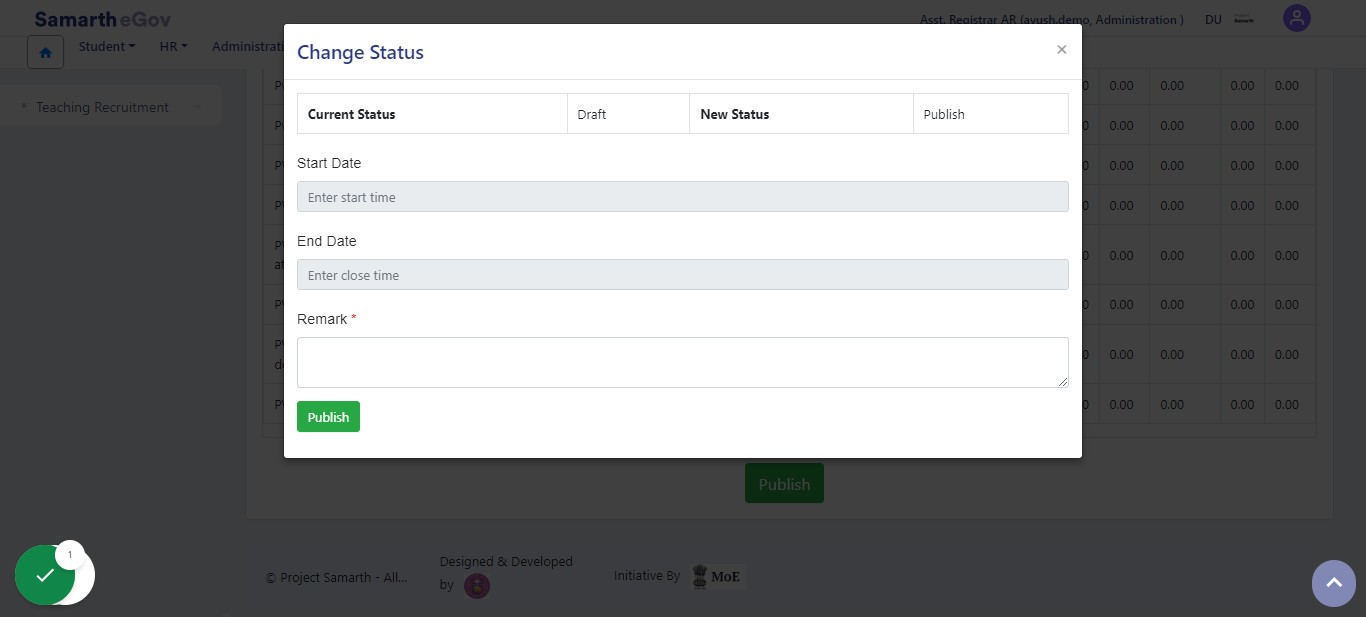
Publishing the Post
Admin can publish the post details so that they can be visible on the front end for the applicant by clicking on the Publish button and filling in the following details:
- Start Date (select from the Calendar)
- End Date (select from the Calendar)
- Remarks
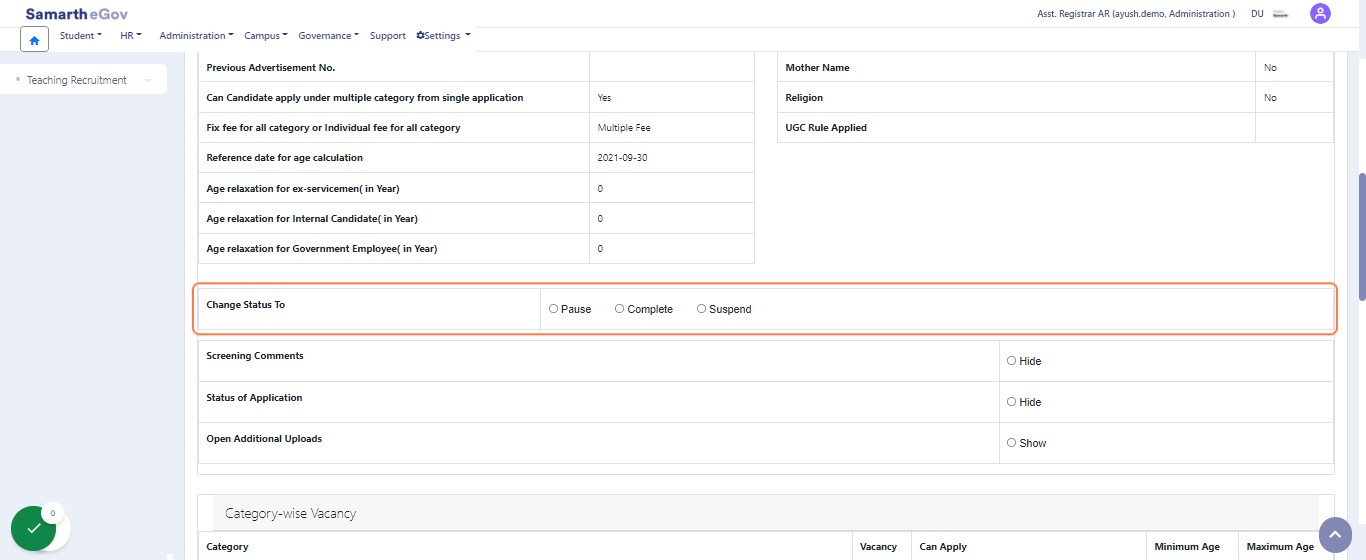
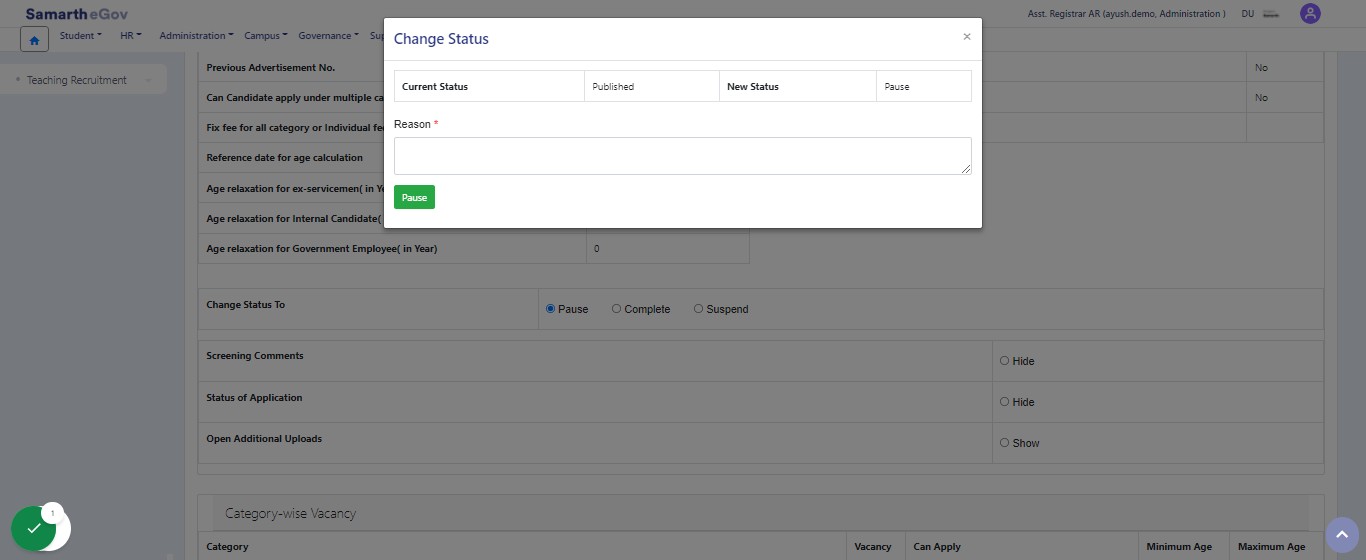
Pausing and Updating the Job Post Code
Admin can pause the published advertisement in case of any amendment to be made regarding the vacancy count, date, etc. from the Pause button of the respective job postcodes.
Re-Publish the Job Postcode
After changing the respective details, the Admin can click on the Publish radio button to re-publish the advertisement on the candidate portal.
View Job Postcode Details

View Post
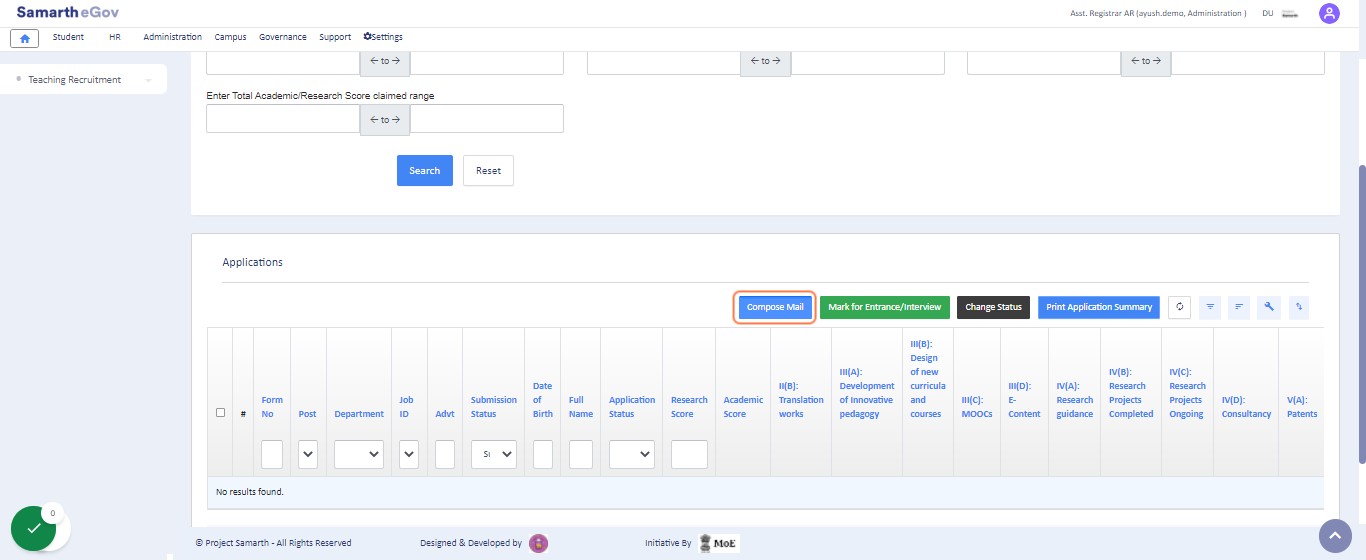
Admin can view the entries/application submitted for each post by clicking on the “view” icon. From here the admin can compose mail or mark the application received for further process.
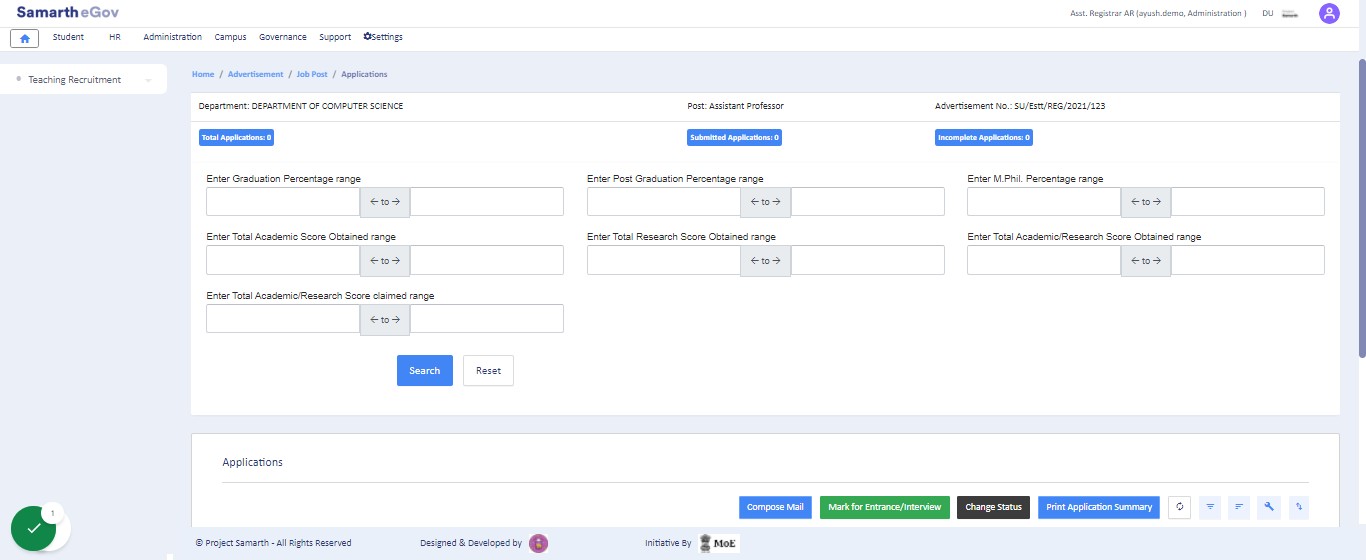
Compose Mail
The email can be sent to the registered candidates directly from the portal using Compose Email button.
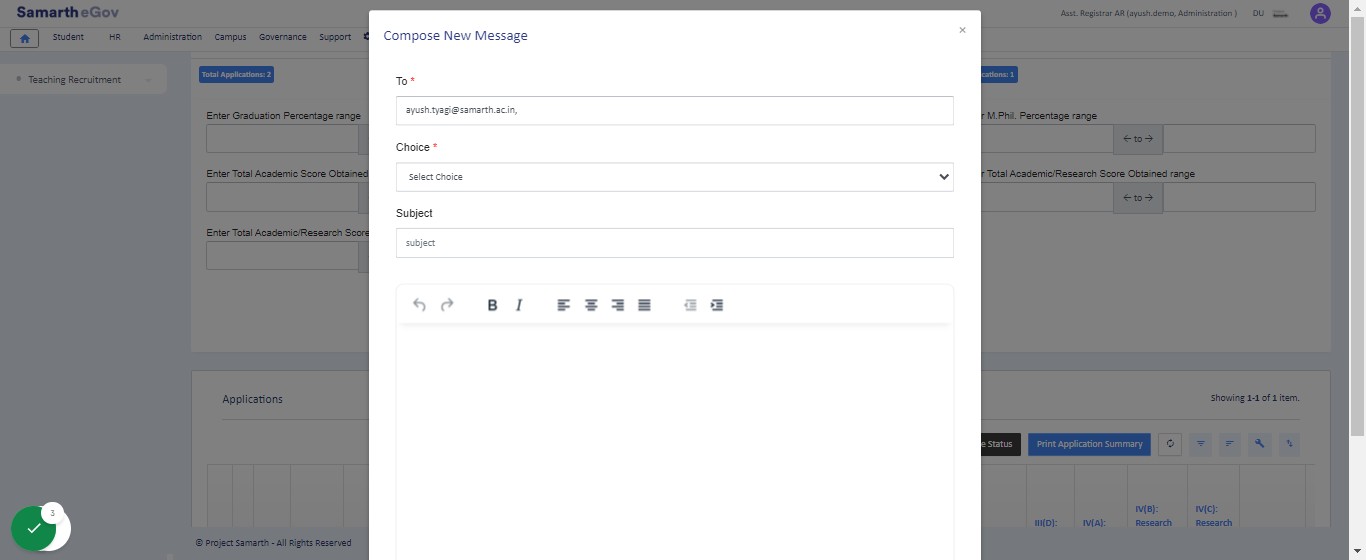
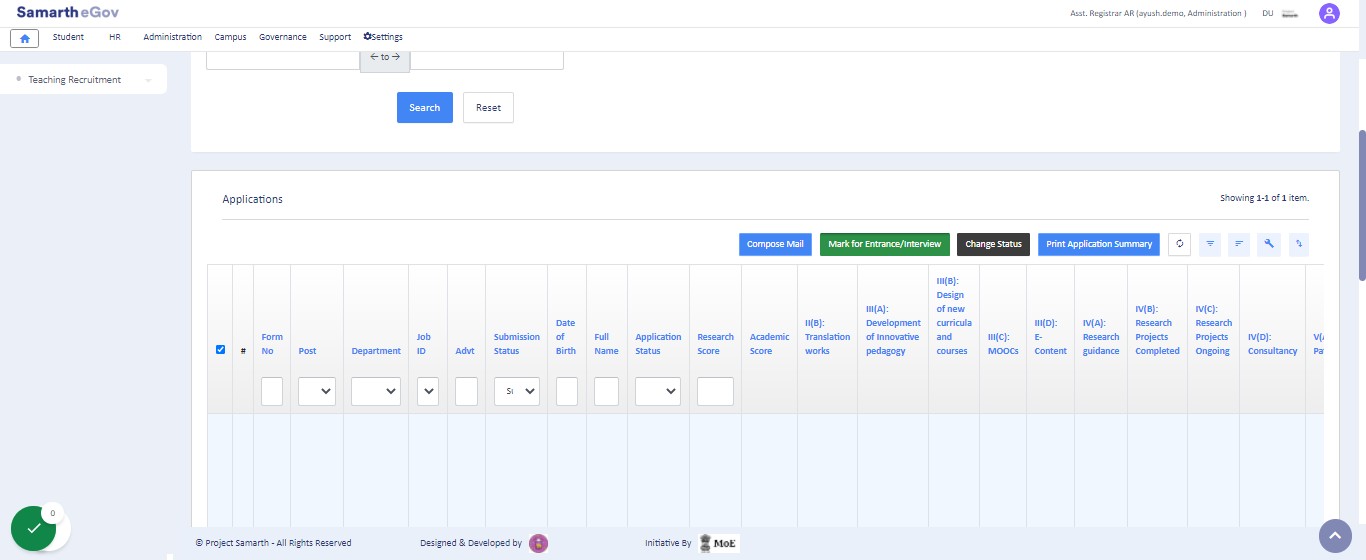
Composing an Email
Admin can compose mail by clicking on the checkbox against the desired candidate and send the status of their application(selected/not selected) from here itself by selecting the application entries and clicking on the “Compose Mail” button and filling in few details:
- To
- Choice(Select from the drop-down)
- Subject
- Text Body/Content
Mark for Entrance/Interview
Admin can mark the application for an entrance exam or interview according to the university rule by clicking on the Mark for Entrance/Interview button.
Change Status
Using this option the application status can be changed.

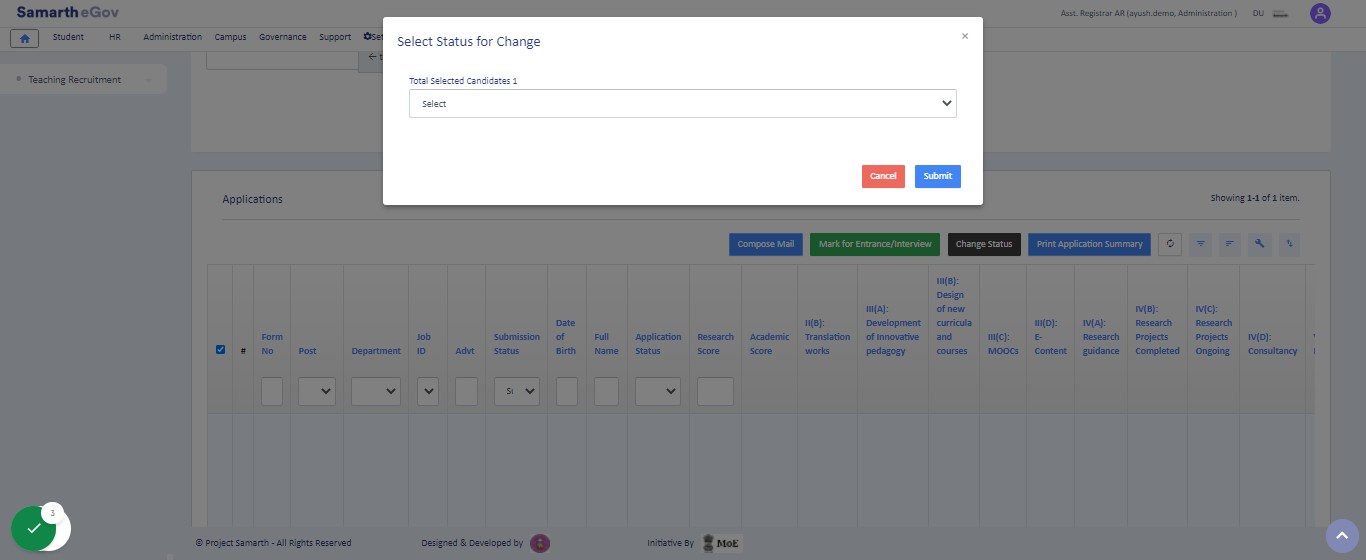
Changing the Application Status
Admin can change their status by clicking on the Change Status button.
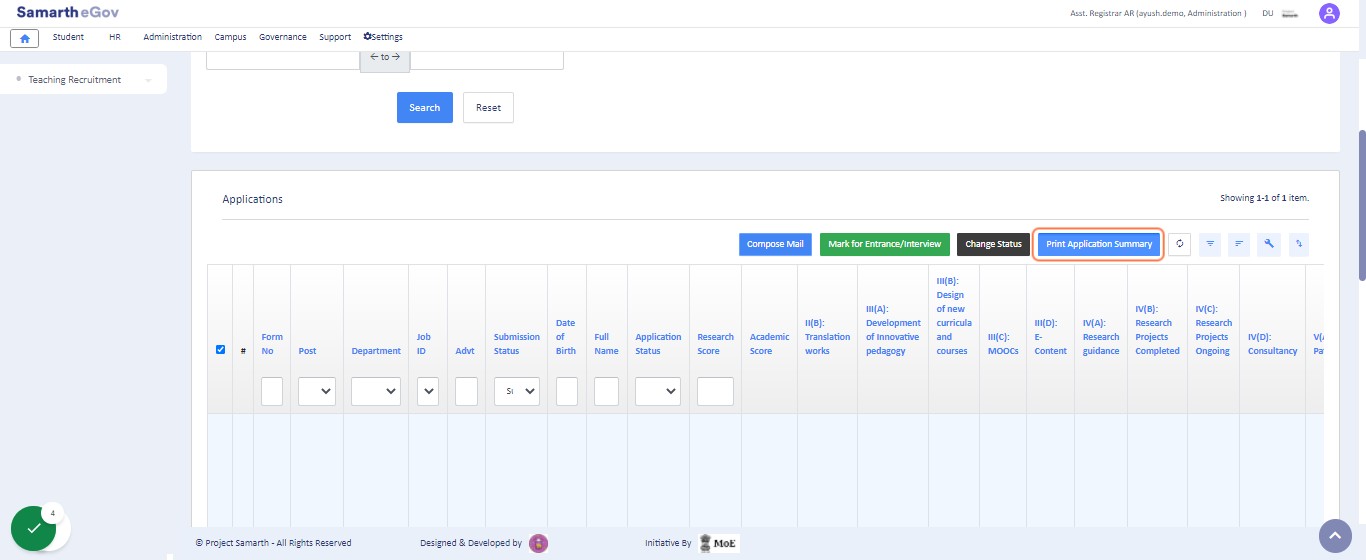
Print the Application Summary
Admin can Print the Application Summary by clicking on the Print Application Button.
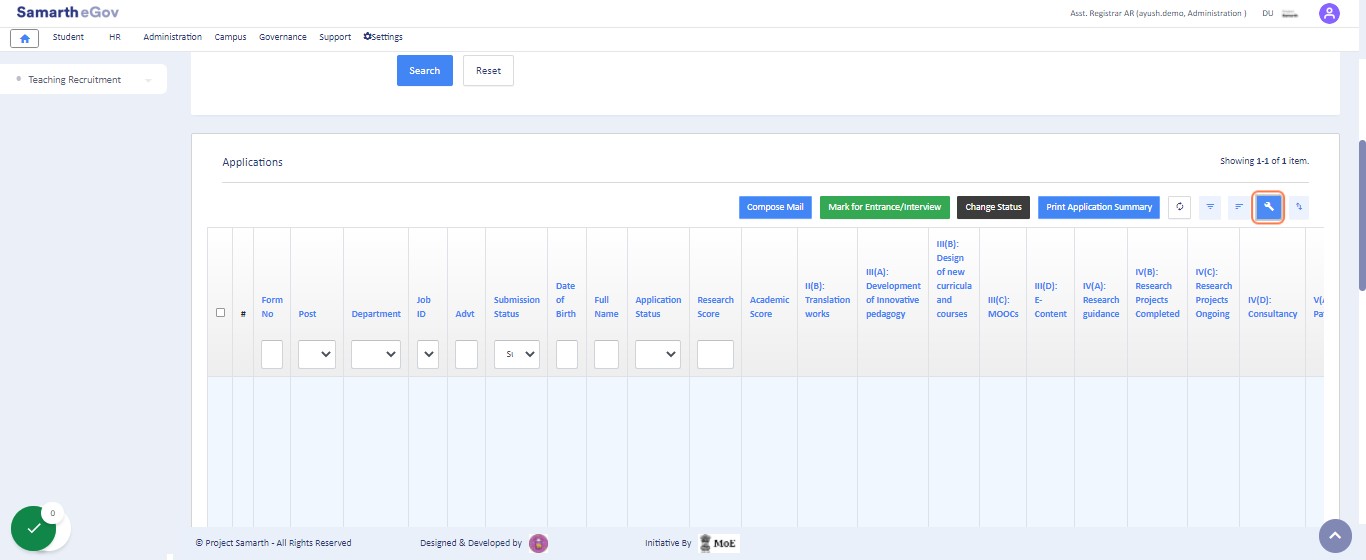
Filtering or Sorting the received Application
Admin can filter/sort the received applications.

Click on Personalized Grid Settings
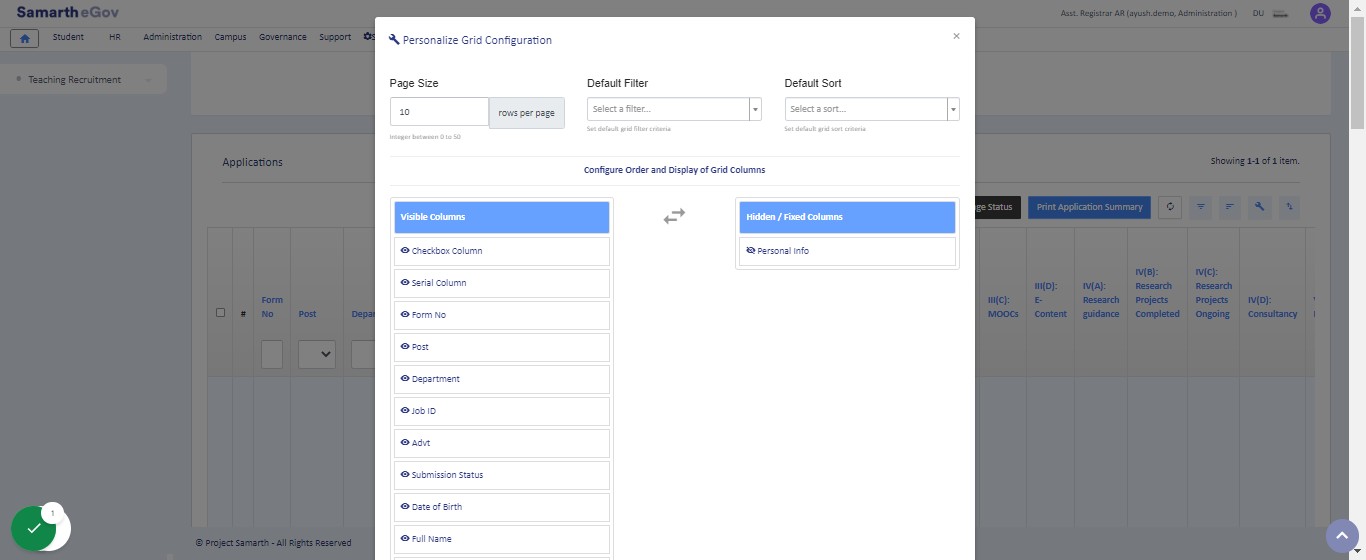
The order of the MIS columns can be changed using Personalized Grid Settings.
The Admin can show/hide the respective columns as per the need.
Changing Grid Settings
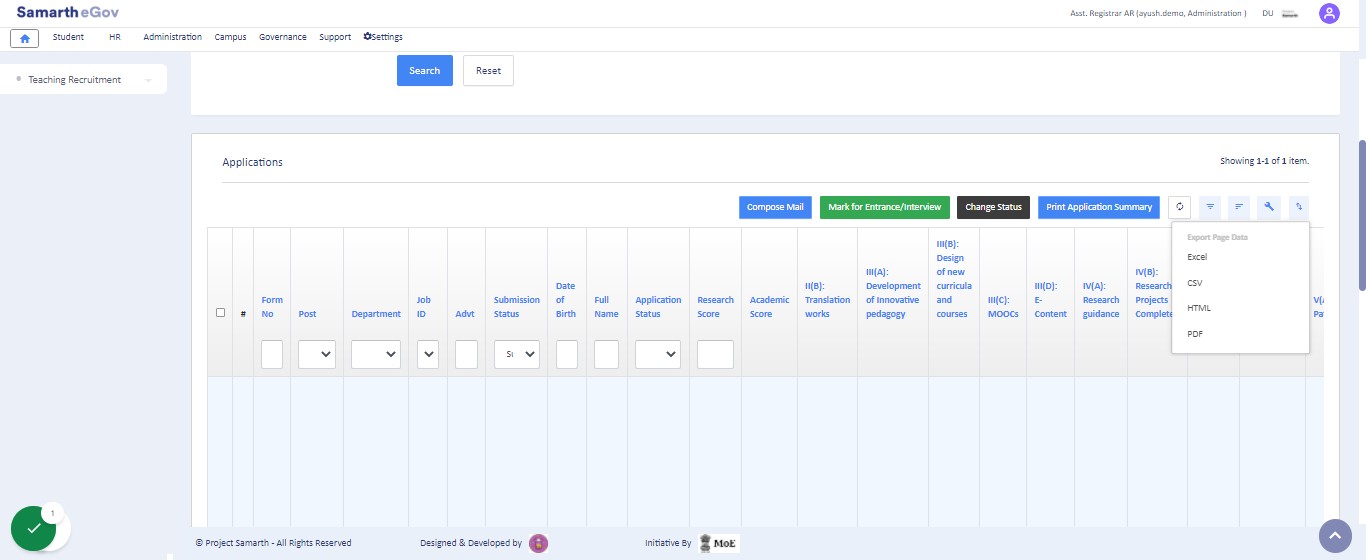
Exporting Data
Admin can even export the data in the form of (PDF, CSV, etc) as required by clicking on “Click here to Export Data” by clicking on the export icon.
MIS Reports
It contain all the fields entered by the Candidate in Application Form, after downloading, the Univeristy can customize the coloumns as needed.
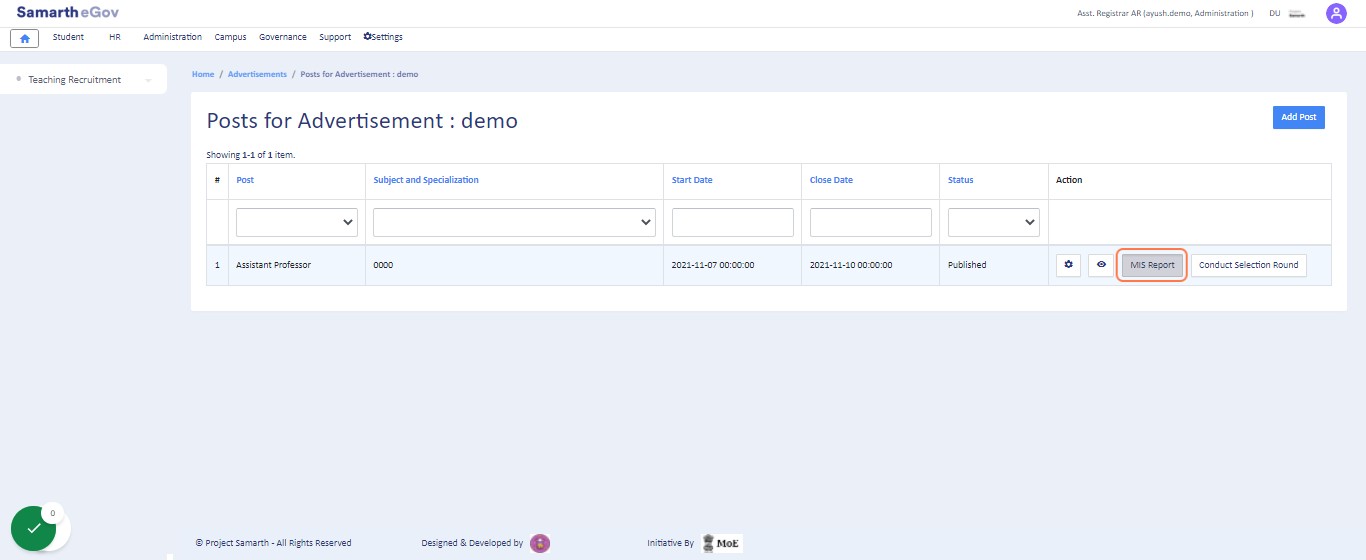
Generating MIS Reports
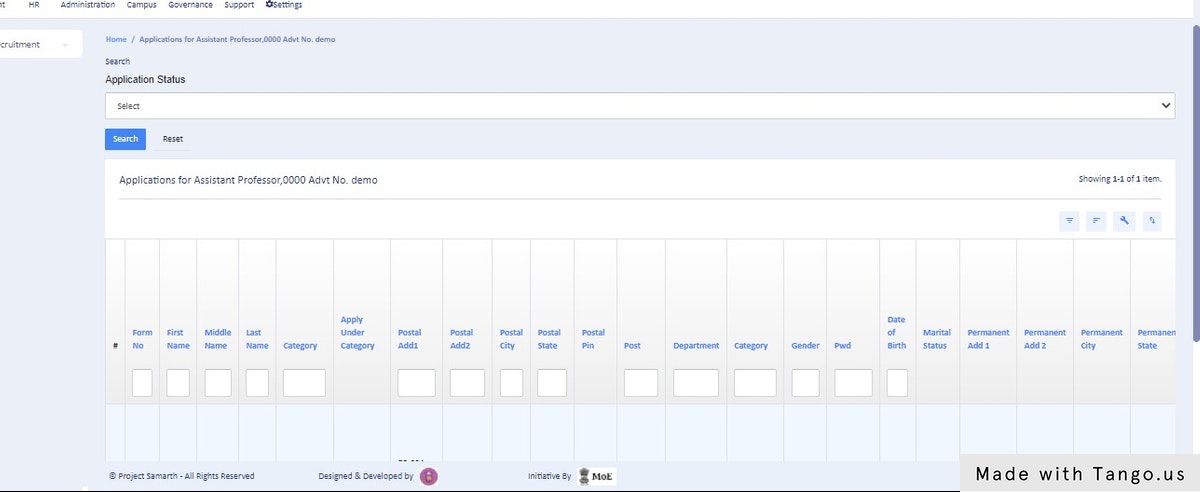
Admin can view/generate the MIS report according to the status selected. It helps the admin to check all applications directly by searching for their shortlisting status.
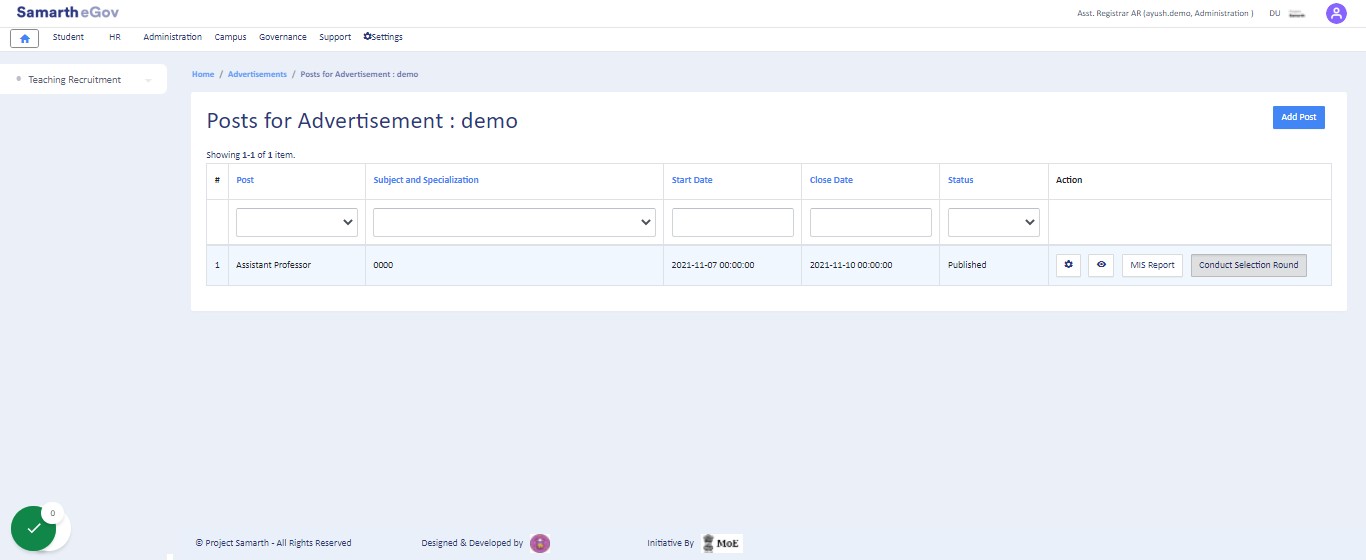
Conducting the Selection Rounds
Admin can conduct the selection Round by clicking the Conduct Selection Round button.
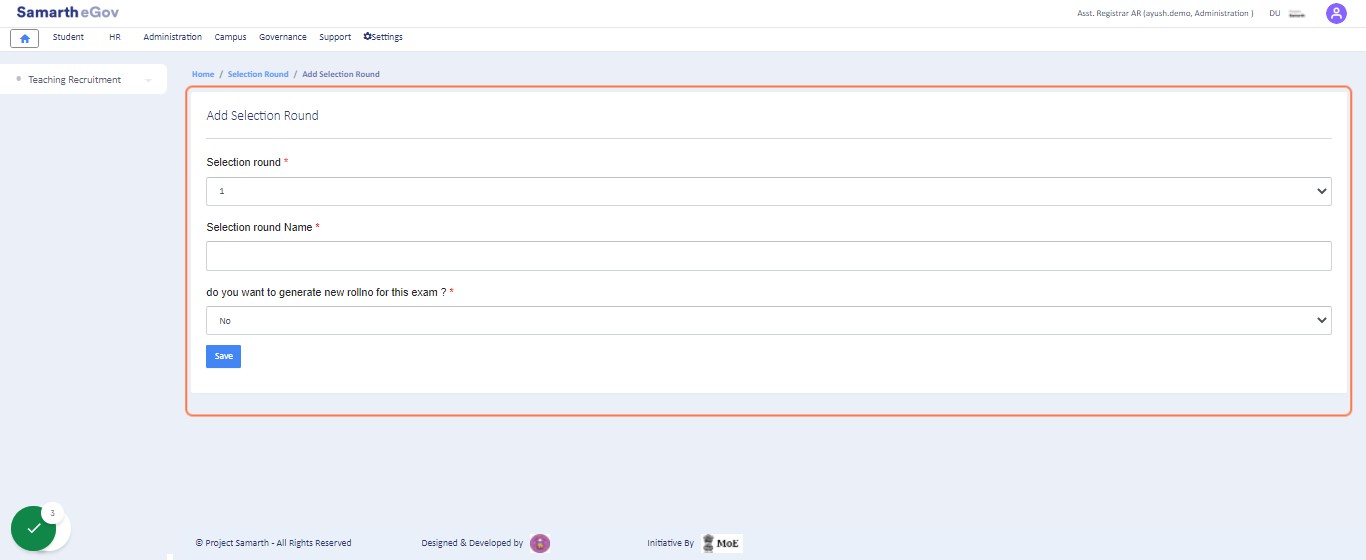
Adding Selection Rounds/Interview/Entrance Test
Admin can create the Selection Round by selecting the option Add selection Round and filling in the required details-
- Selection round
- Selection round Name
- do you want to generate a new rollno for this exam?
After Adding the Round then click on the Proceed button.
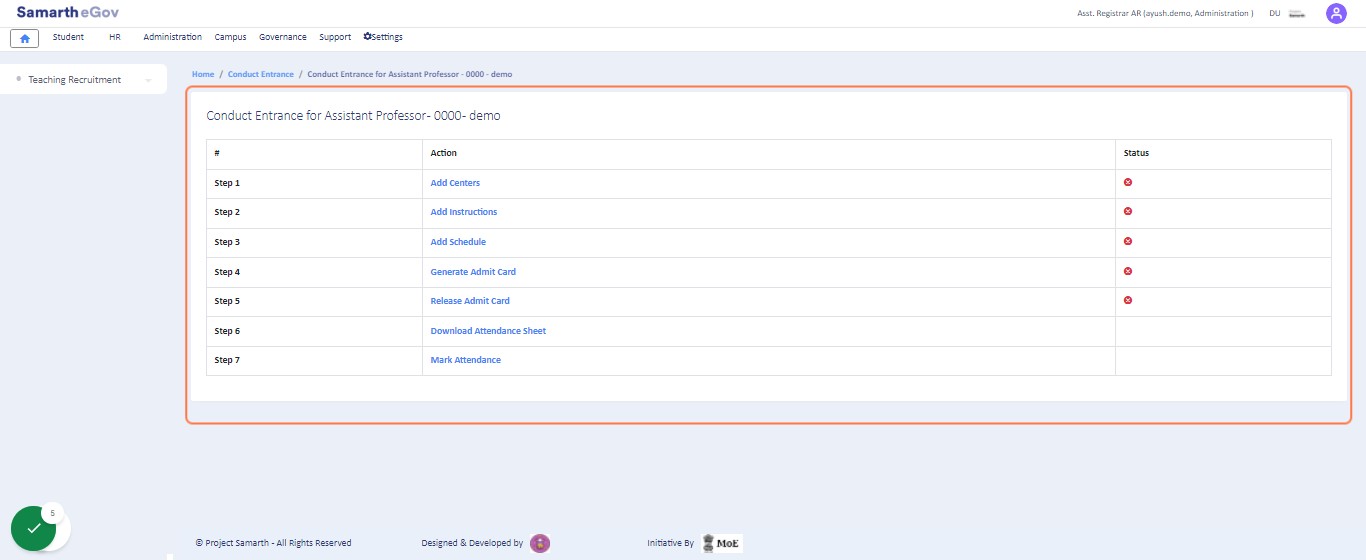
Configuring the Selection Rounds/Interview/Entrance Test - After marking the Candidates for Interview from the application section of a job postcode, the Admin can configure the Entrance/Interview round settings.
The followings steps are to be configured to conduct the Entrance or Interview for a specific job postcode:
- Add Centers
- Add Instructions
- Add Schedule
- Generate Admit Card
- Release Admit Card
- Download Attendance Sheet
- Mark Attendance
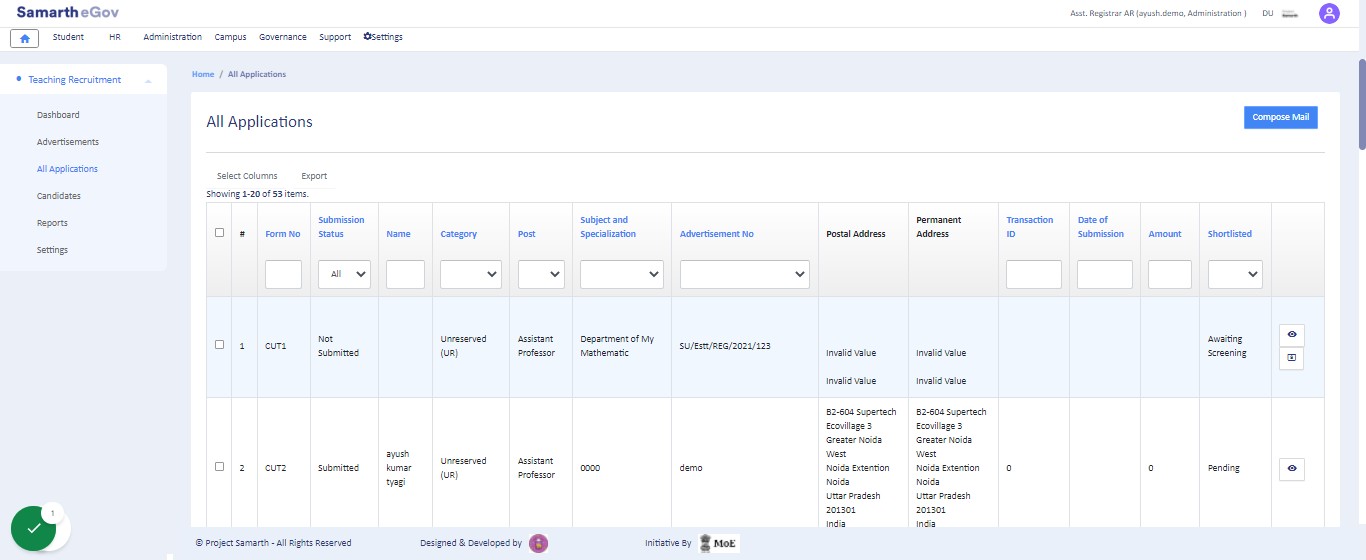
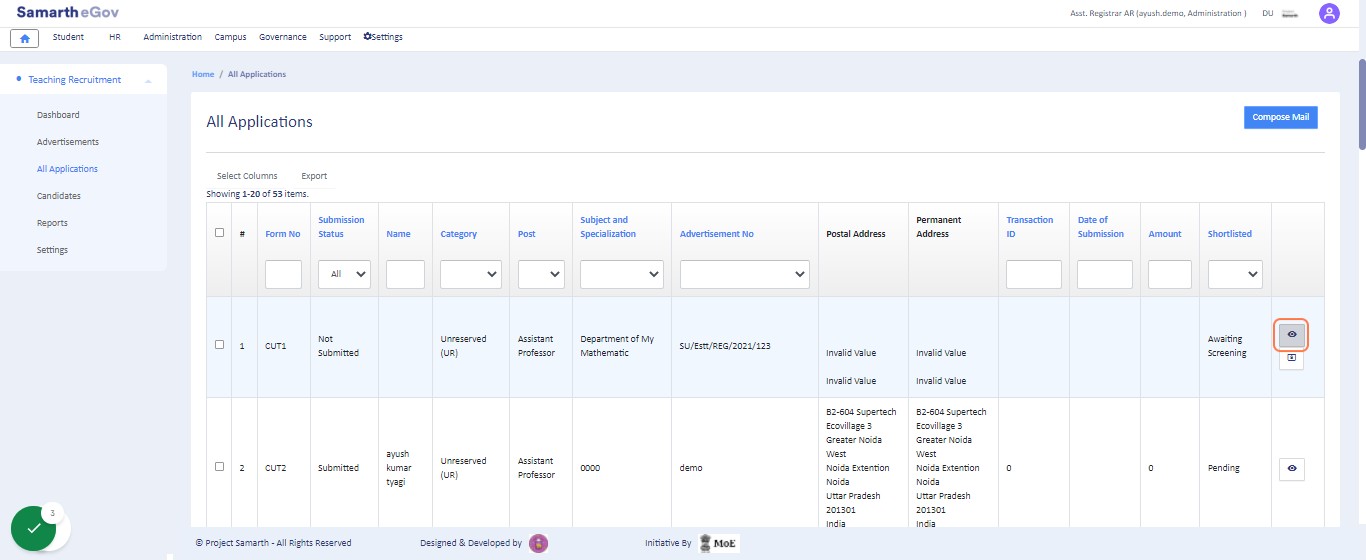
All Applications
This section will contain all the applications (both Submitted and Not-Submitted).
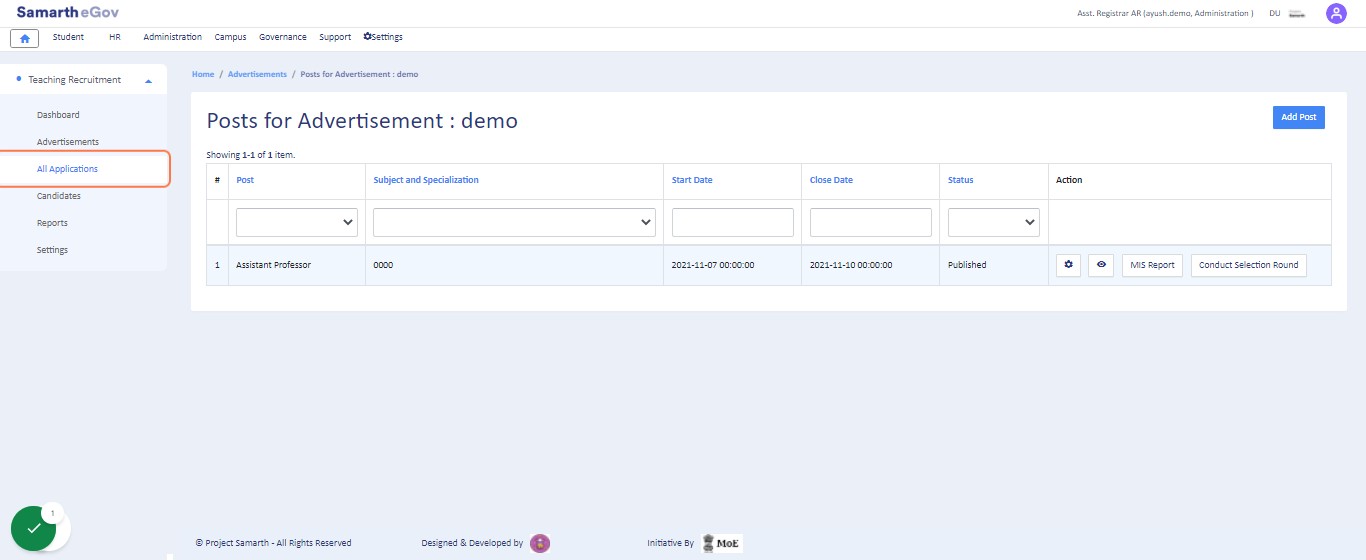
View All Applications
- This section will contain all the applications submitted so far.
- Here the admin can see the application and filter it by post, department, etc.
- It will show the admin all the applications for a particular post and their status together.
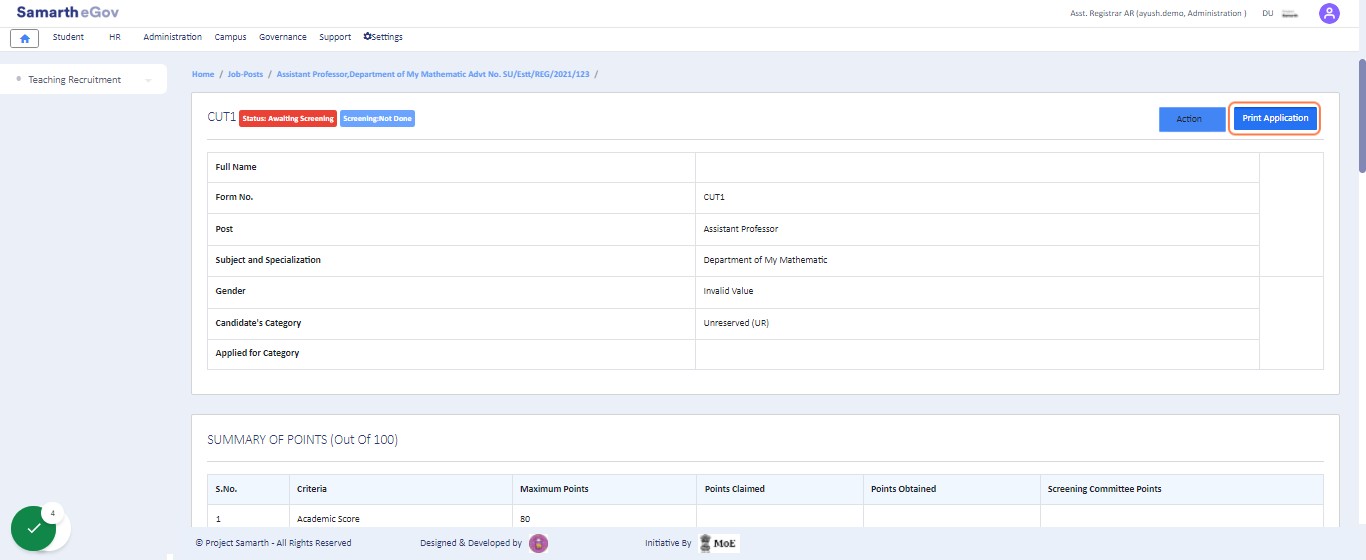
View Application Details
Print Application
Click on Print Application button to print the summary of the selected Application.
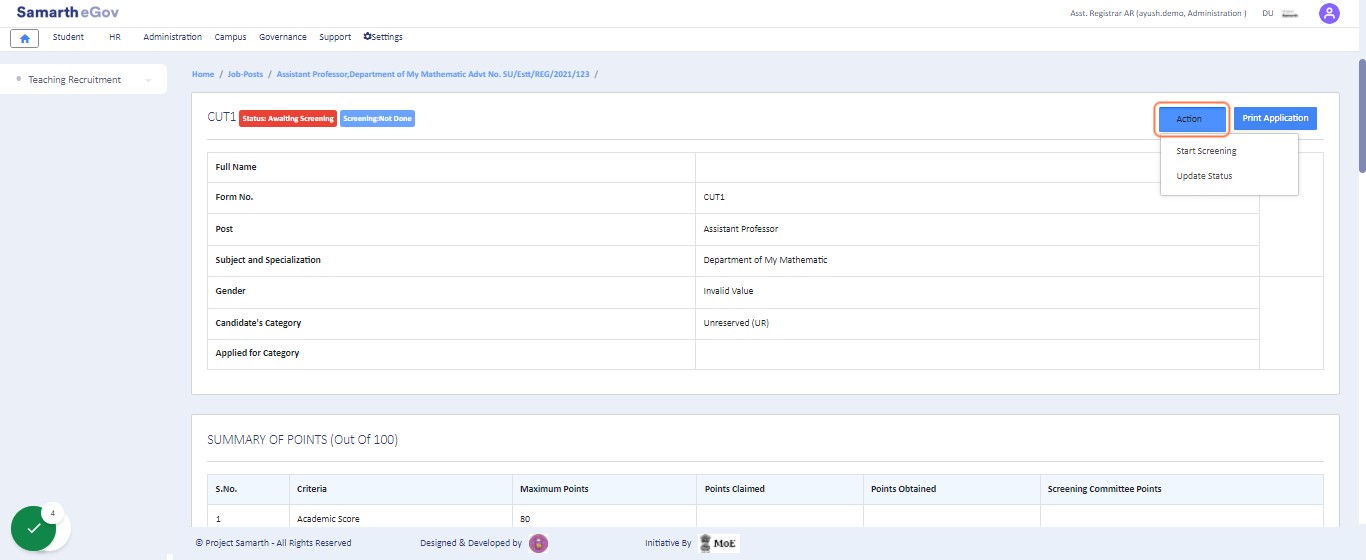
Action
Following Actions can be performed:
- Start Screening
- Update Status
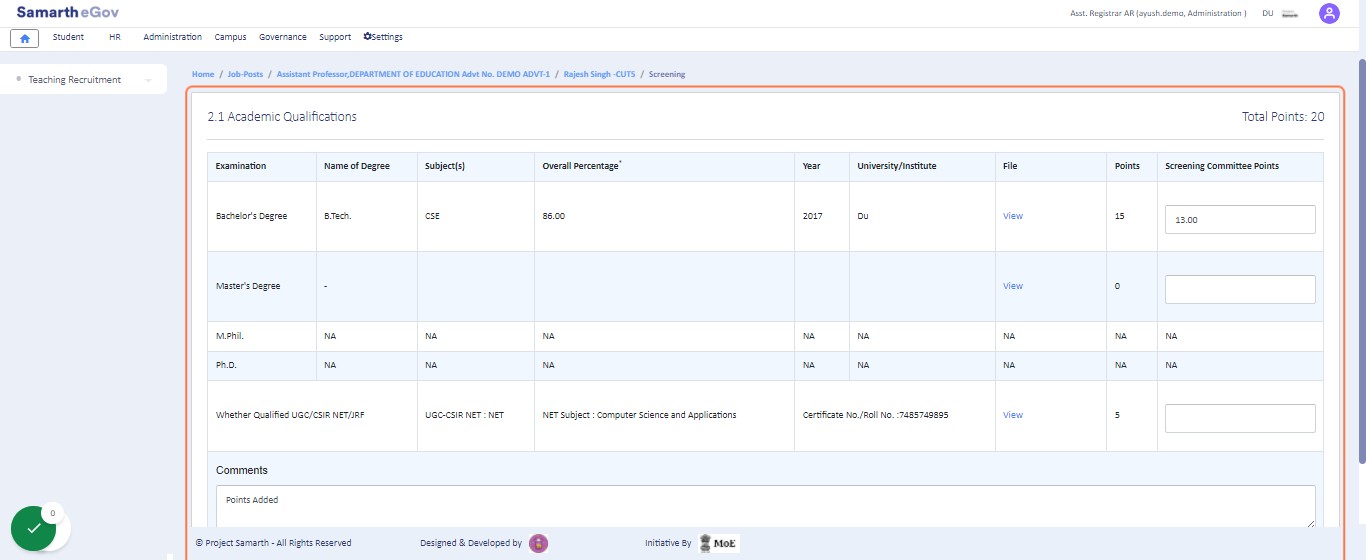
Start Screening
Using this button, the screening can be started for the respective Candidate.

Screening Section
Screening Committe member can give the points and comments for the Academic Qualification.
Screening Section
Screening Committe member can give the points and comments for the Experience
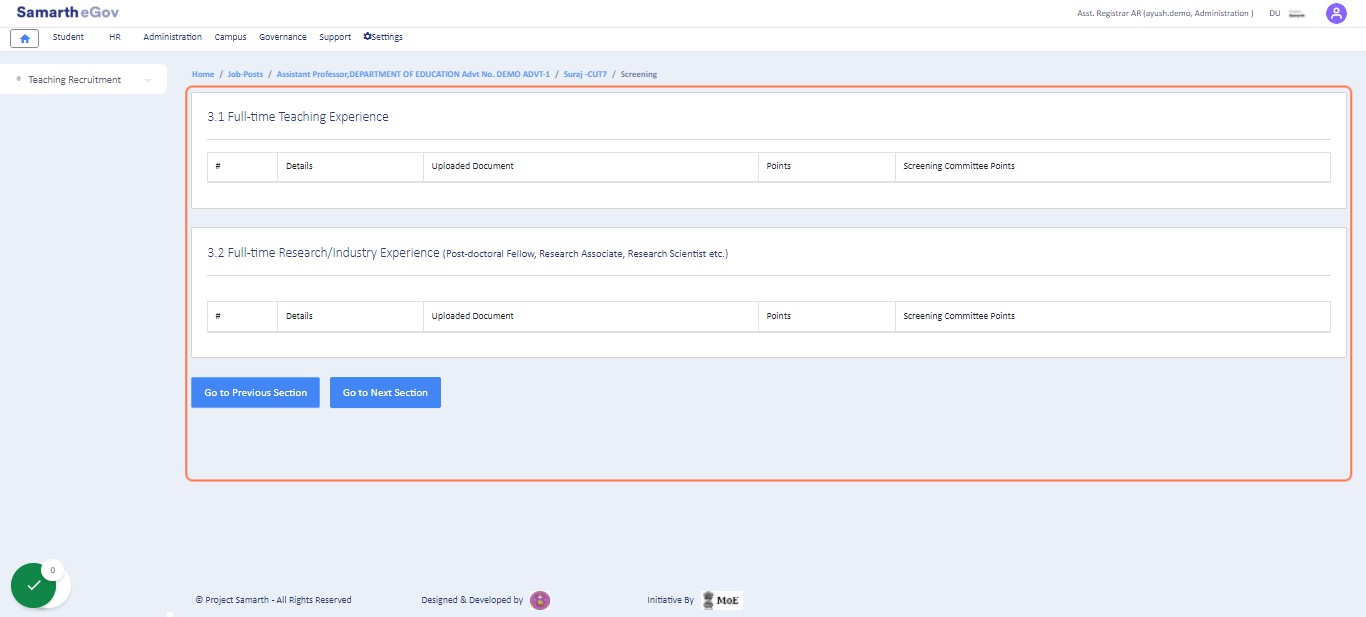
Screening Section
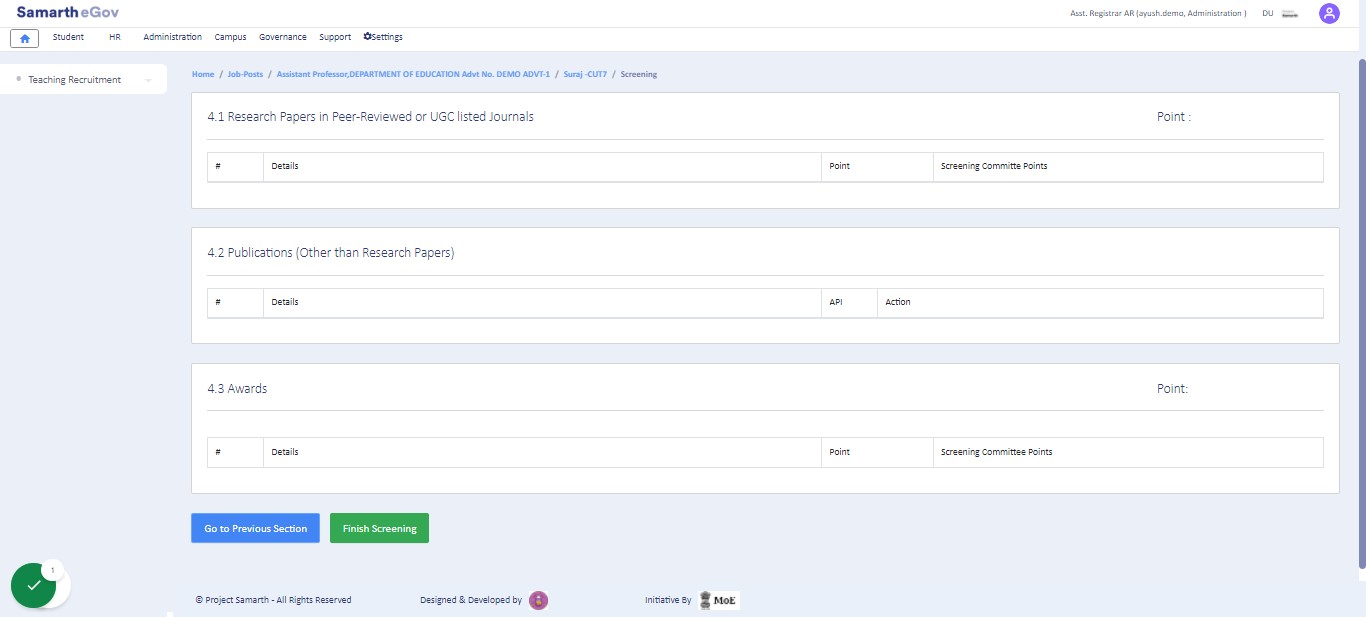
Screening Committe member can give the points and comments for the Research, Publication and Awards.
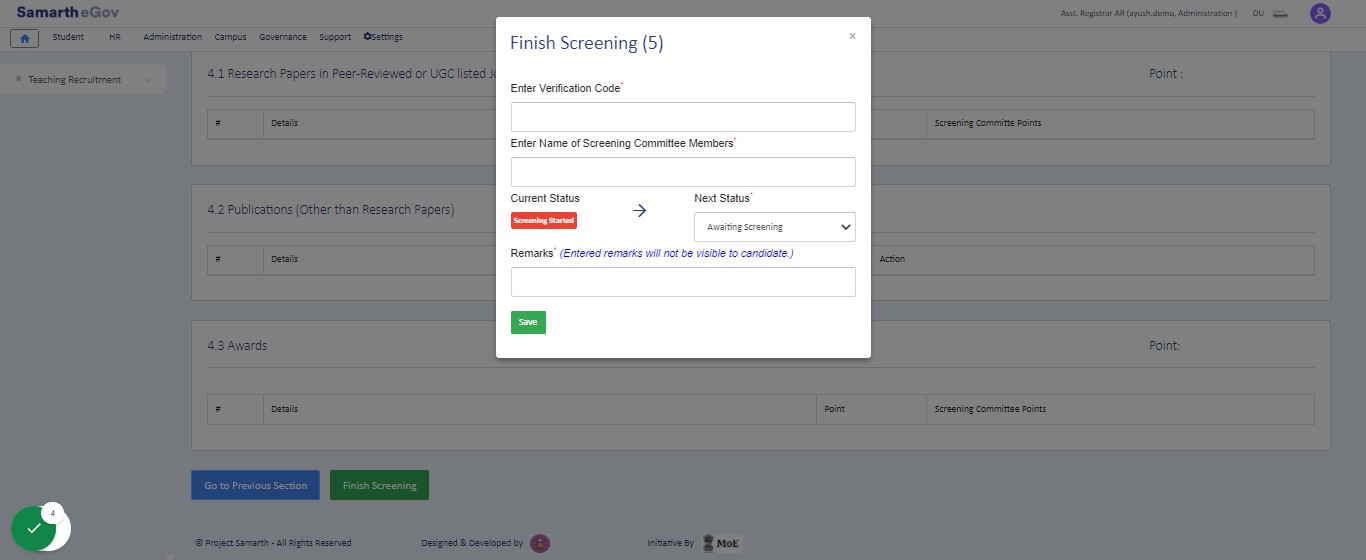
Completing Screening of the Candidate
The Screening Committee Member can finish the screening to respective Candidate by adding the verification code (numeric part of the Candidate’s Application), Comment, and Application Status.
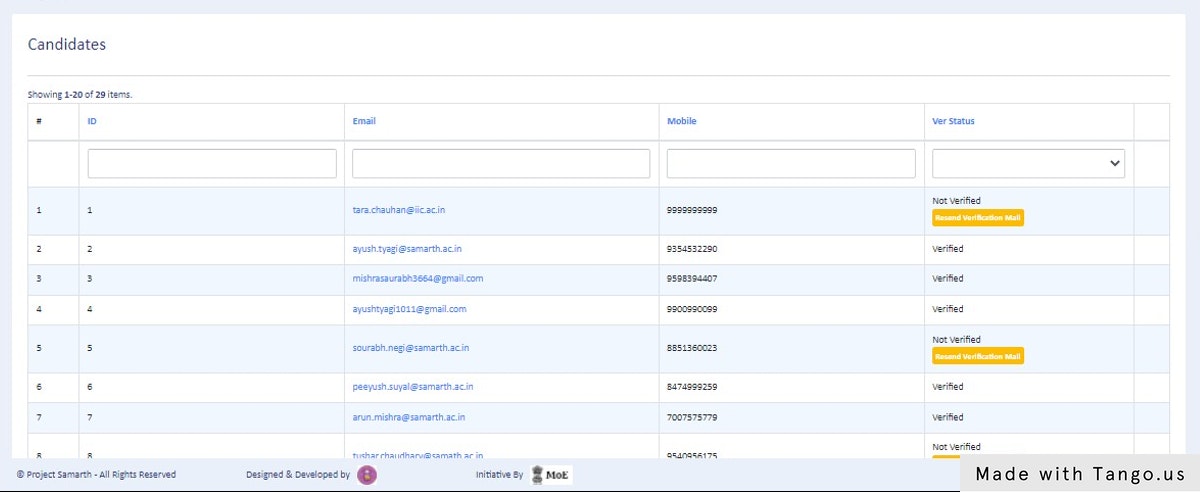
Candidate Section
Admin can view the candidate registration status in this section.
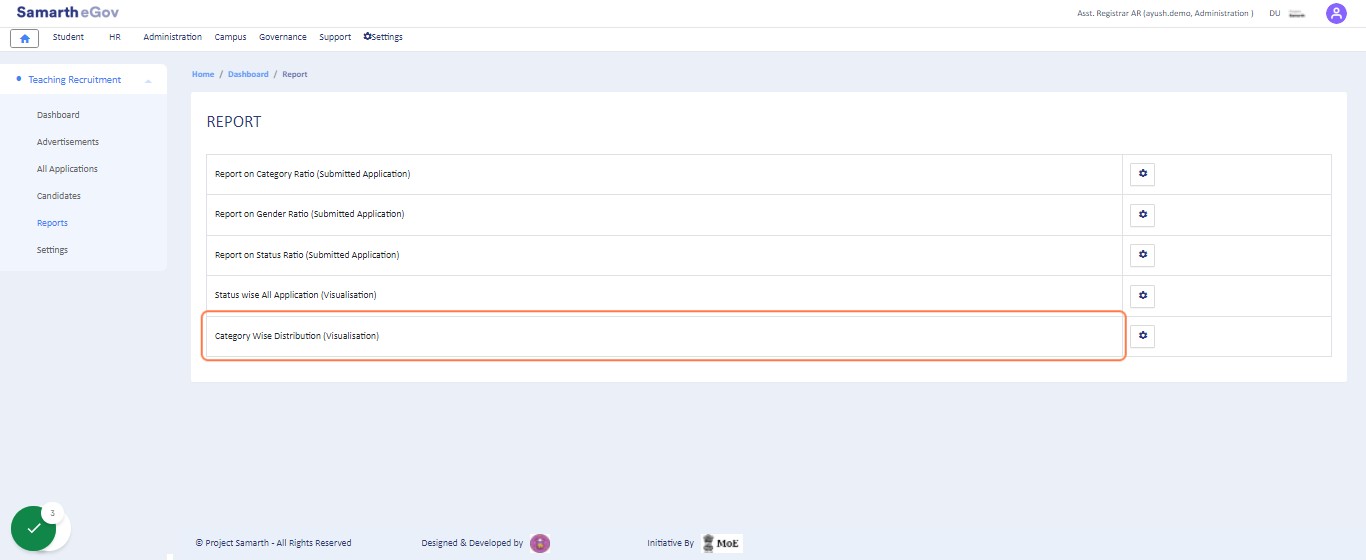
Report Generation
This section helps to generate and view all data at a glance at any time, get instant reports & be able to make an authentic decision.
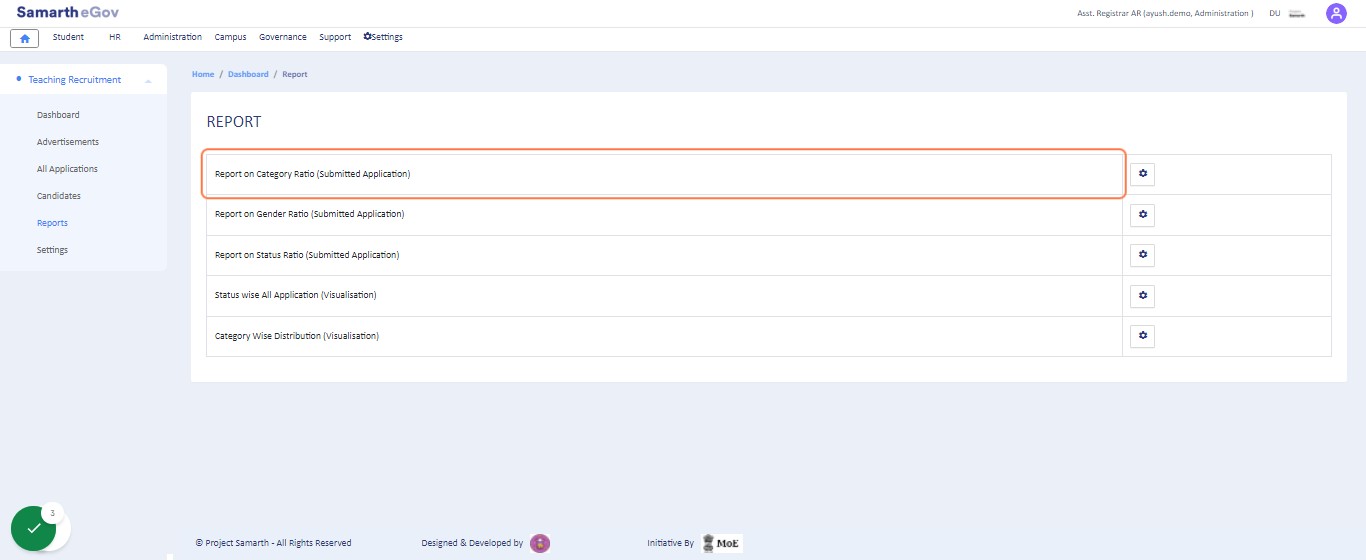
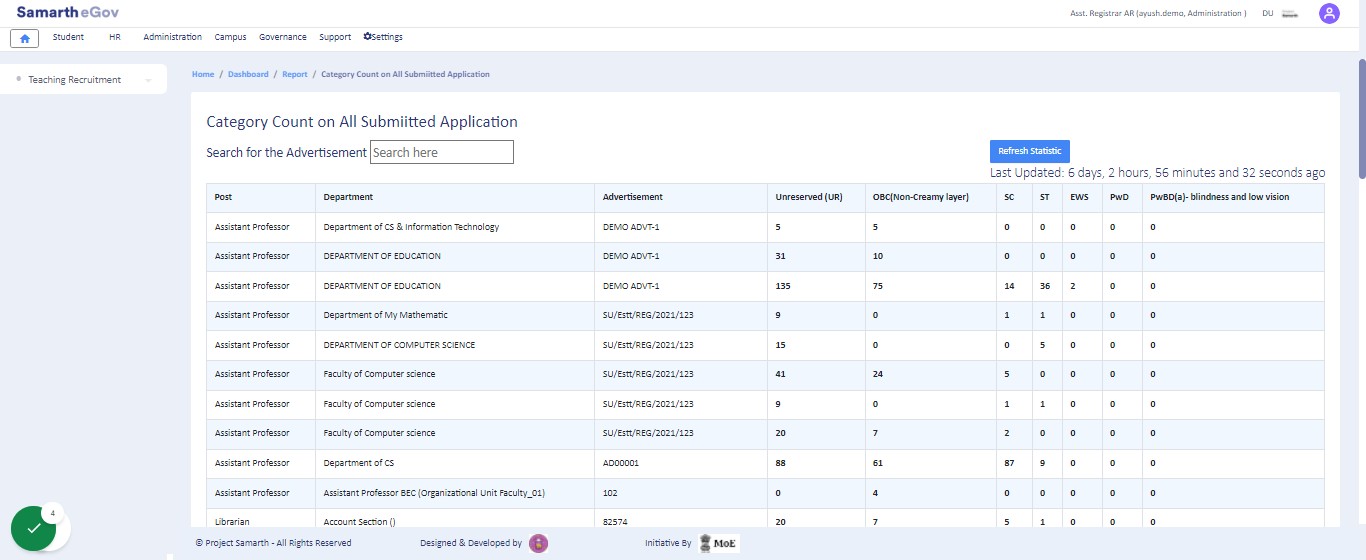
Report on Category Ratio: It helps to generate the category-wise report.
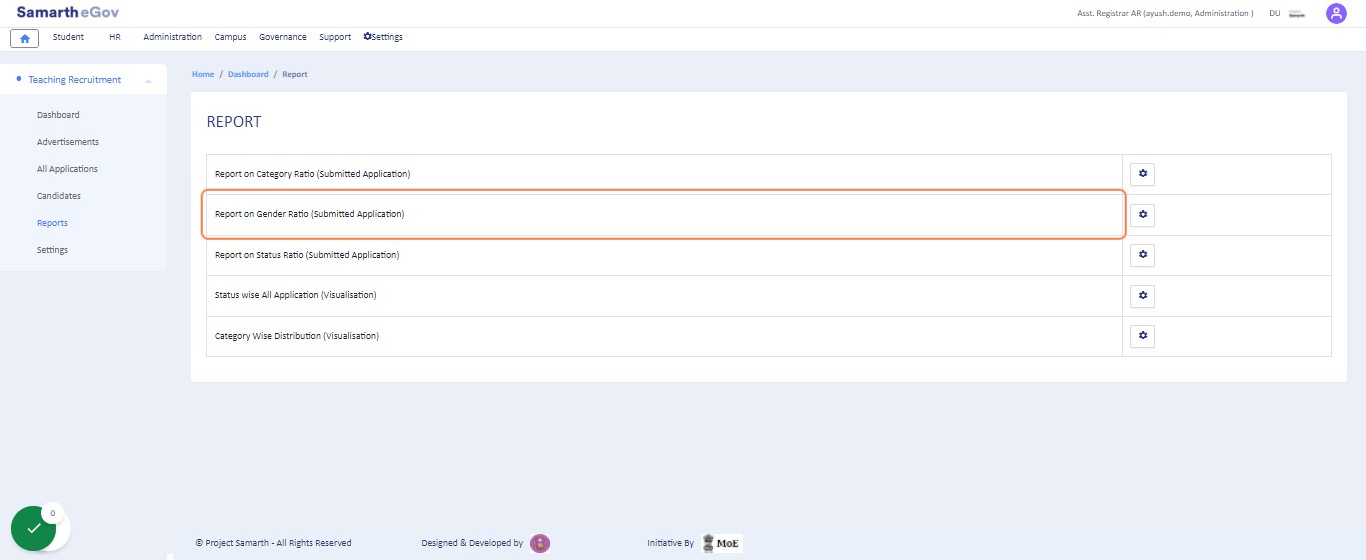
Report on Gender Ration: It helps to generate the gender-wise report per advertisement. Admin can select the post according to the need.
Report on Status Ration: It helps to generate the Status-wise report.

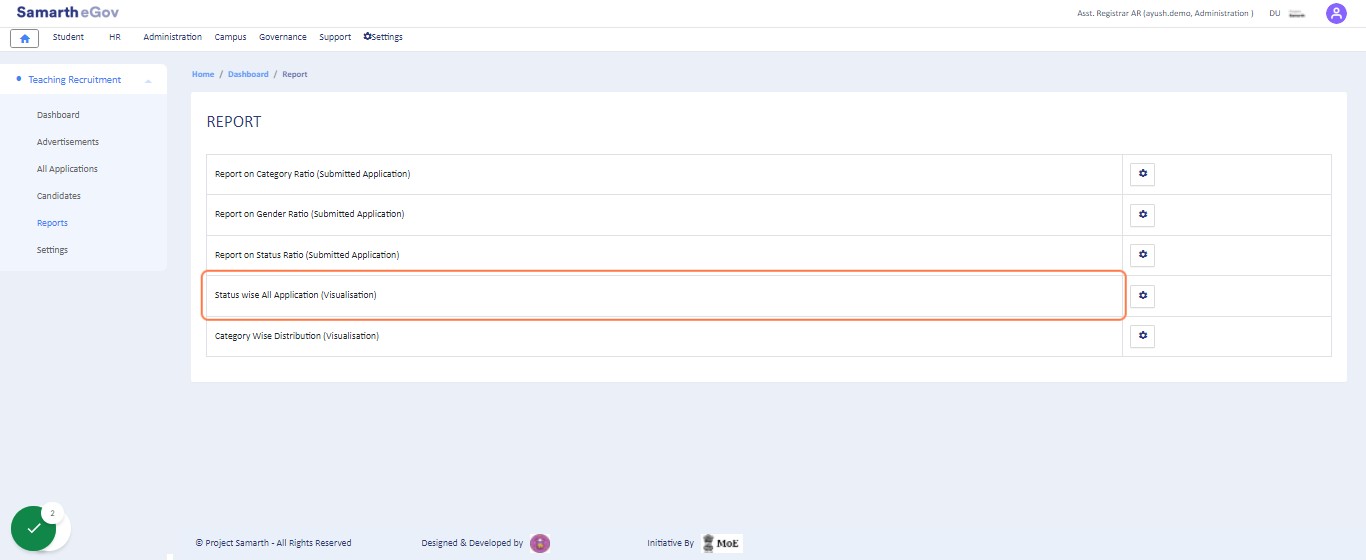
Status Wise all Application: It helps to generate the advertisement-wise status report.
Category Wise Distribution: It helps to generate the Category Distribution for each Advertisement.