Leave Admin
Prerequisites
Pre-requisites for the Implementation of the SAMARTH Leave Module:
1. Employee Data: Ensure all the employee master data have been added into the portal.
2. Employee Accounts: Create individual accounts for all employees to enable them to apply for leave through their respective logins.
3. Administrative Accounts: Ensure accounts are set up for administrative personnel, including recommending, reviewing, and sanctioning authorities.
4. Leave Policies: Define and document all leave policies for the institute, such as
- Casual Leave
- Earned Leave
- Medical Leave
- Half-Pay Leave, etc.
5. Collate and finalise all leave rules for configuration into the system, including accrual, carry-forward, and encashment policies, etc.
6. Mapping: Collect all the employee details that are applicable to the leave like casual leave, earned leave, medical leave, half-pay leave, etc.
7. Authority Mapping: Collect data on the designated authorities for leave management authority mapping, including:
- Recommending Authority
- Reviewing Authority
- Sanctioning Authority
8. Holidays: Compile a comprehensive list of gazetted and restricted holidays to be configured into the system.
9. Leave Balance: Gather details of the current leave balances for all employees across all leave types for accurate initialization.
Note: By completing these prerequisites, your institute will be well-prepared to implement and utilize the SAMARTH Leave Module effectively.
Steps
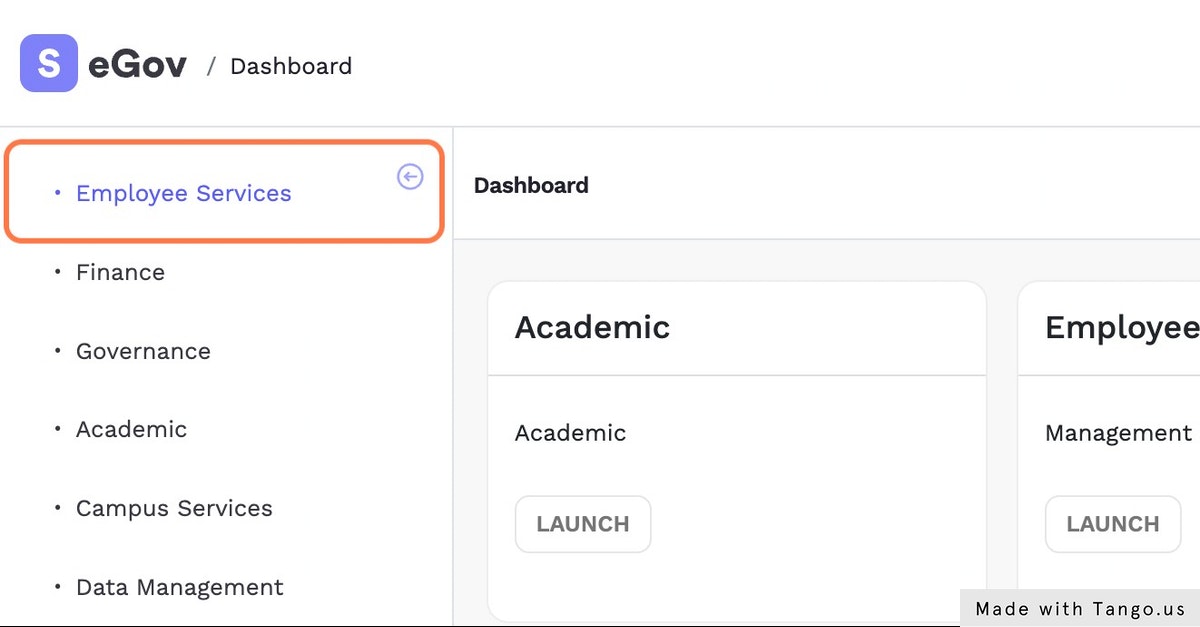
Click on “Employee Services” under the packages menu.
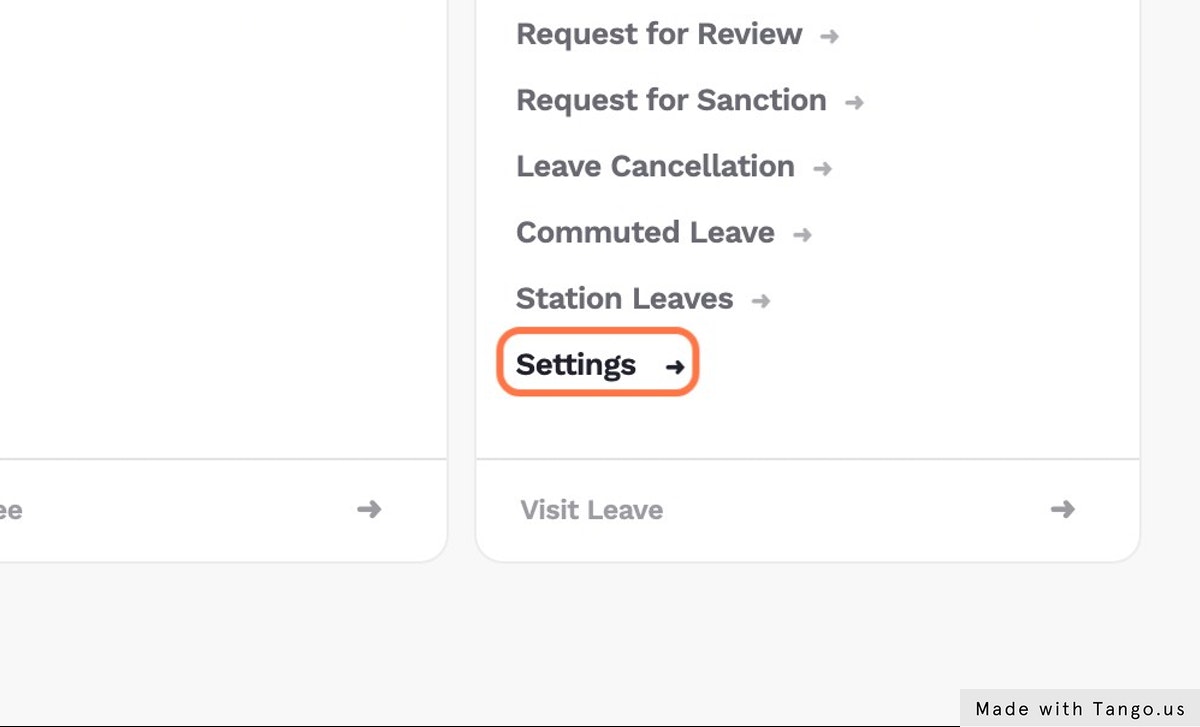
Click on “Settings” in the “Leave” card.
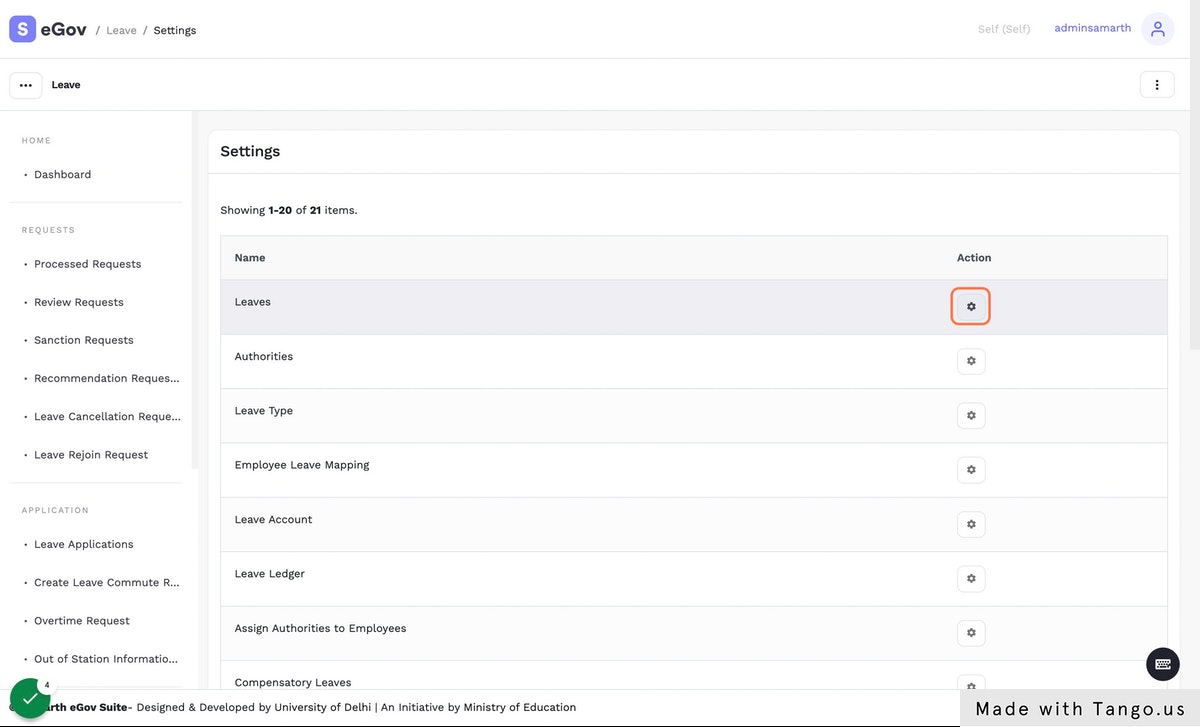
Click on Configuration icon against “Leave”.
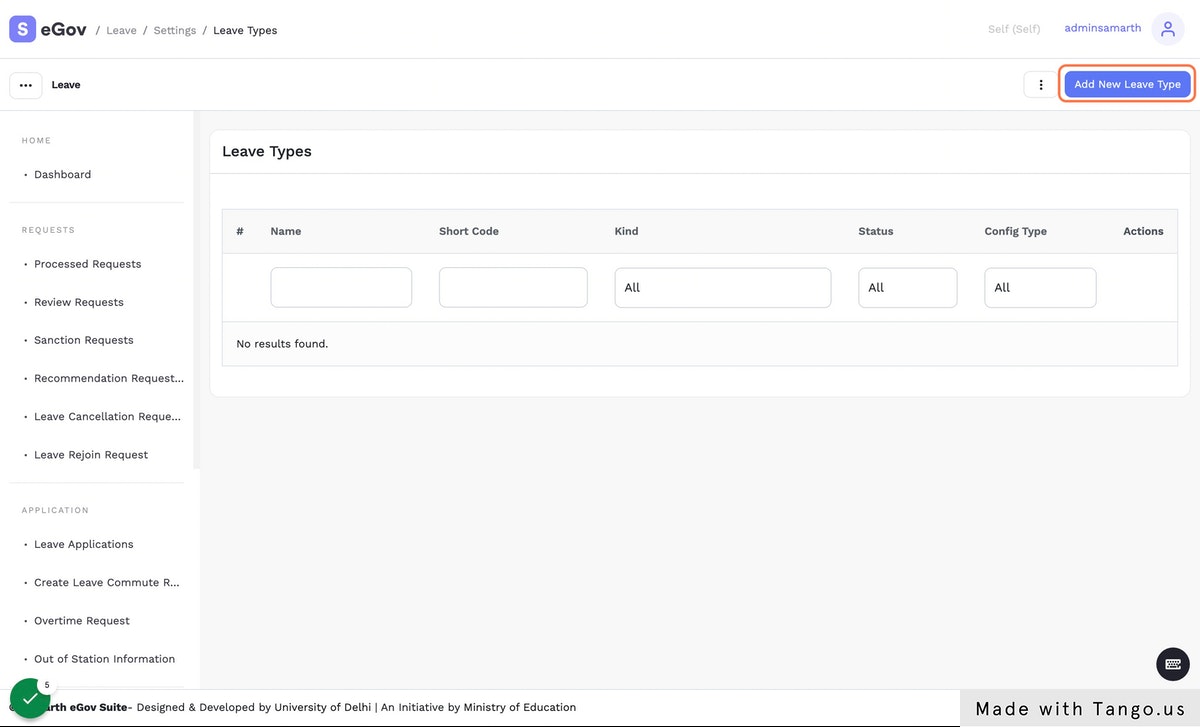
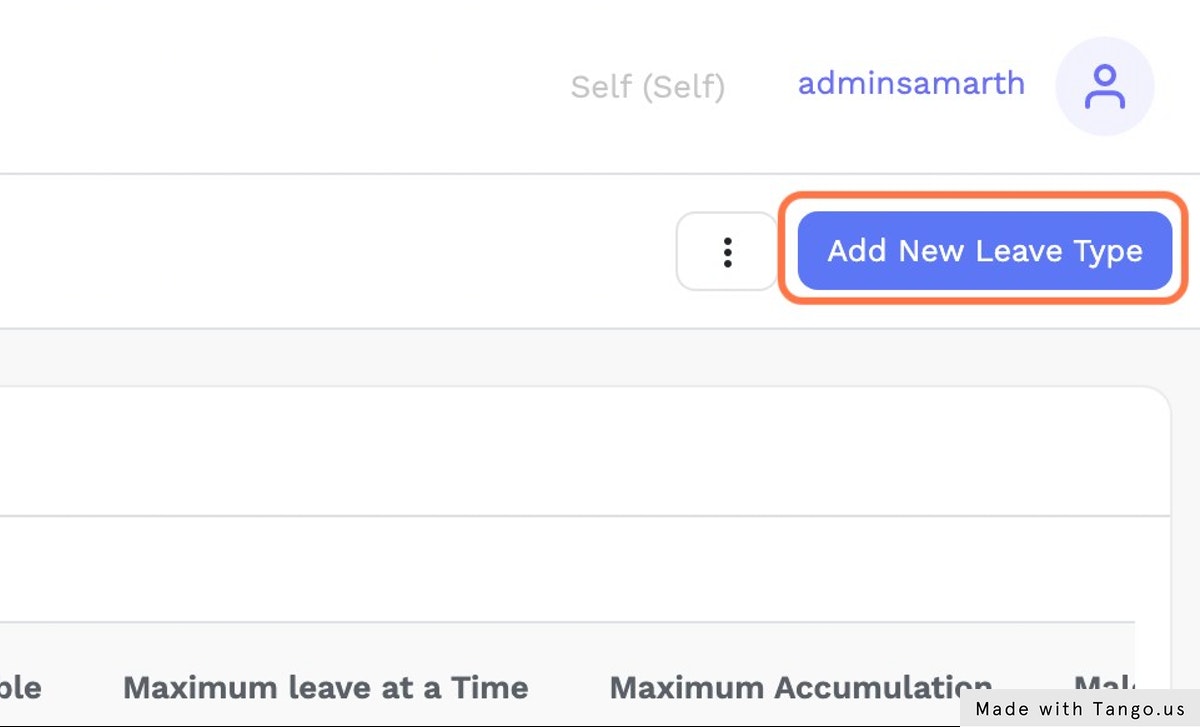
Click on “Add New Leave Type” button.
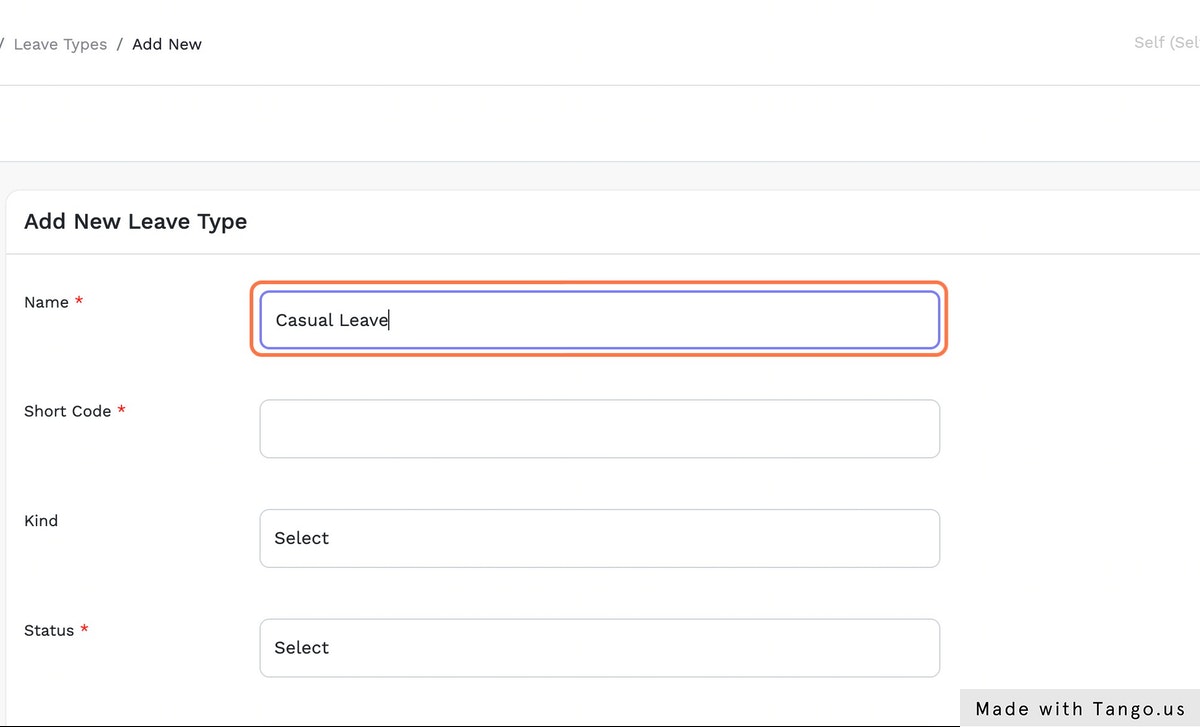
Type “Name” of Leave and enter other details and then click on “Save” button.
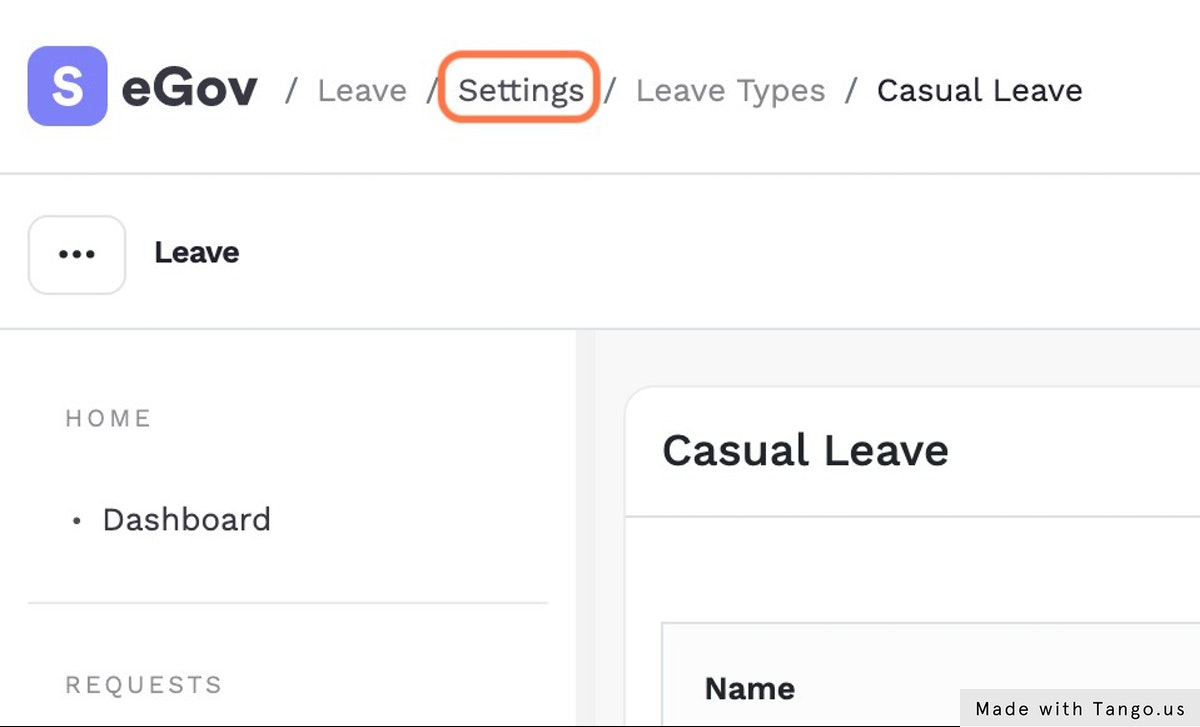
Click on “Settings” in the breadcrumbs to quickly go back to “Settings” page.
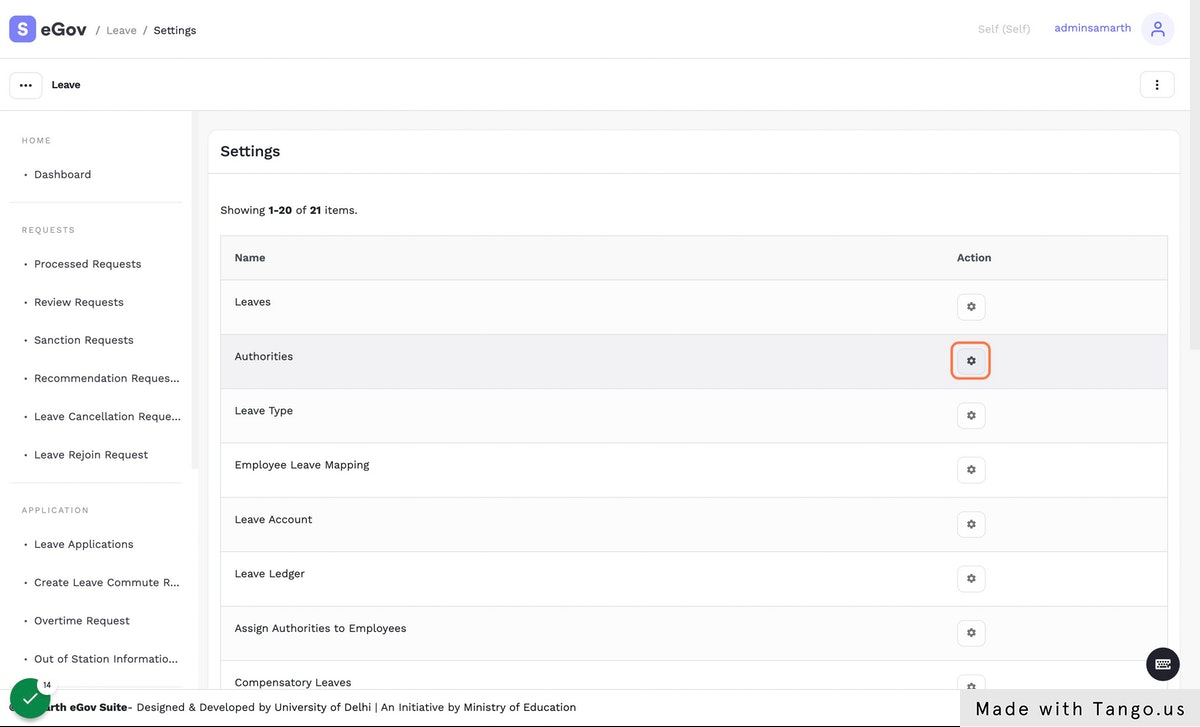
Click on Configuration icon again “Authority”.
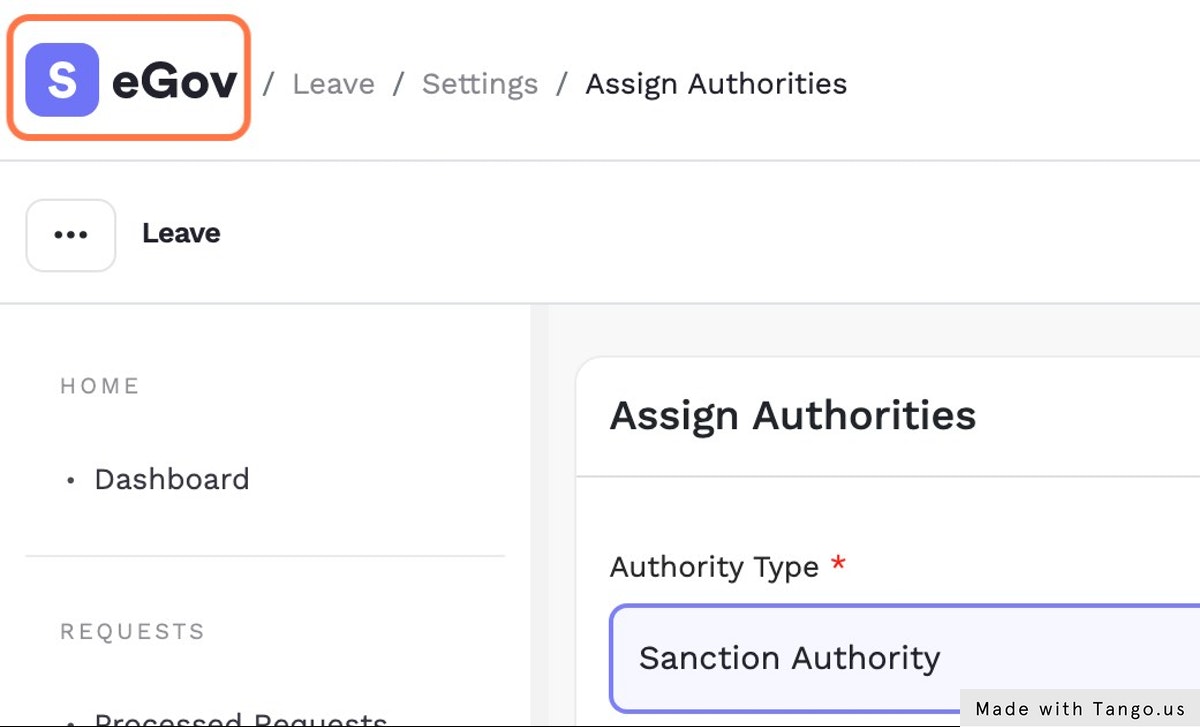
Click on “Assign Authorities” button.

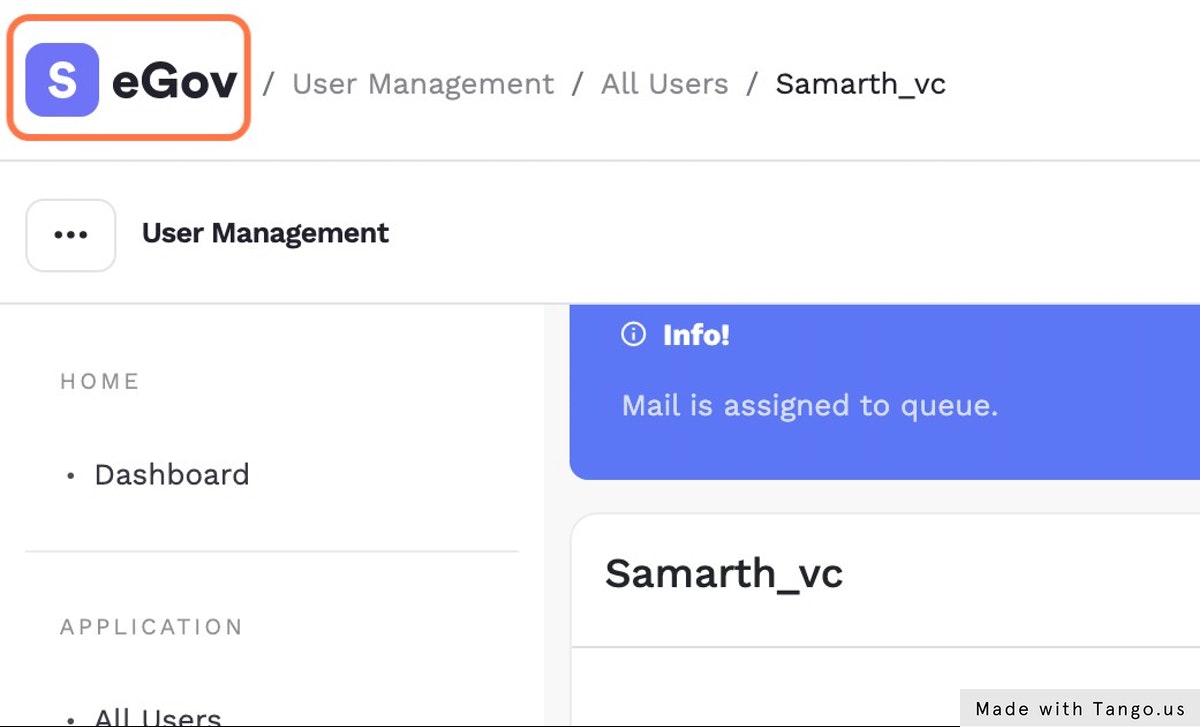
Go Back to “Home” by clicking on the Samarth logo near at the top left of the screen.
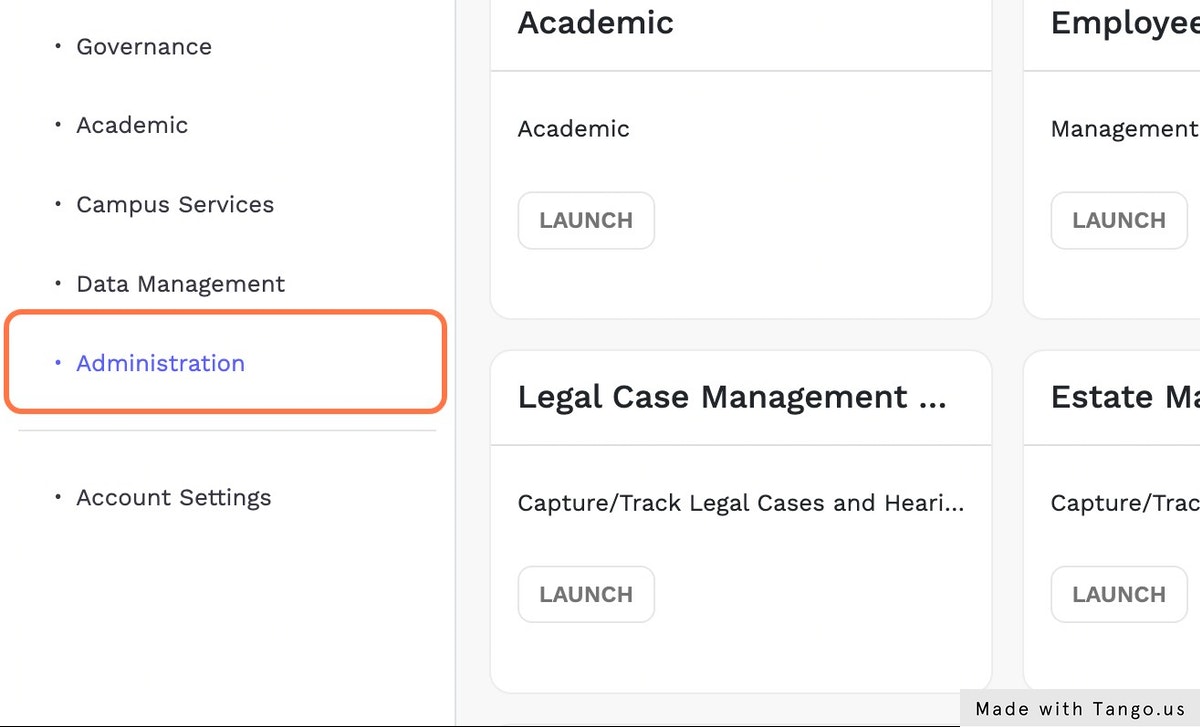
Click on “Administration” in the packages menu.
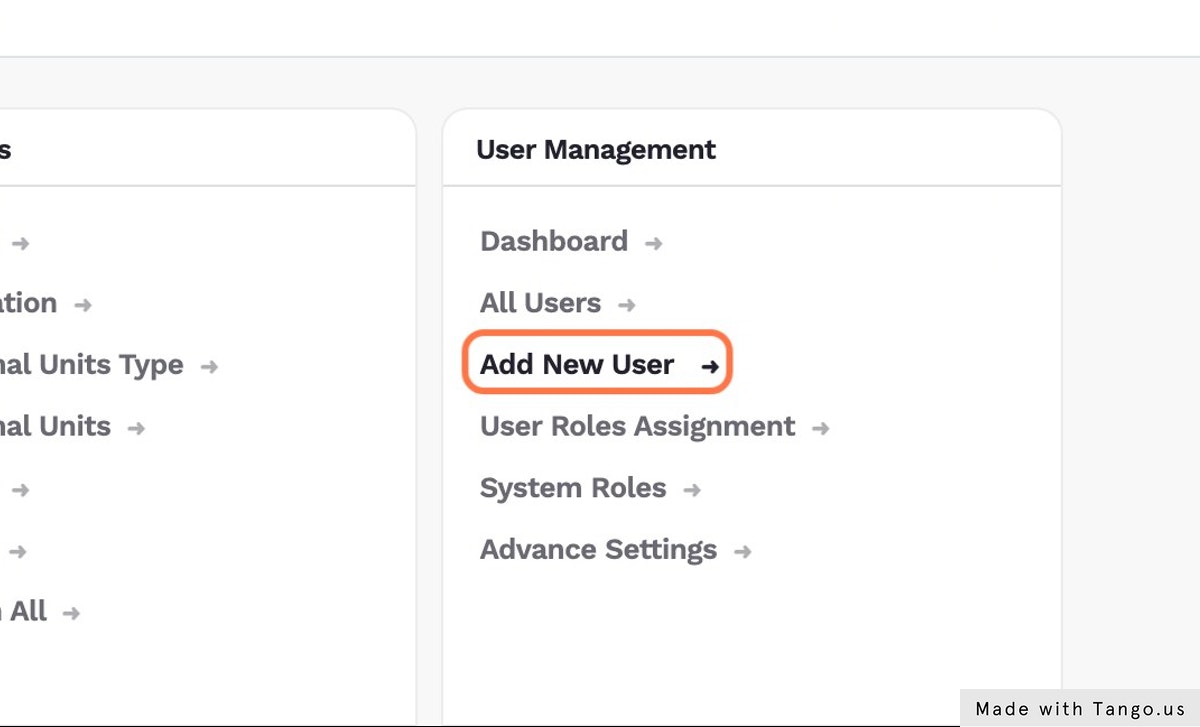
Click on “Add New User” link in the “User Management” card.
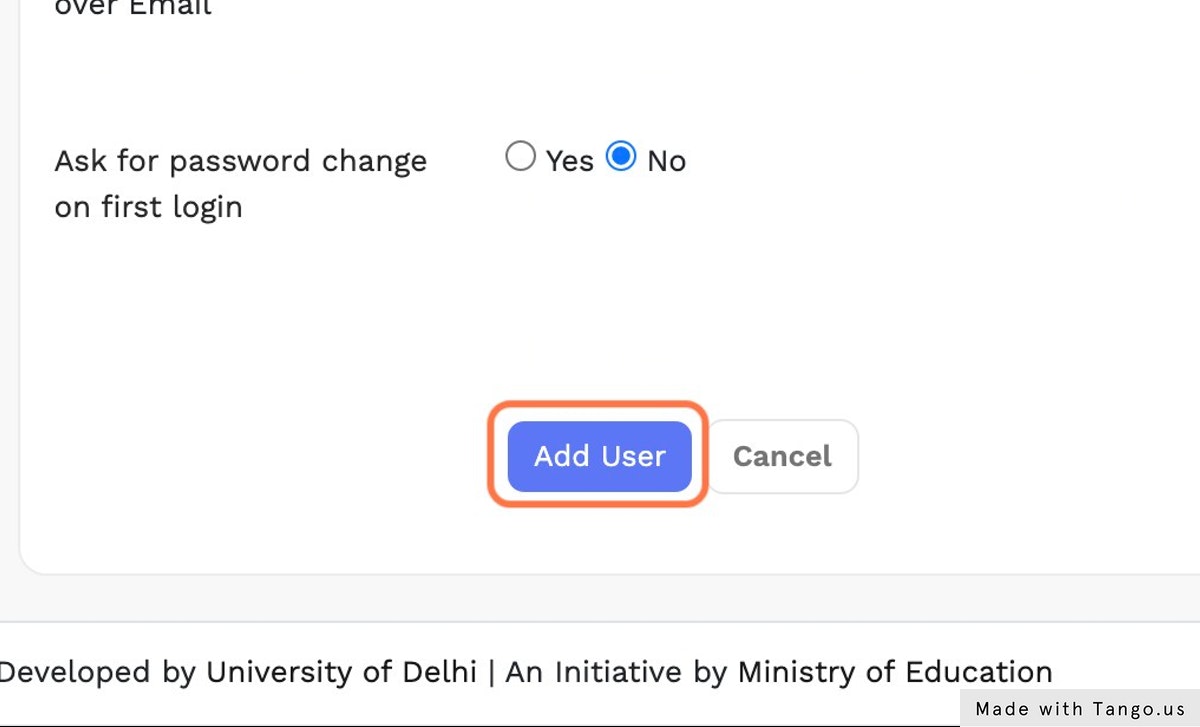
Select “Administrative” from “Type of Account” and Create Administrative Account for VC.
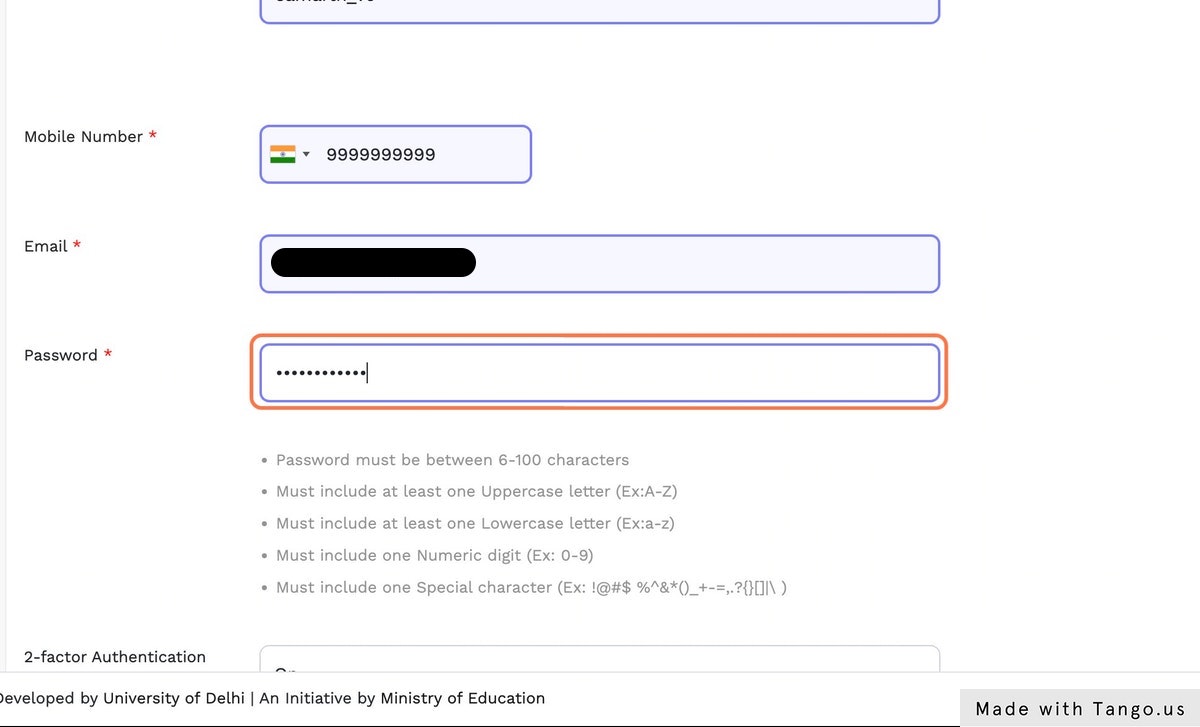
Click on “Add User” button.
Go to Dashboard and then repeat ‘Step 3’ to goto Settings of Leave.
Click on Configuration icon against “Authorities”.

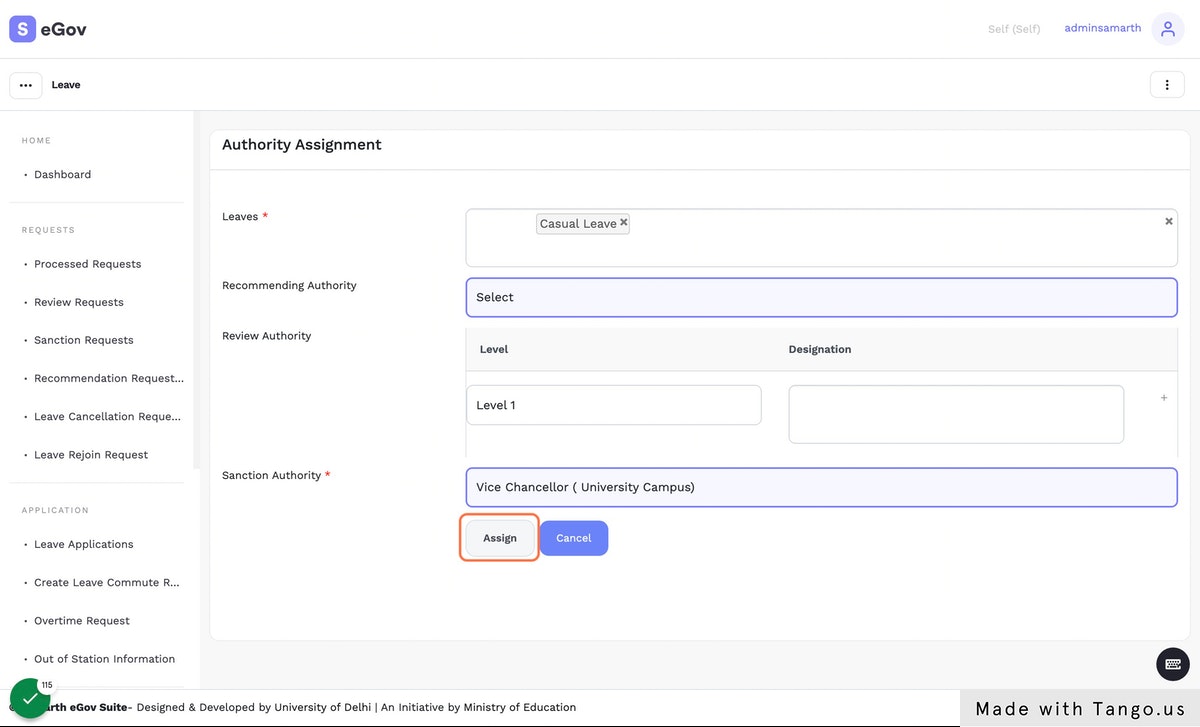
Click on “Assign Authorities” button.

Select ‘Sanction Authority’ from “Authority Type”.
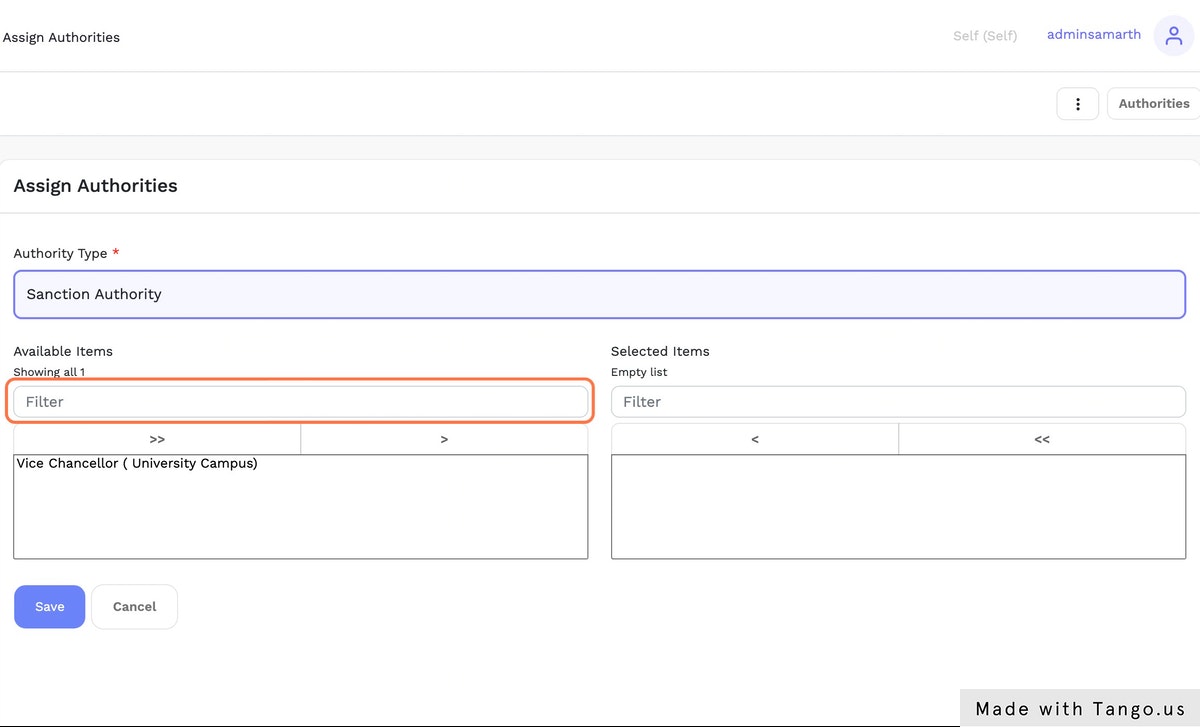
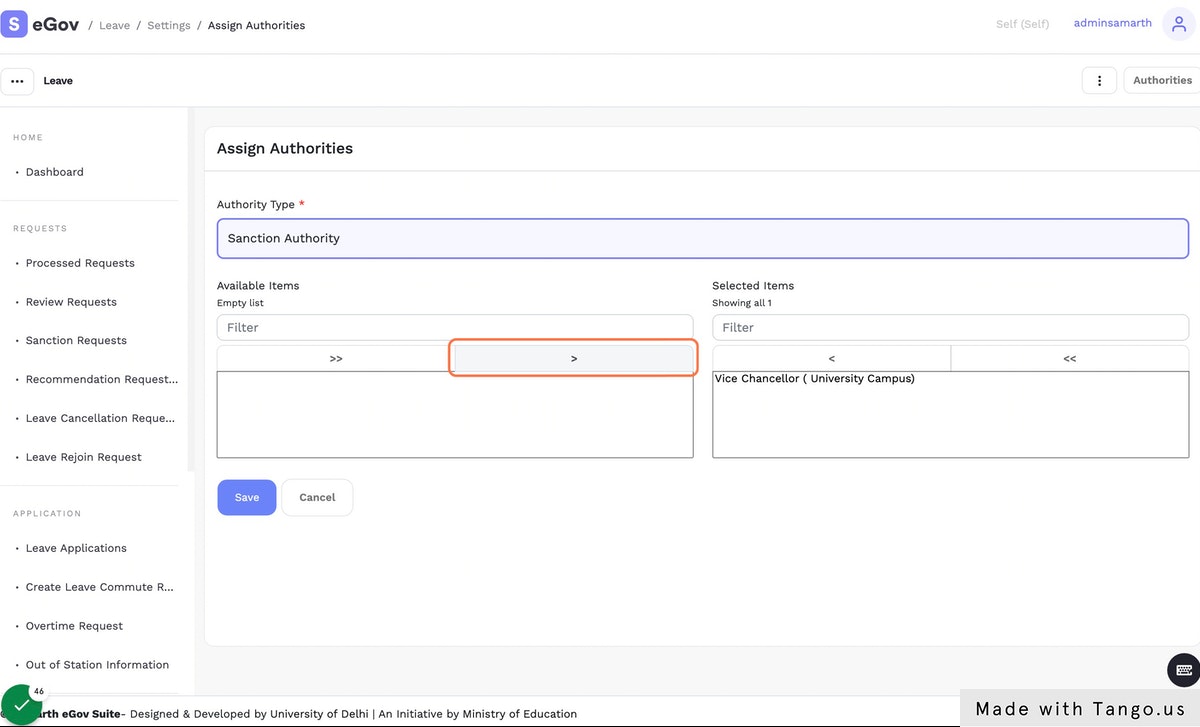
Select ‘Vice Chancellor ( University Campus)’ from “Available Items”.
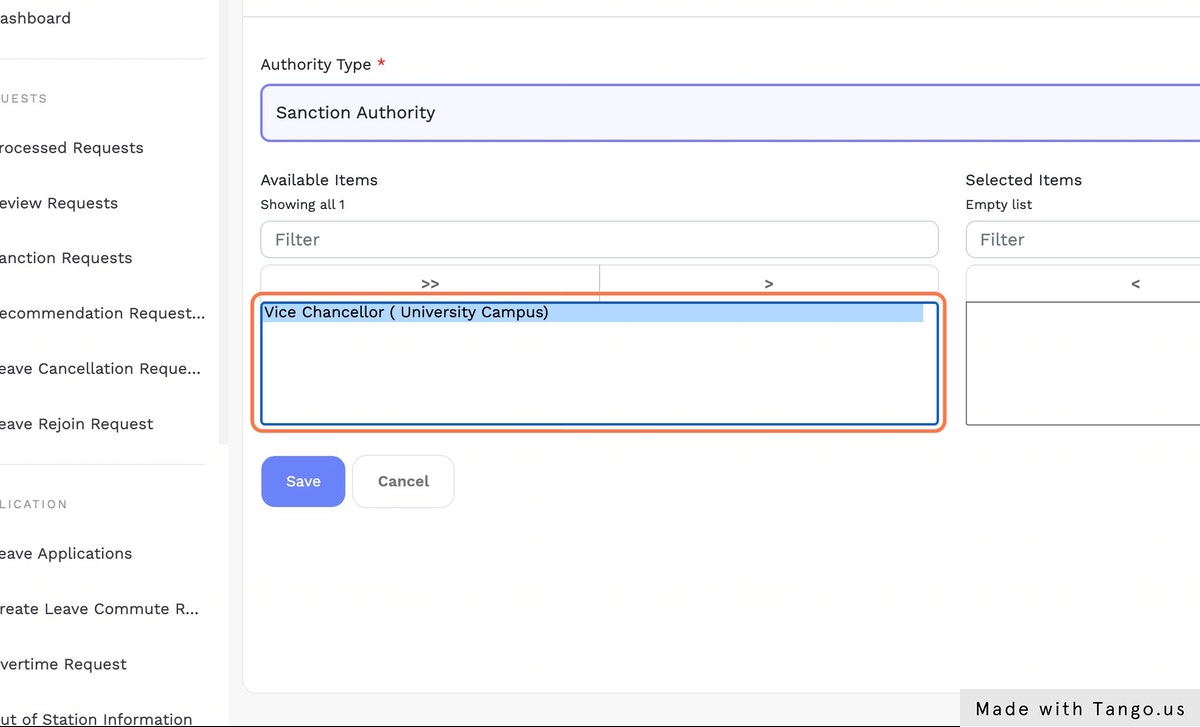
Move the selected designation to “Selected Items”.
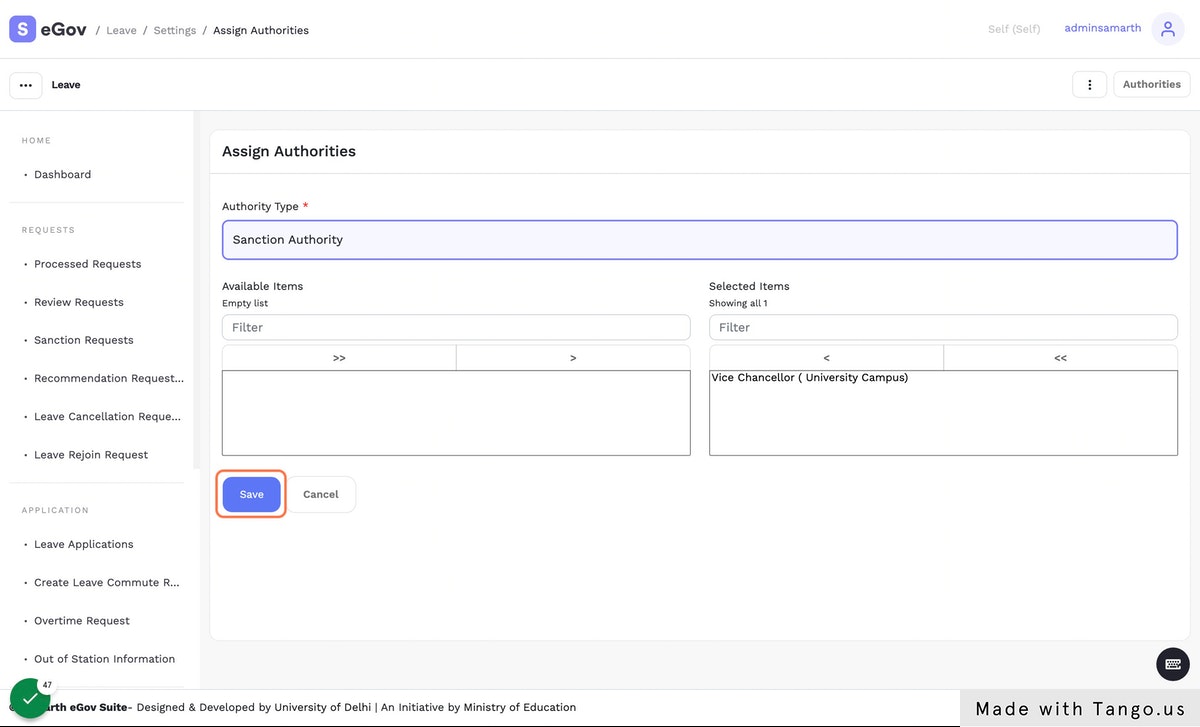
Click on “Save” button.
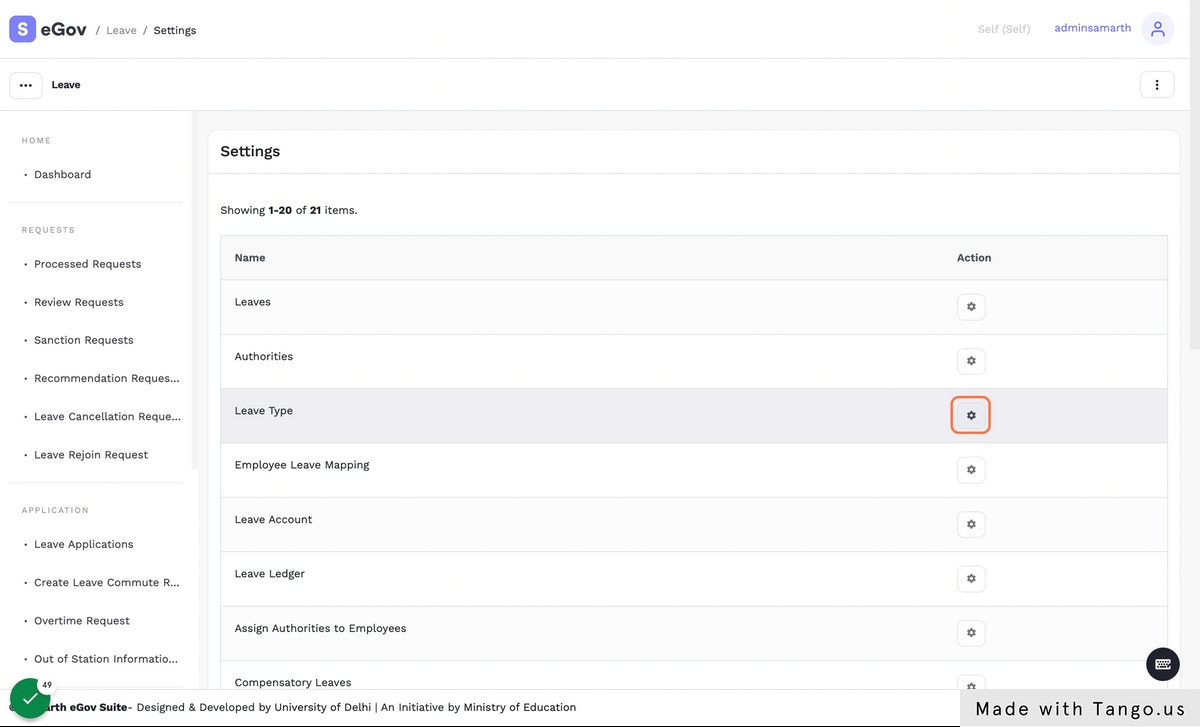
Go back to “Settings” by repeating ‘Step 3’ and Click on Configuration Icon against “Leave Type”.
Click on “Add New Leave Type” button.
Enter “Leave Name” and fill other details.
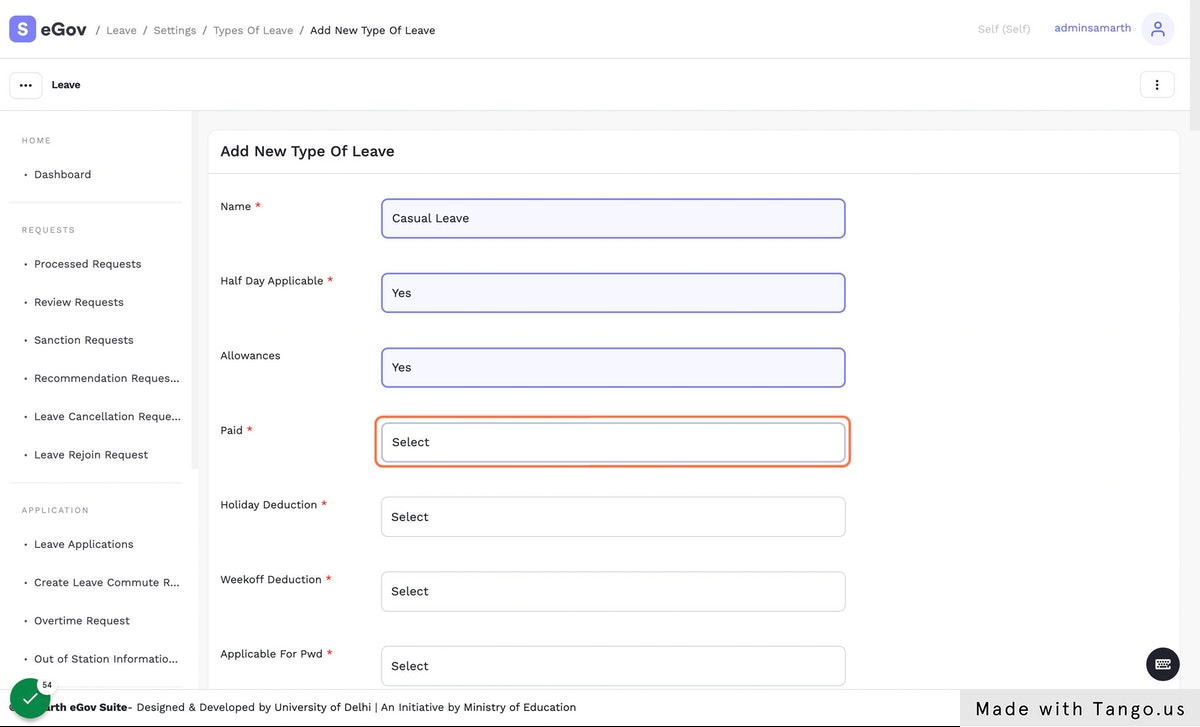
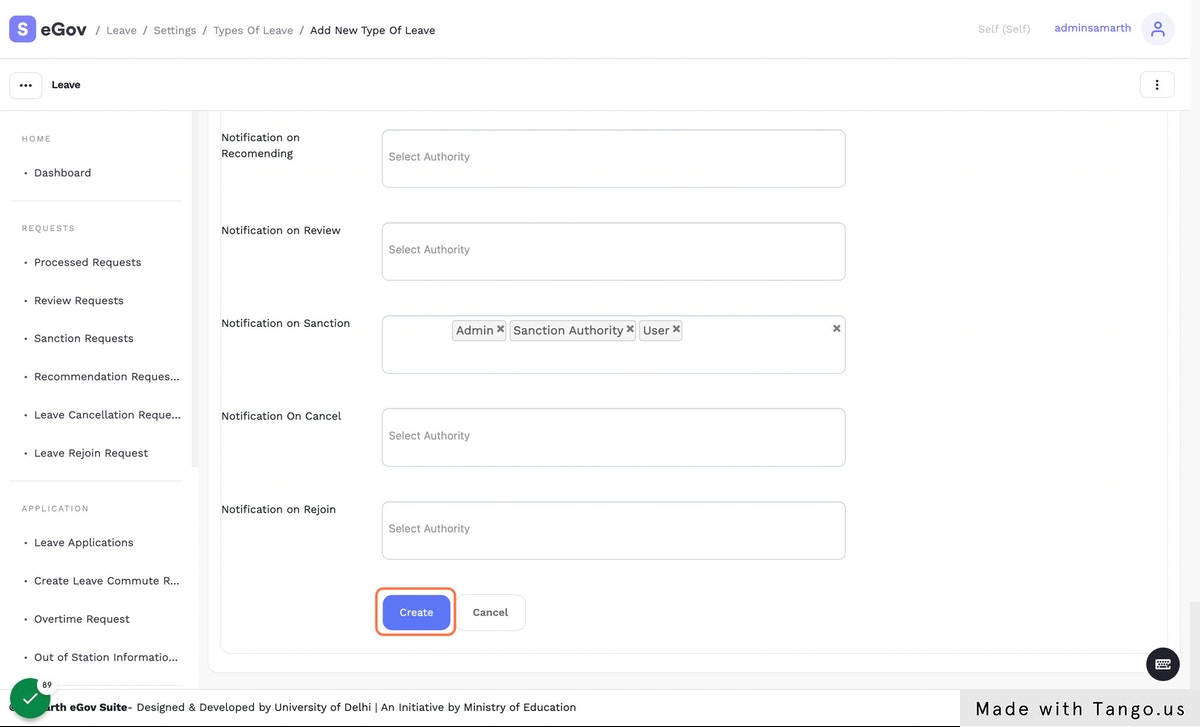
Click on “Create” button to save the leave type configuration.
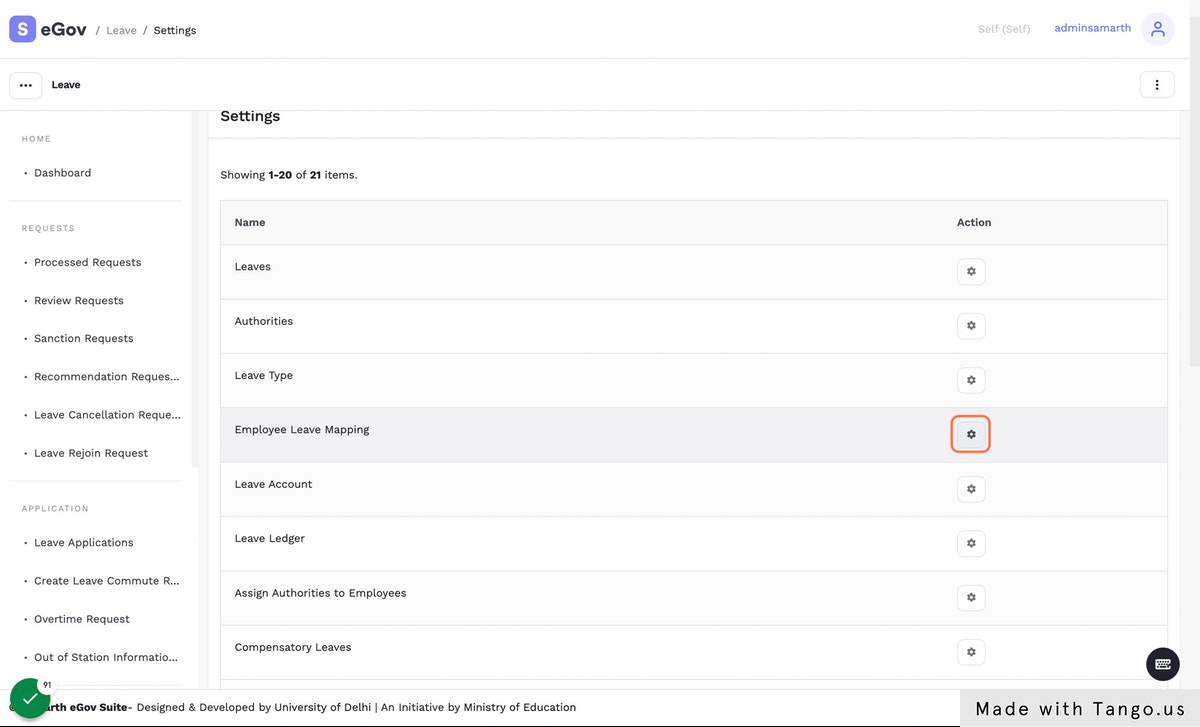
Click on “Settings” in the breadcrumbs to quickly navigate to the settings page of the Leave app.

Click on configuration icon against “Employee Leave Mapping”.
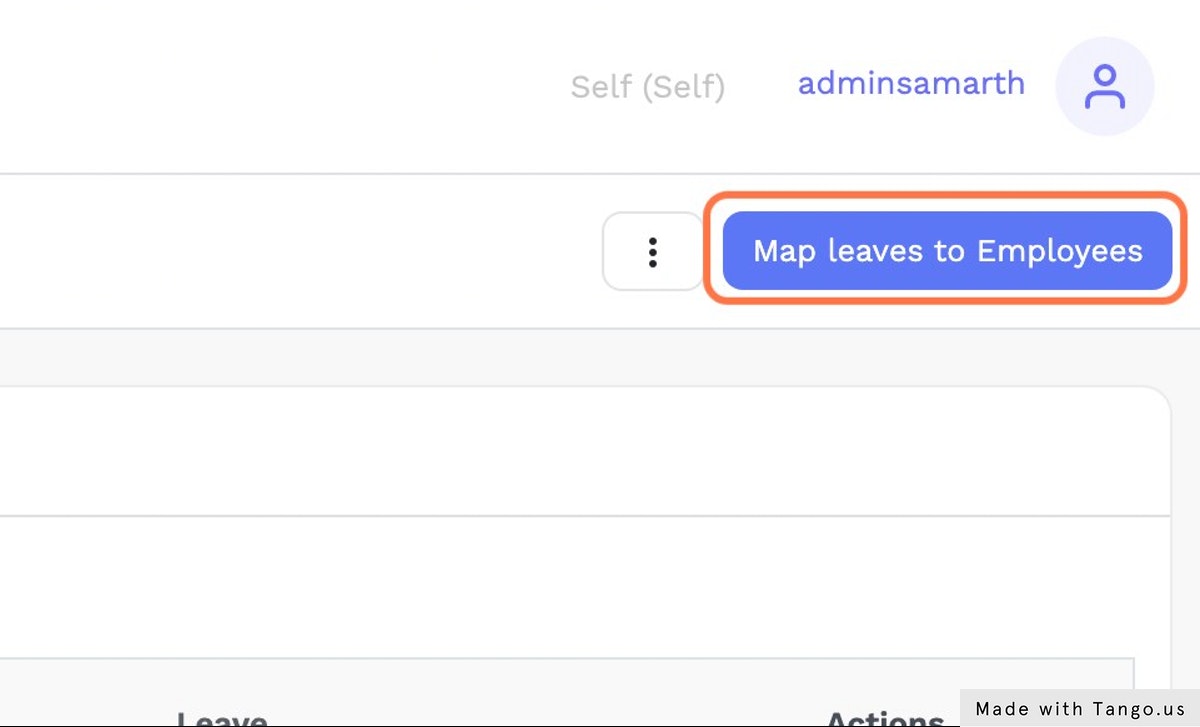
Click on “Map leaves to Employees” button.
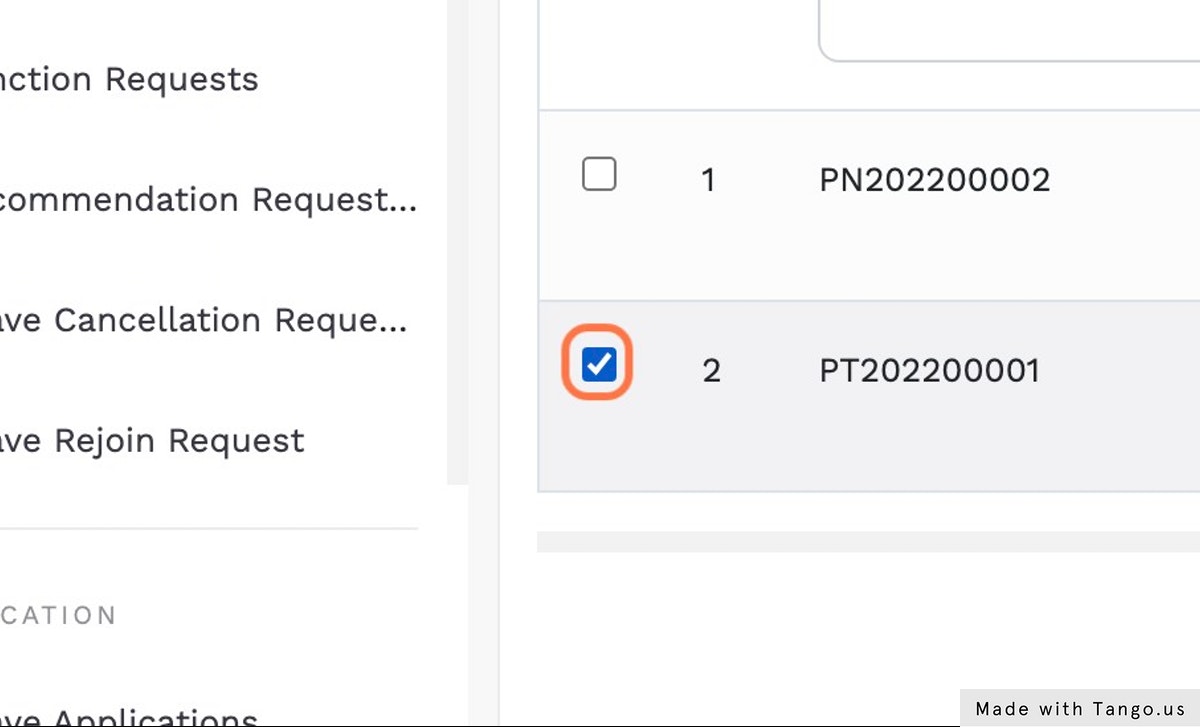
Check employee by clicking on checkbox against each employee.
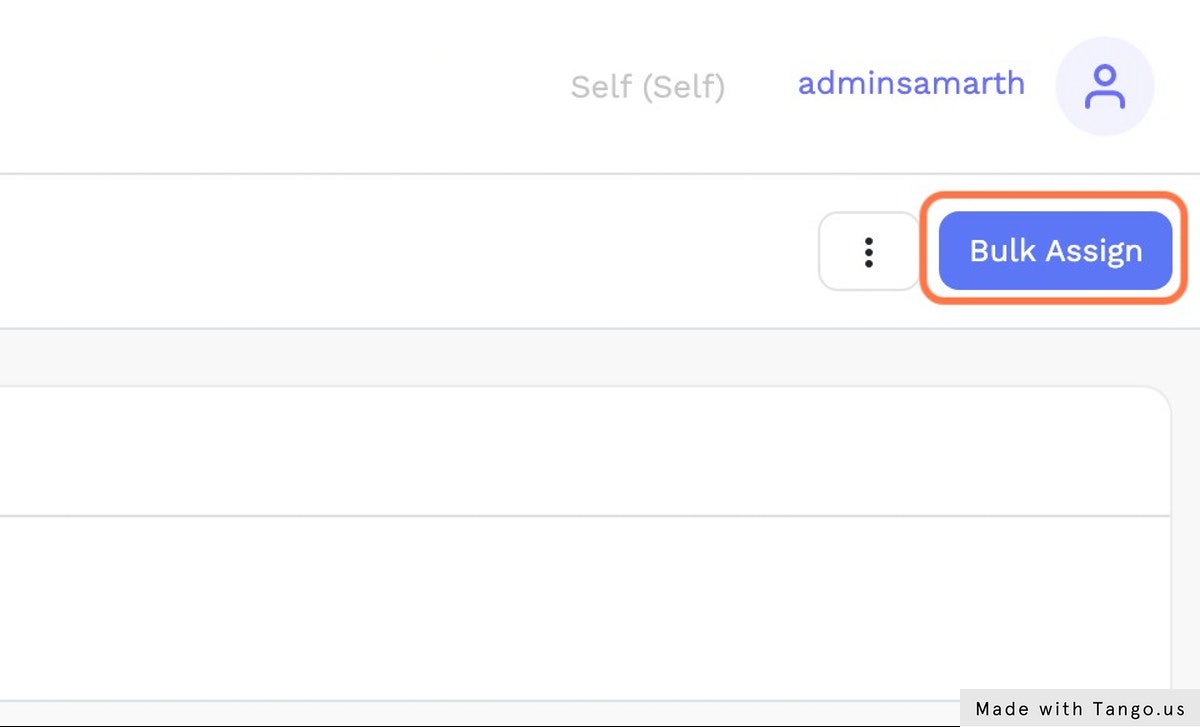
Click on “Bulk Assign” button.
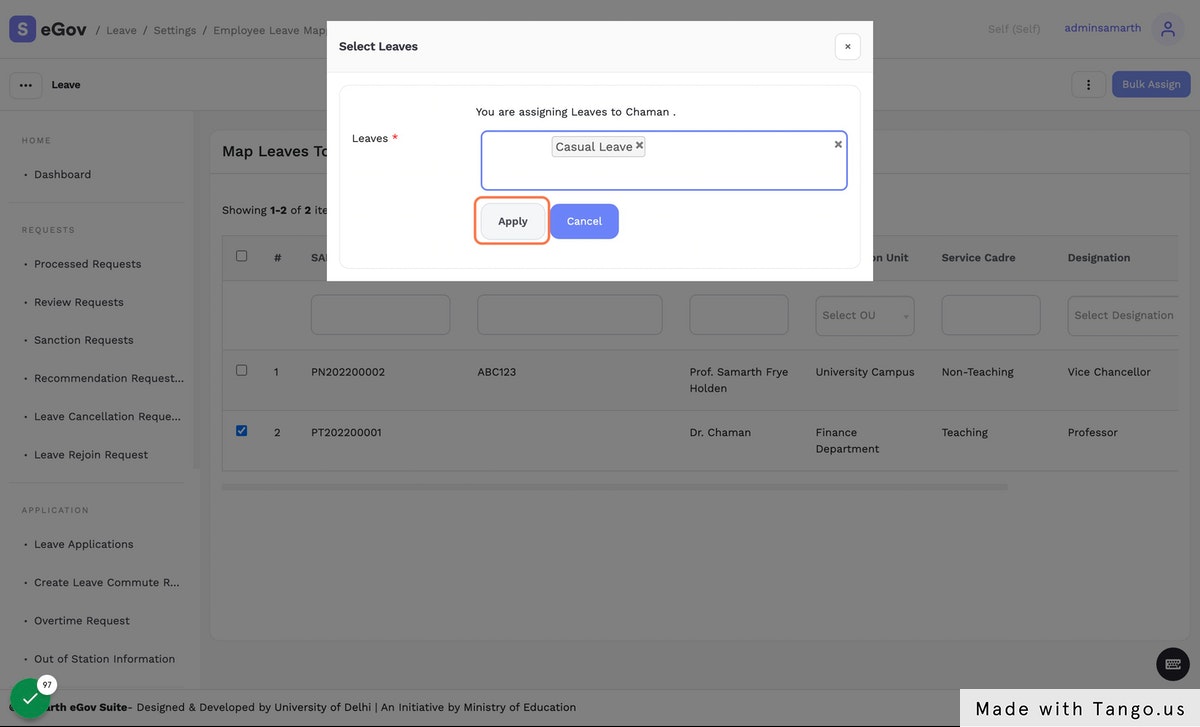
Click on “Leaves” from dropdown and Click on “Apply” button.
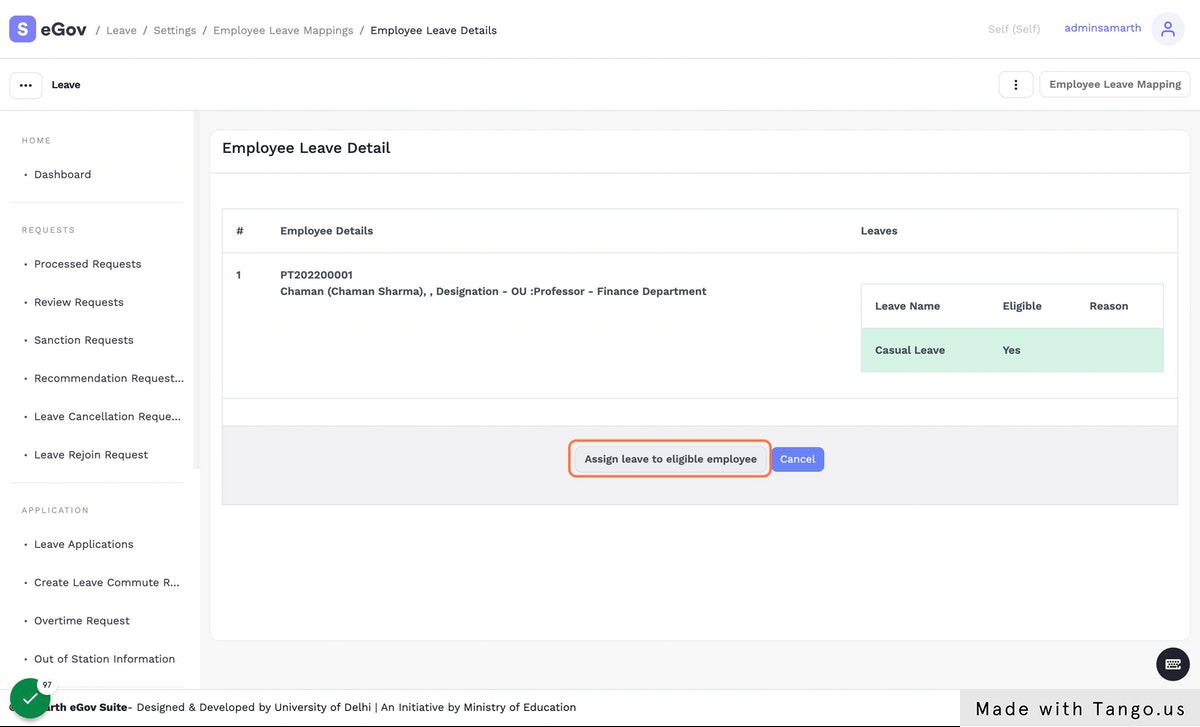
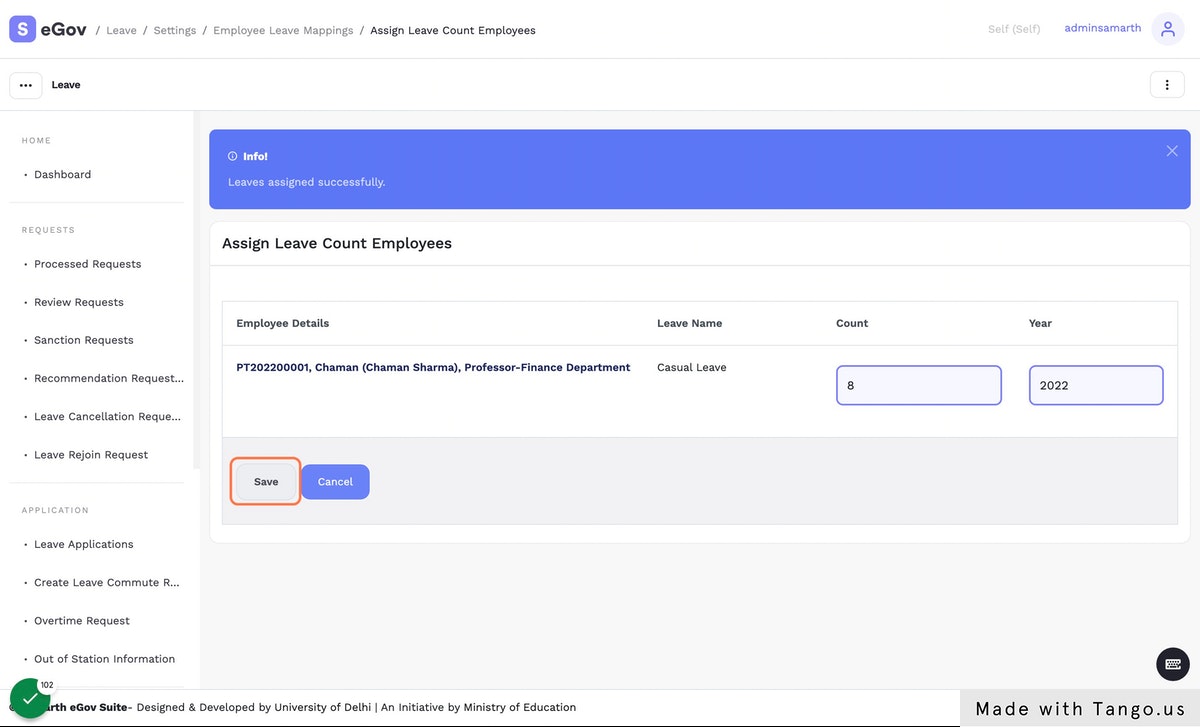
Click on “Assign leave to eligible employee” button.
Enter Leave “Count” for employee, Select “Year” and Click on “Save” button.
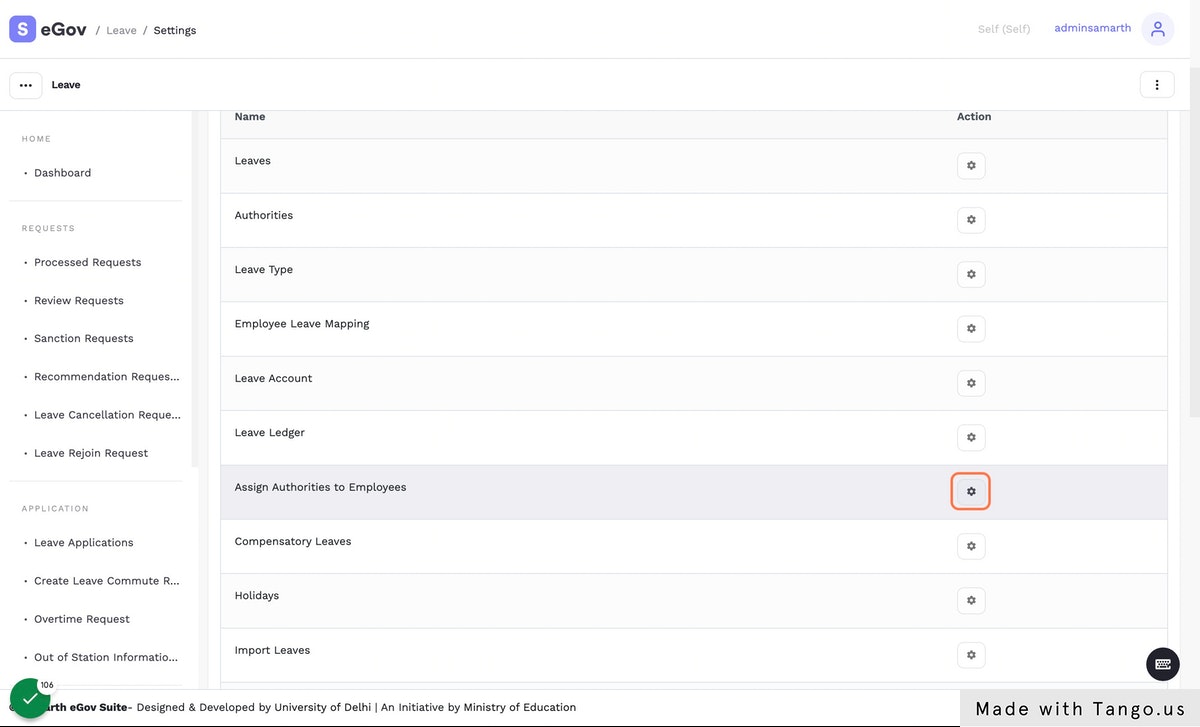
Click on configuration icon against “Assign Authorities to Employees”.
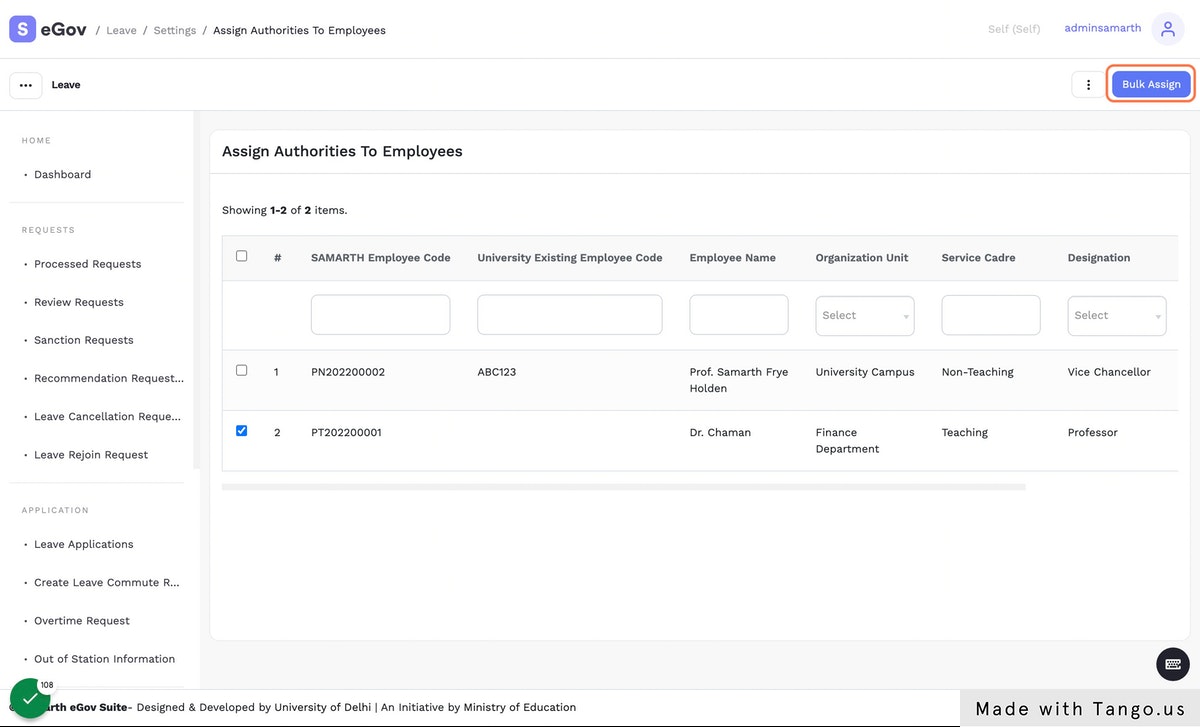
Select Employee using the checkbox and Click on “Bulk Assign” button.
Select “Leaves” and Click on “Assign” button.
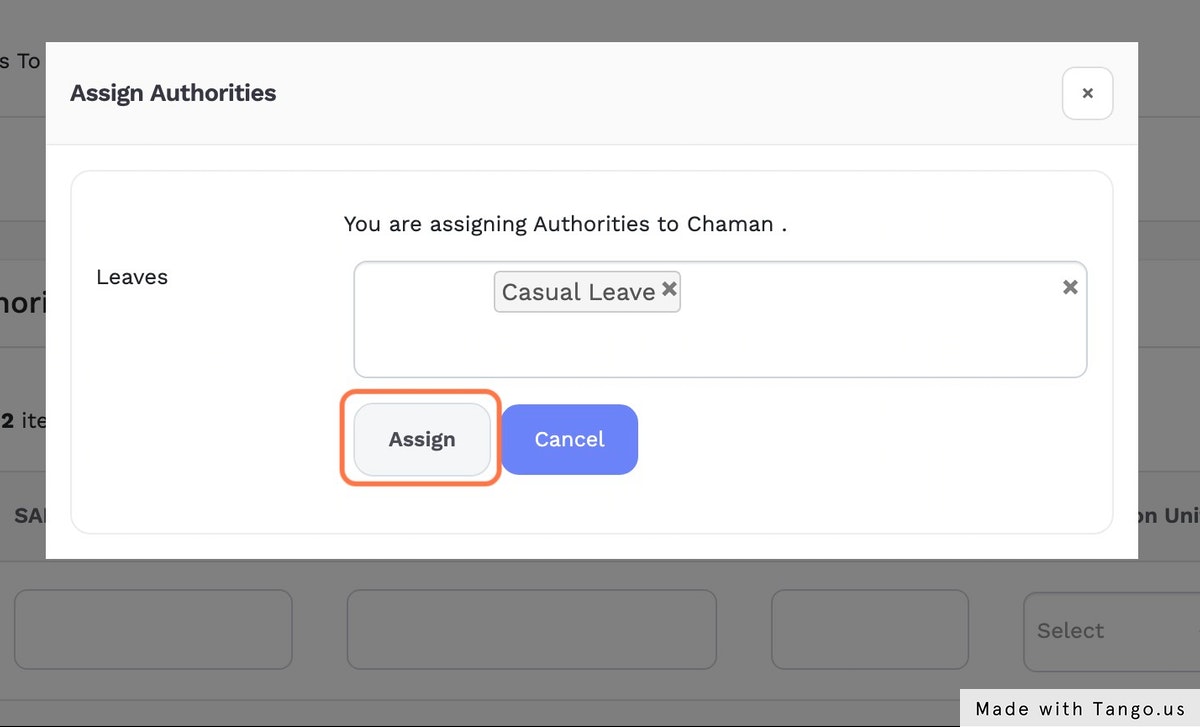
Select “Leaves”, “Authorities” and Click on “Assign” button.
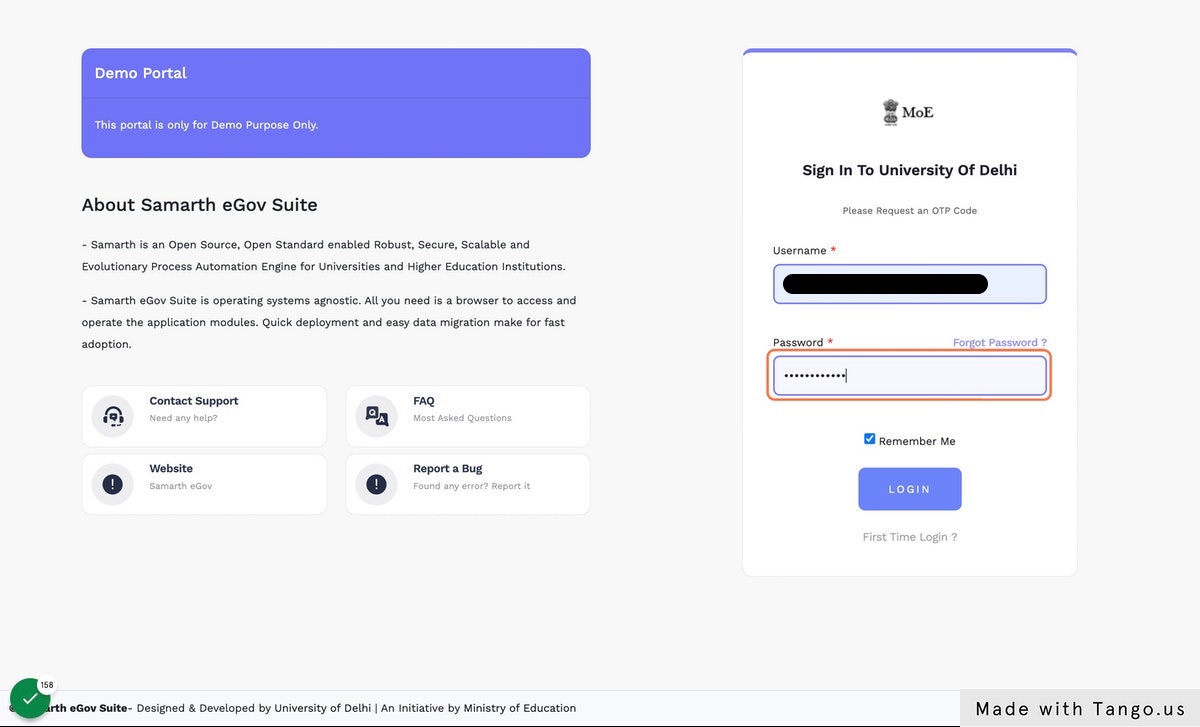
Login using “Sanctioning Authority” role’s credentials.
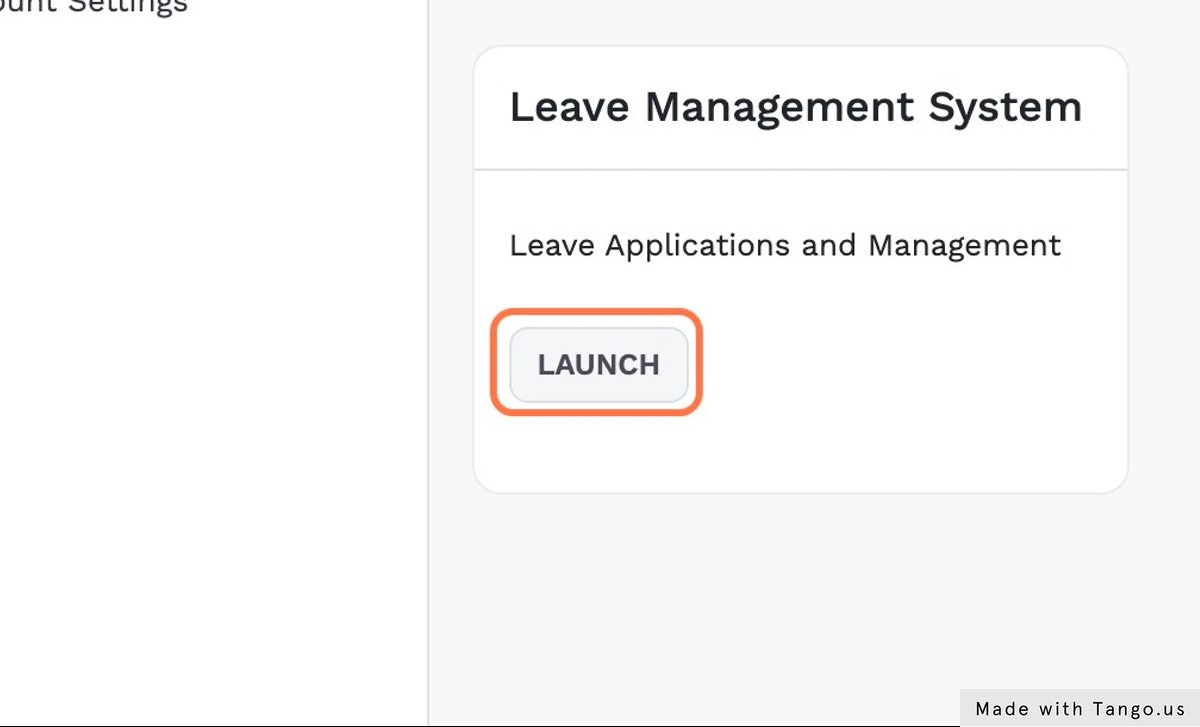
Click on Launch in “Leave Management System”.
Go to “Sanction Requests” and Click on take ‘action’ against the leave application.
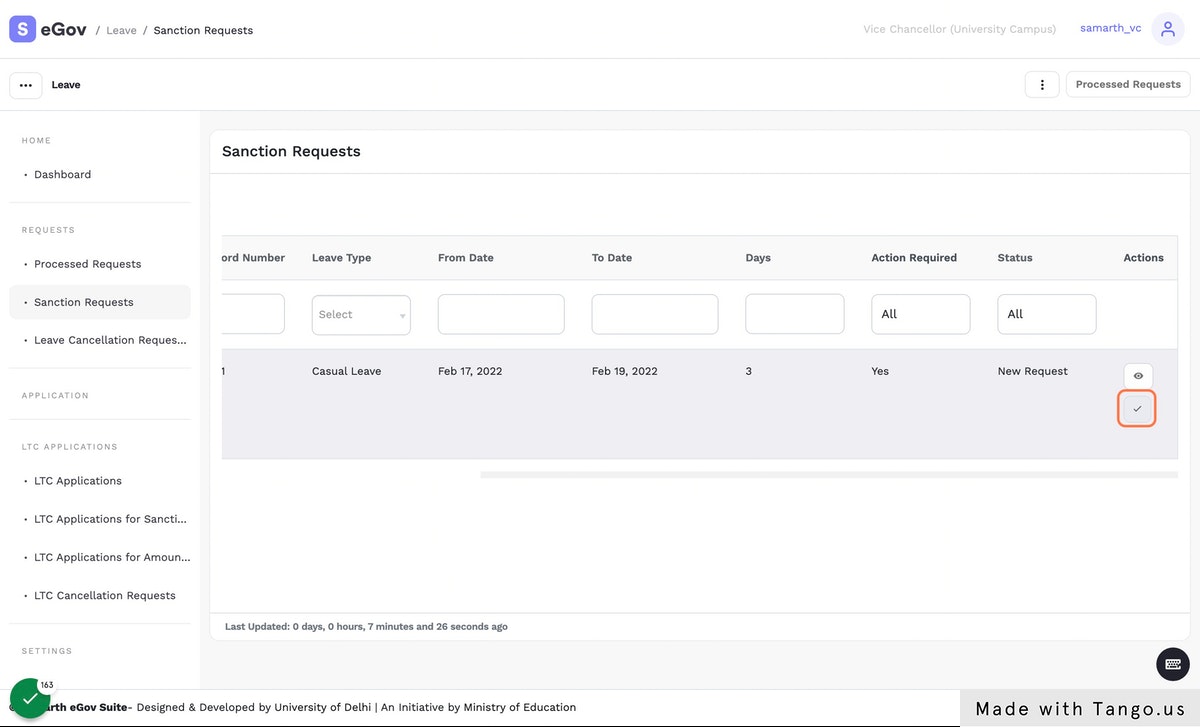
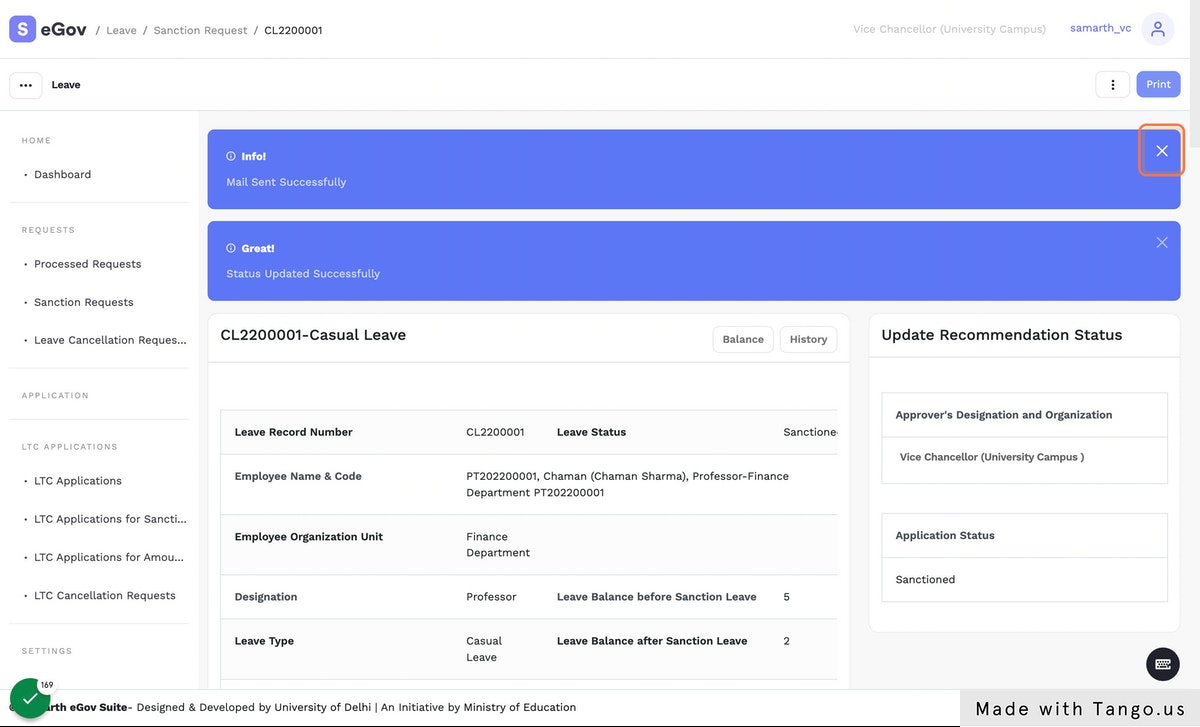
Select ‘Sanctioned’ from “Sanction Status”.
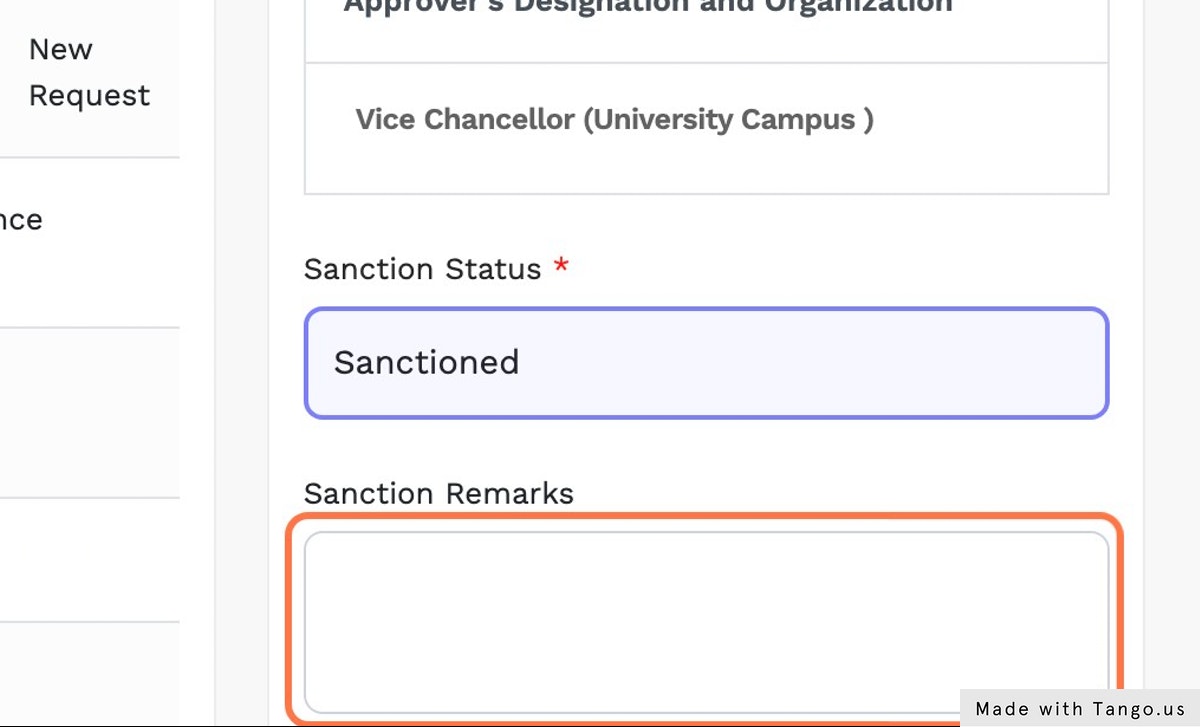
Enter “Sanction Remarks” and Click on “Submit” button.
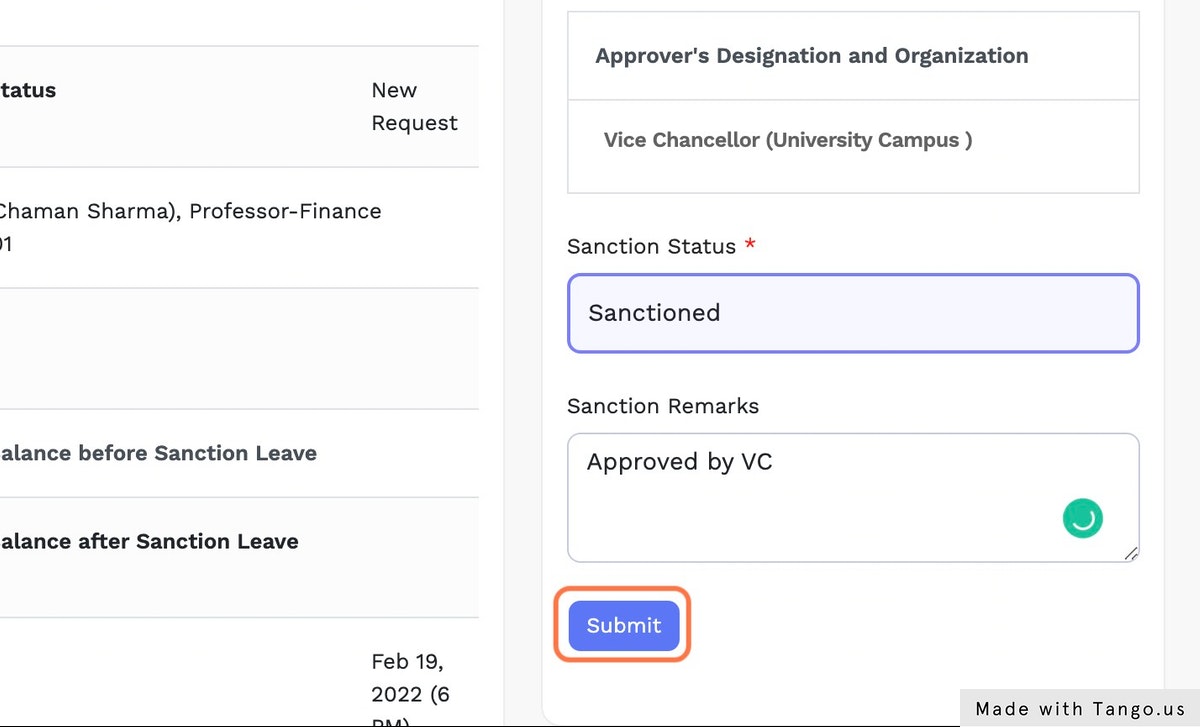
The Leave is now successfully sanctioned.