Grievance Management
Steps
Click on “Campus Services” in the pakages menu.
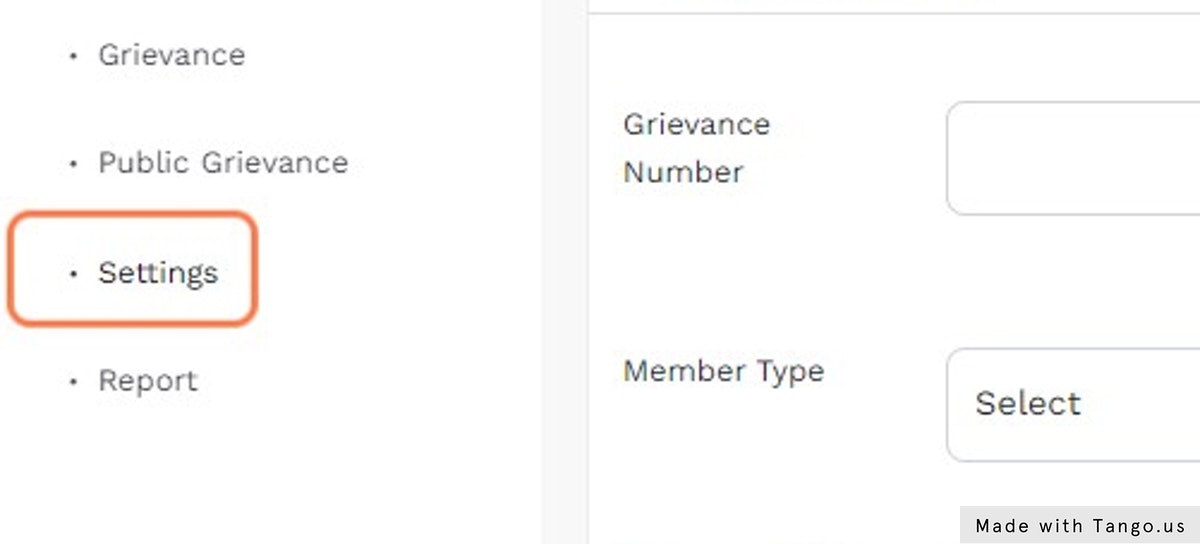
Then Click on “Settings” in the “Grievance” menu.
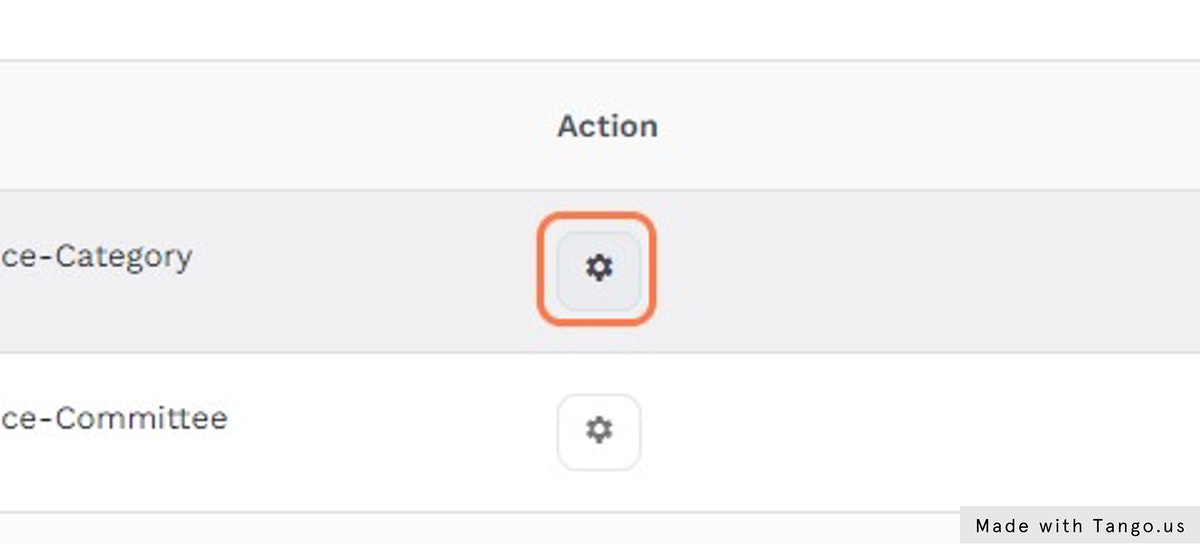
Click on the configuration icon near the “Grievance-Category”.
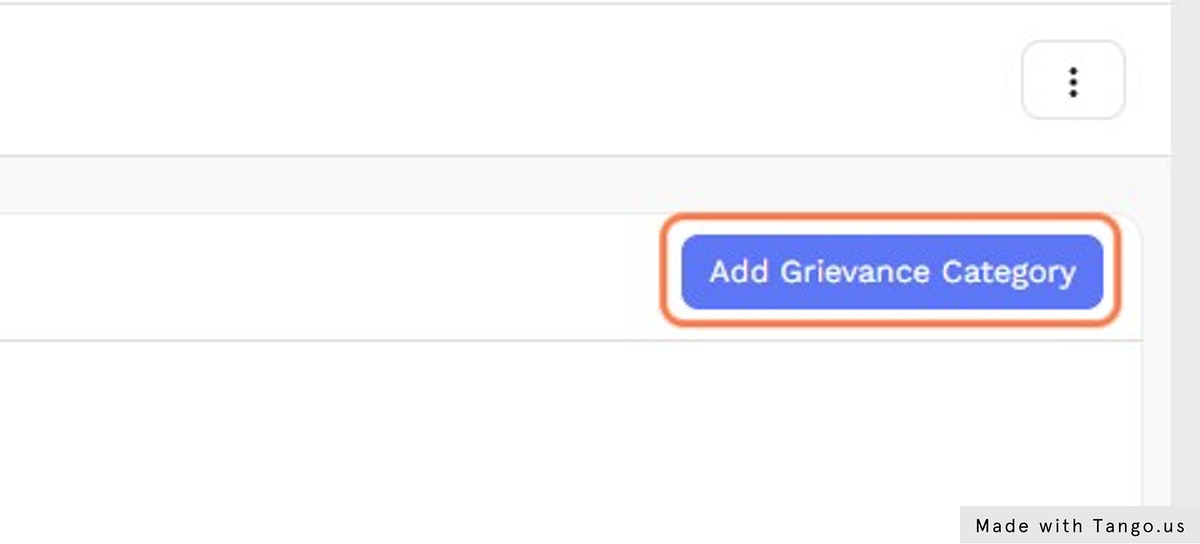
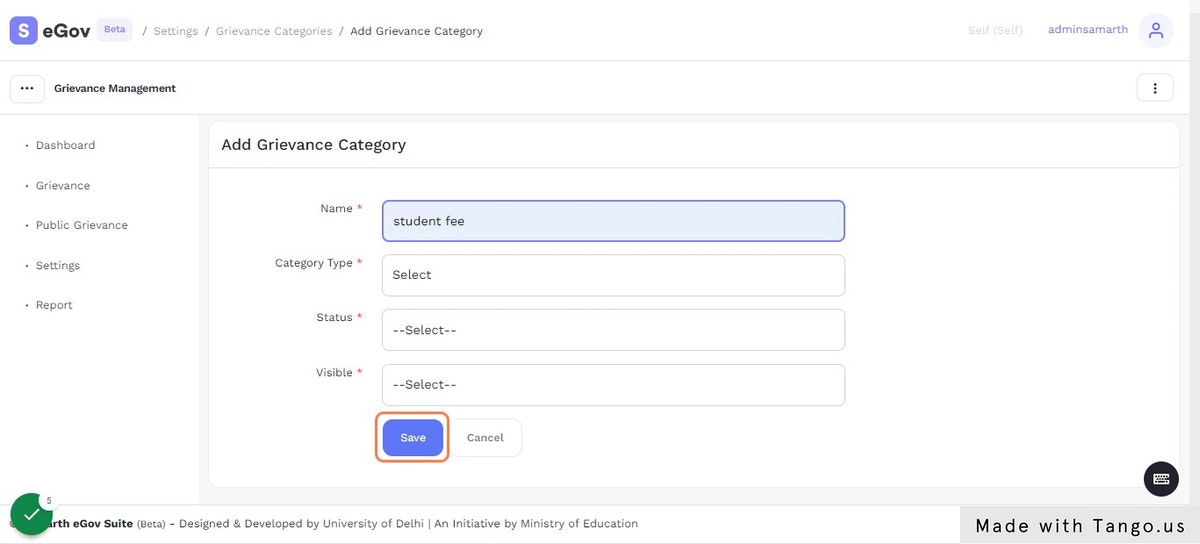
Now, Click on “Add Grievance Category” button to add a grievance category.
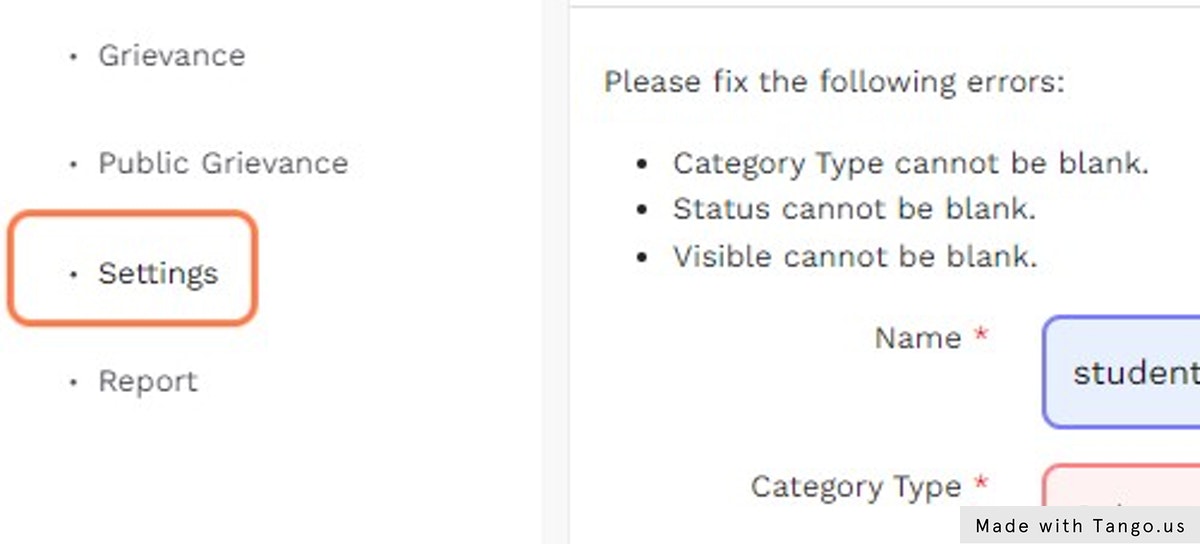
Enter the “Name” and enter all the required details.

Then Click on “Save” button.
Click on “Settings”.
Click on the configuration icon near the “Grievance-Committee Setting”.

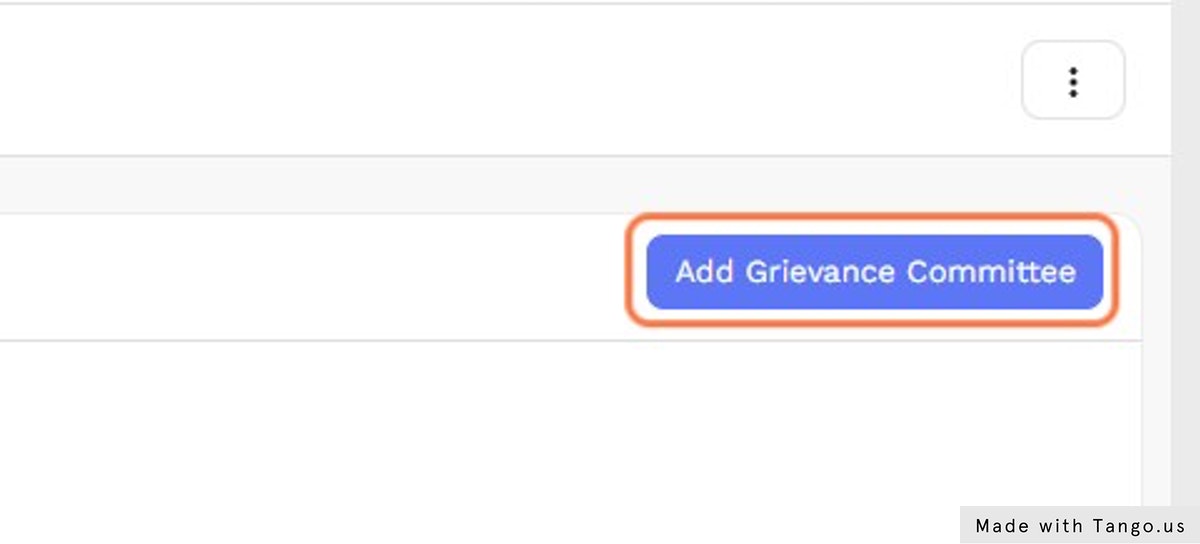
Now, Click on “Add Grievance Committee” button.
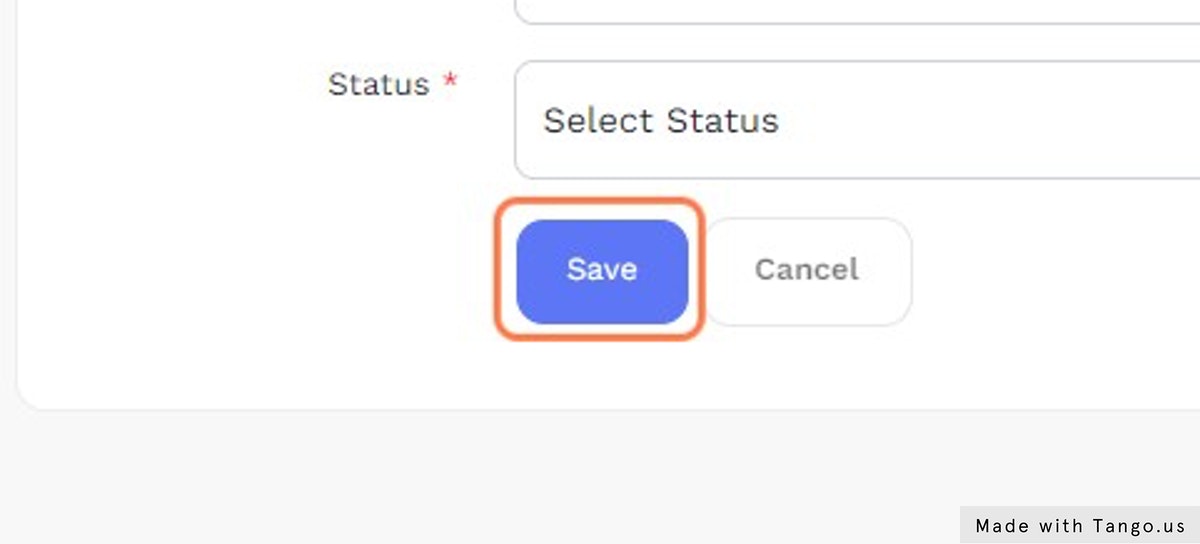
Enter “Name” and other details.

Click on “Save” button.
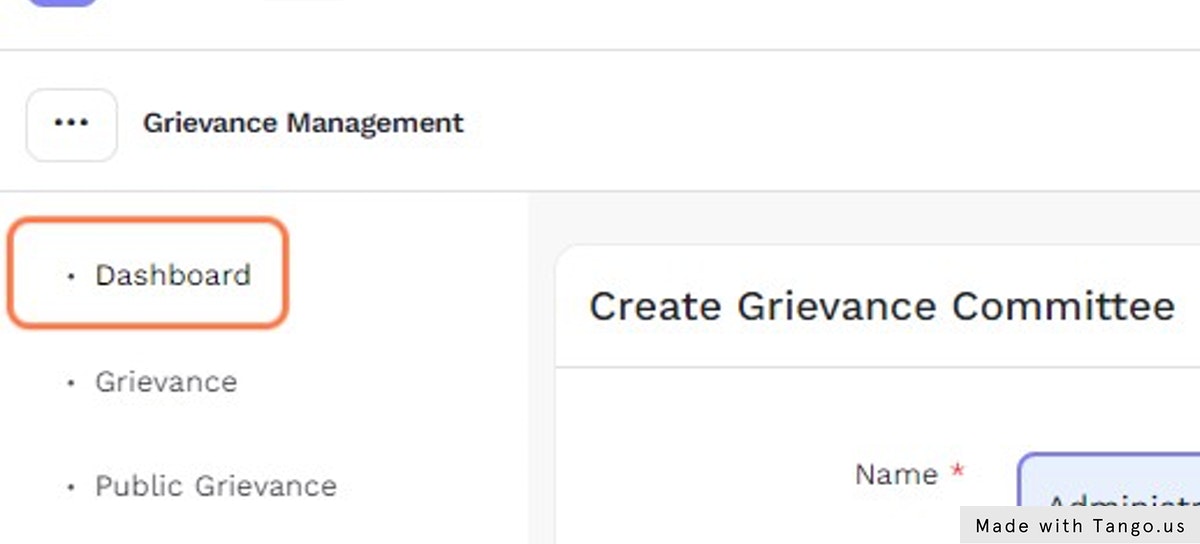
Go to the “Dashboard” to view all the Grievance Information.
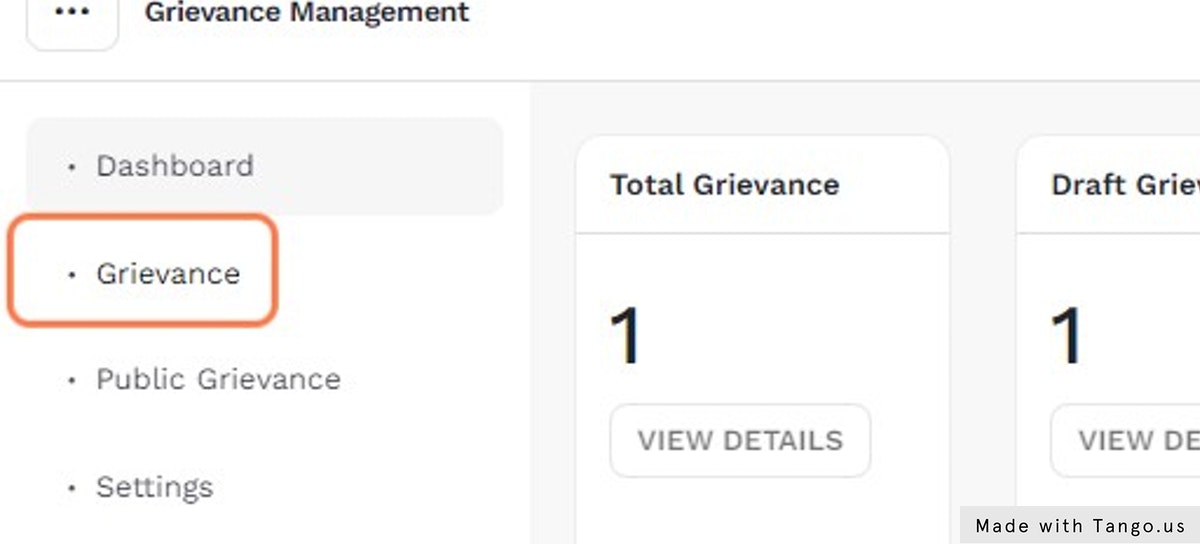
Click on “Grievance” link to view all the Grievances.
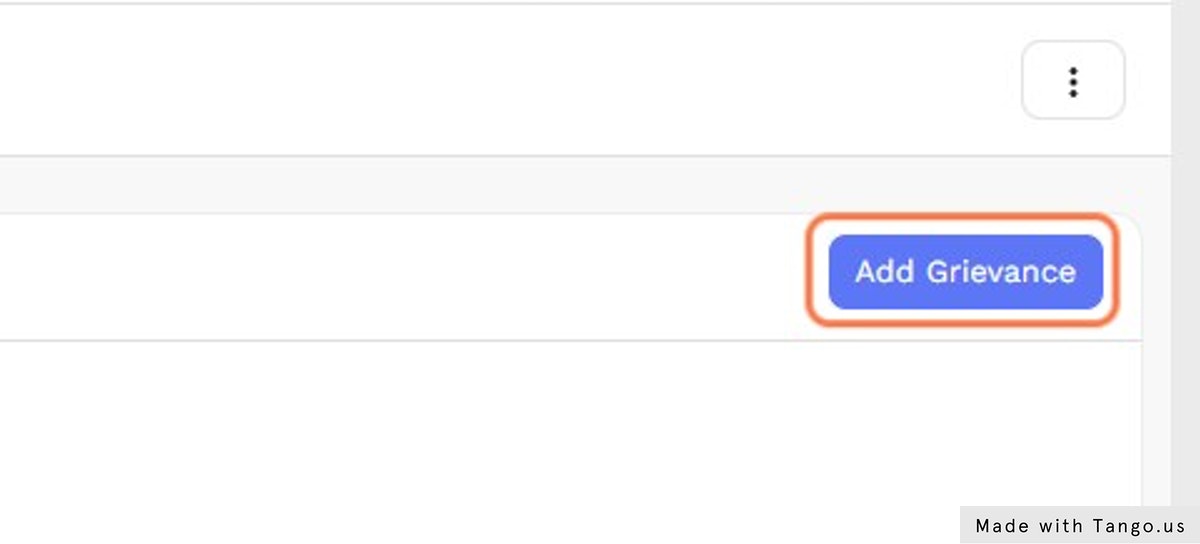
Click on “Add Grievances” button to add a grievance.
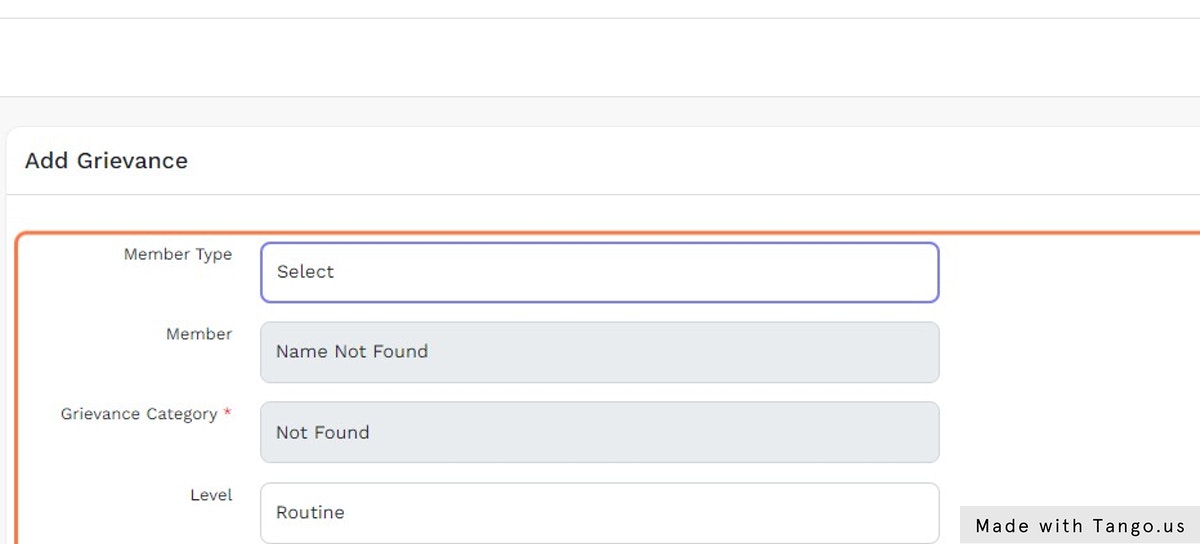
Enter “Member Type” and other required details.
Click on the Check Box to accept the declaration.
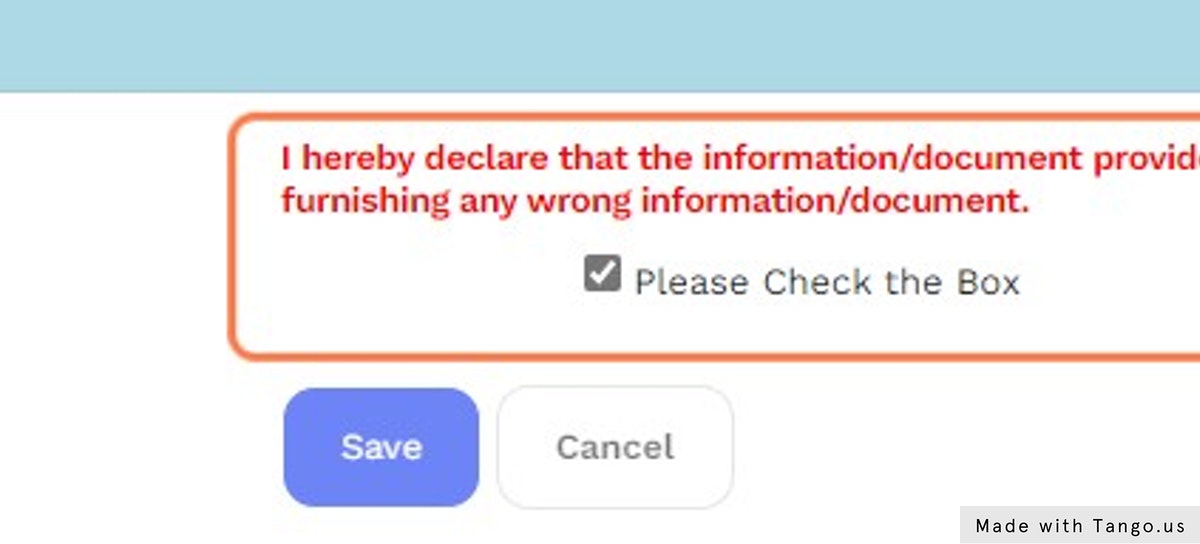
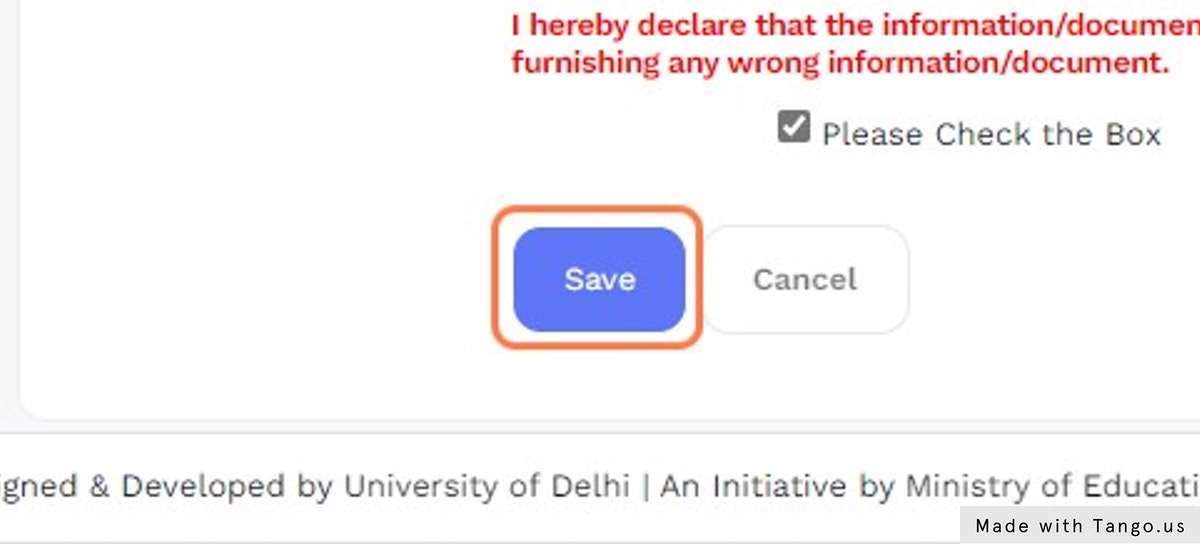
Then, Click on “Save” button.
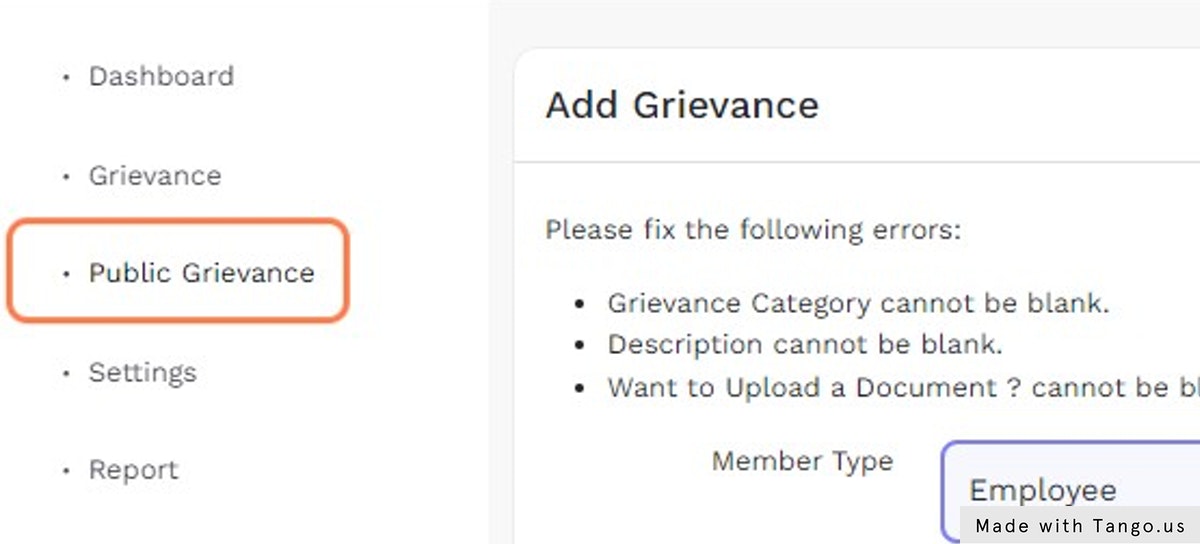
Now, Click on the “Public Grievance” link in the menu to view all the public grievances.
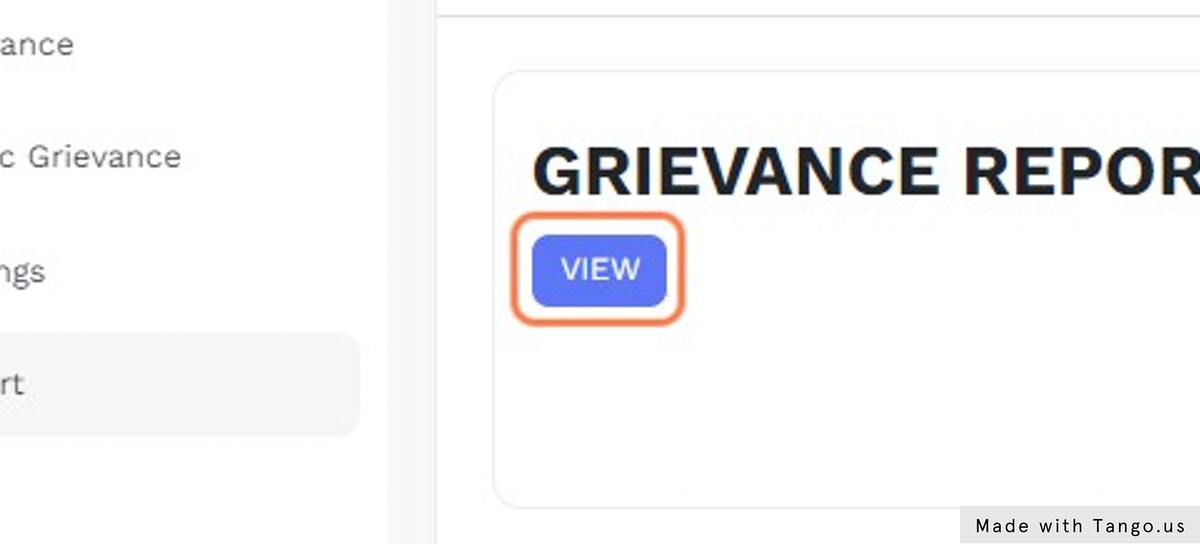
Click on “Report” link to view the reports.
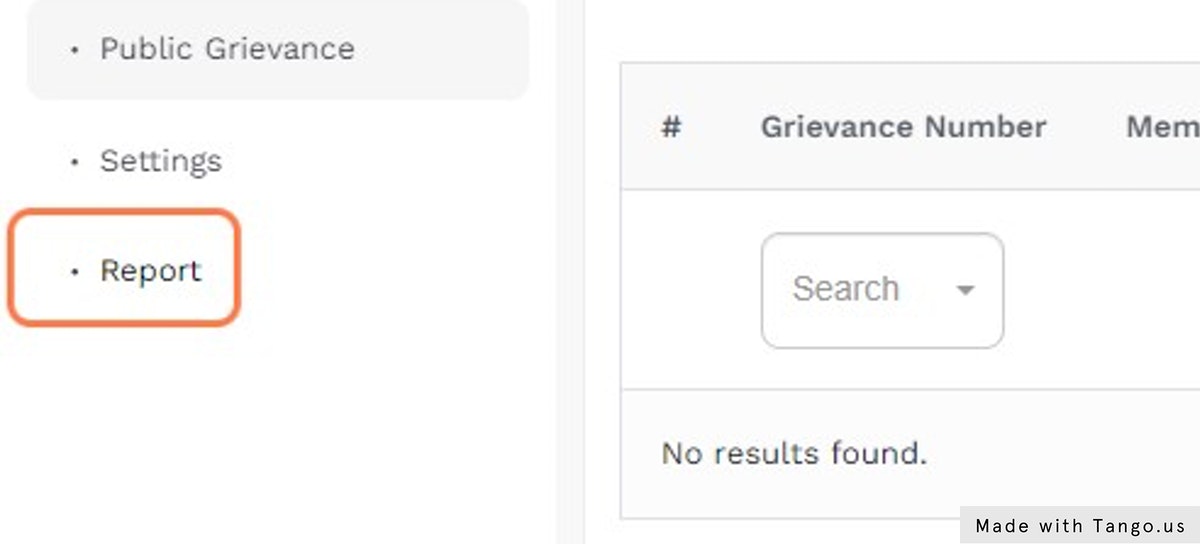
Then, Click on “View” button to view the Grievances report.