Estate Management
Steps
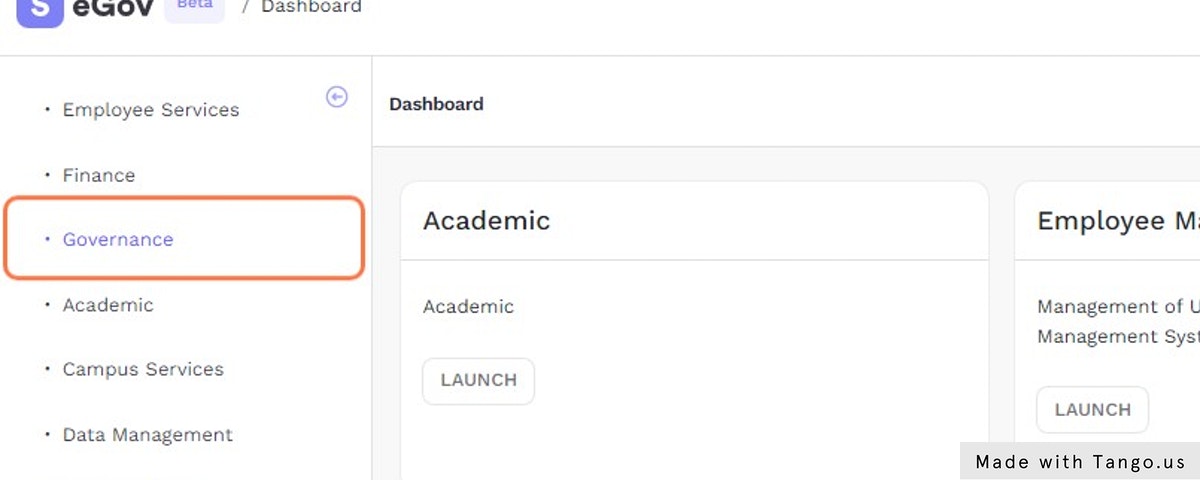
Click on “Governance” in the packages menu.
Click on “Settings” link in the “Estate” card.

Click on the configuration icon near the “Type of External Wall” option to add new exterior wall.

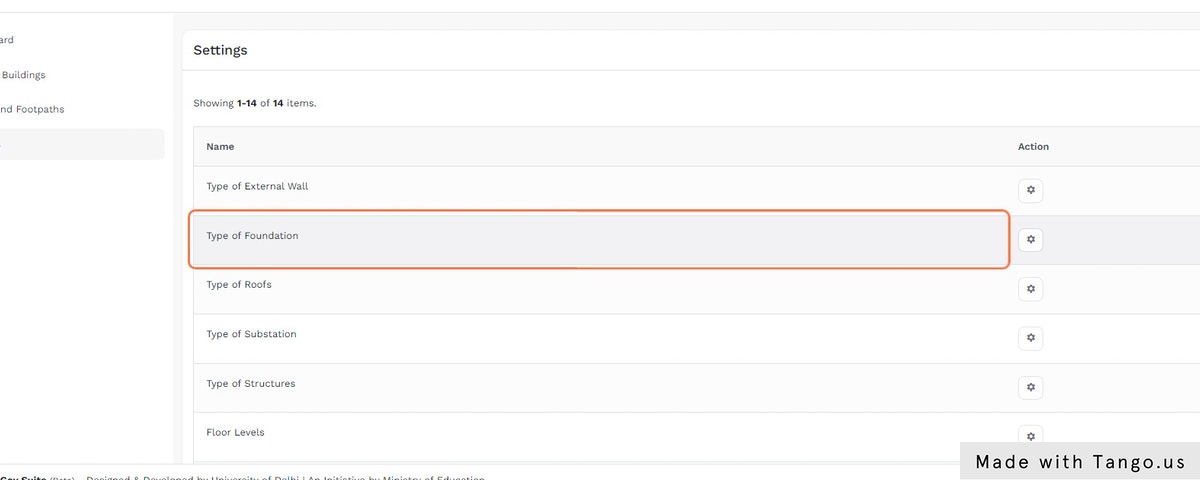
Click on the configuration icon near the “Type of Foundation” option to add new foundation.
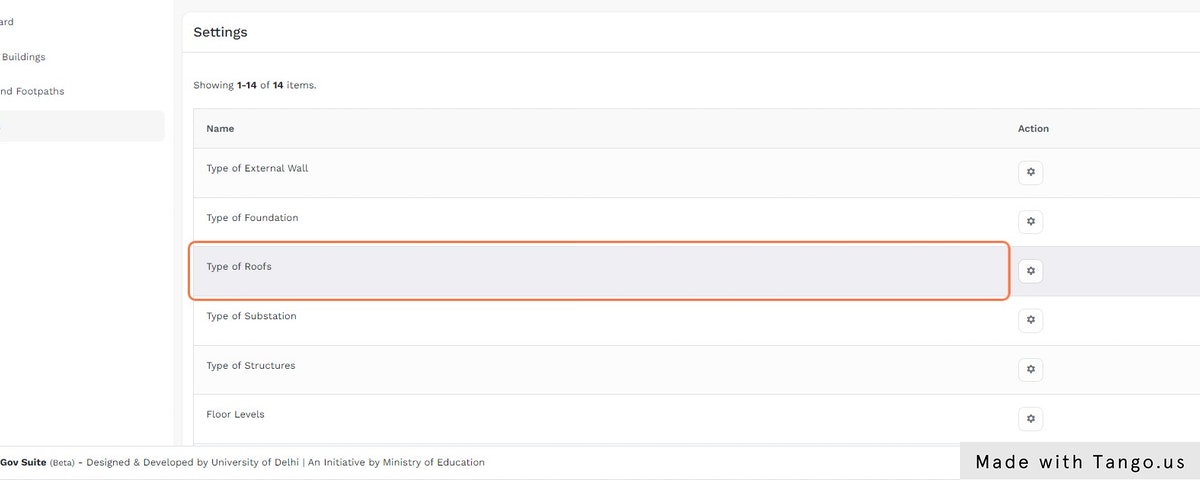
Click on the configuration icon near the “Type of Roofs” option to add new roof type.
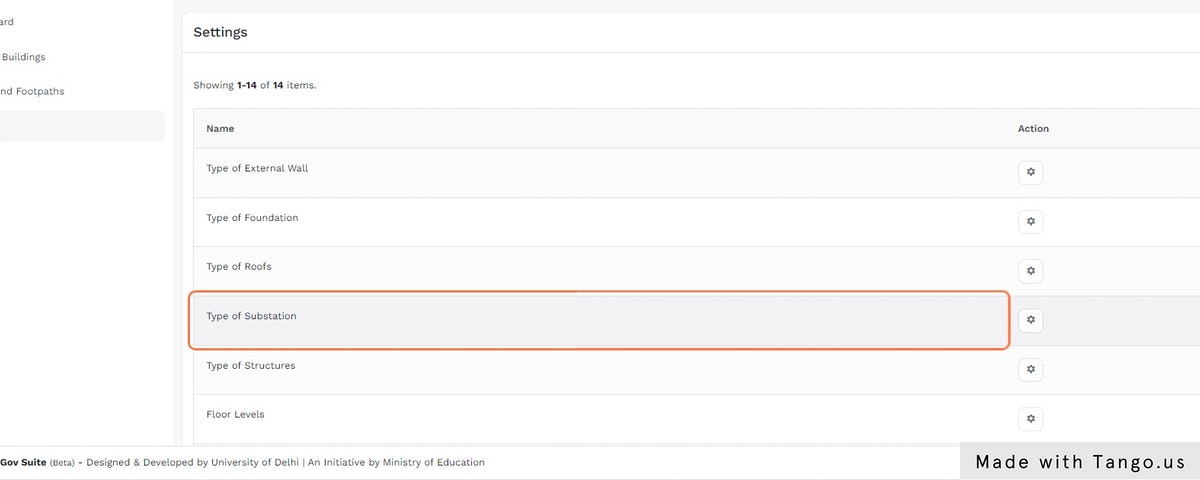
Click on the configuration icon near the “Substation” option to add new substantion type.
Click on the configuration icon near the “Structures” to add new structures.

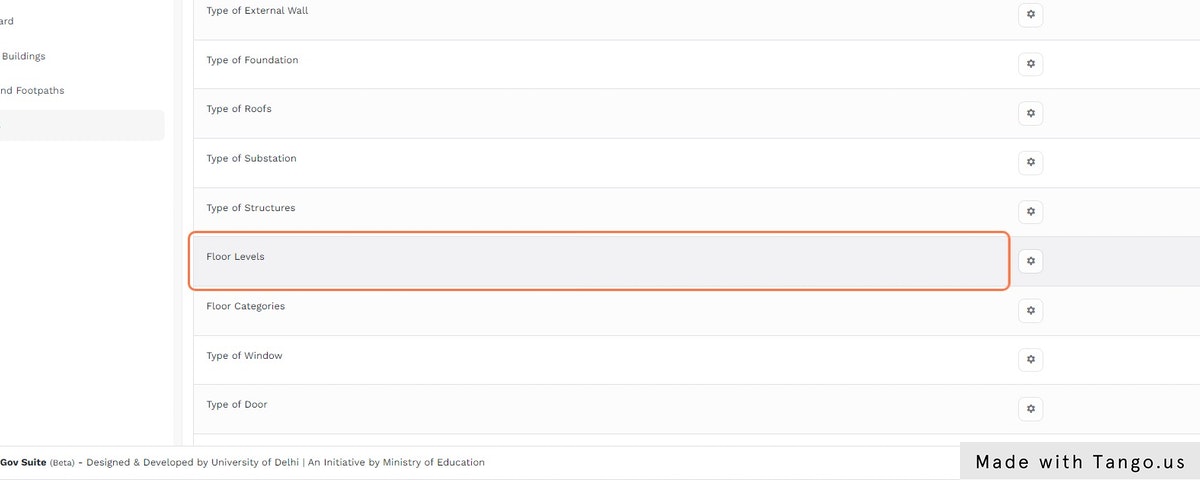
Click on the configuration icon near the “Floor Levels” to add new floor levels.
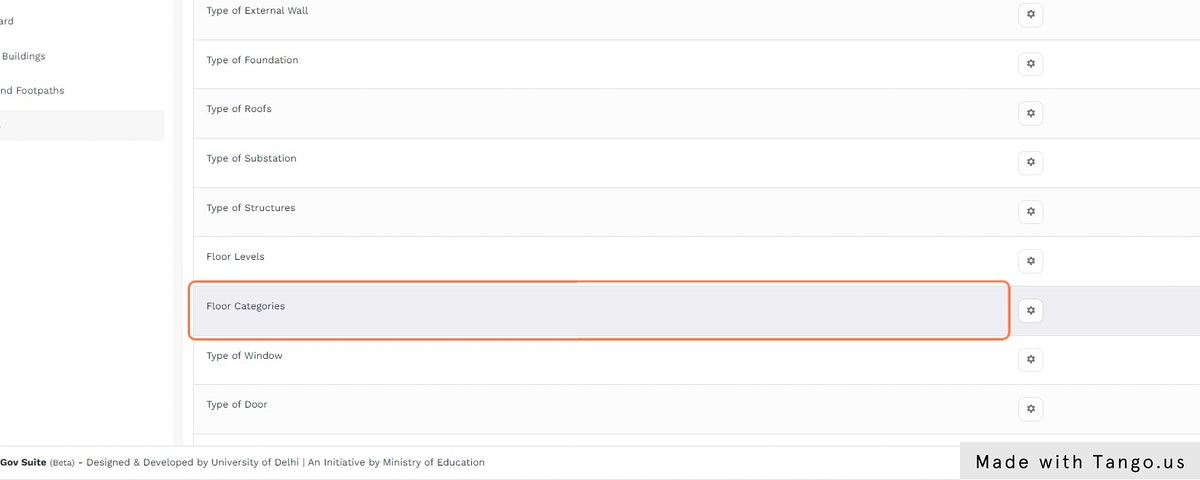
Click on the configuration icon near the “Floor Categories” to add new floors details.
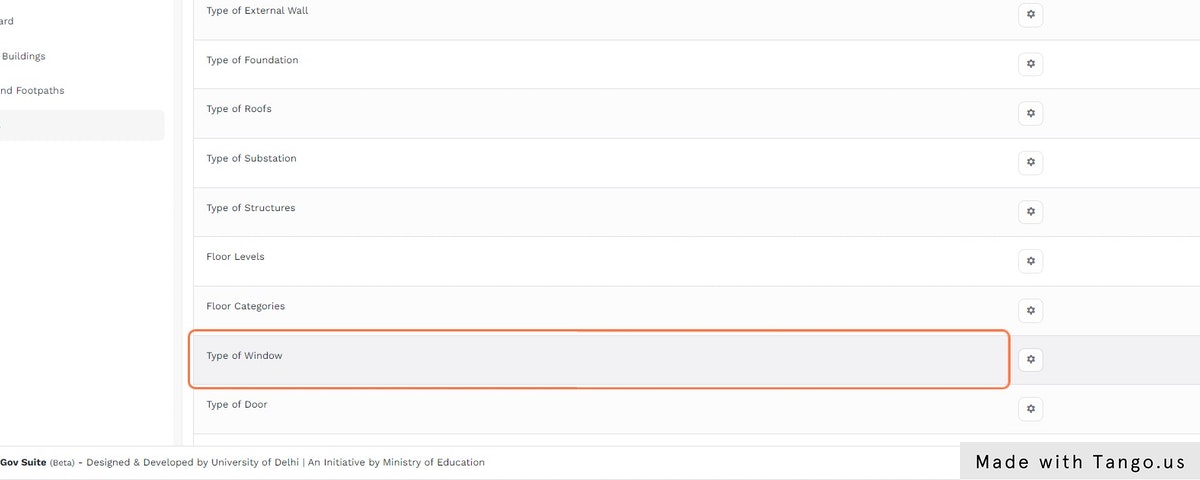
Click on the configuration icon near the “Type of Window” to add new window details.
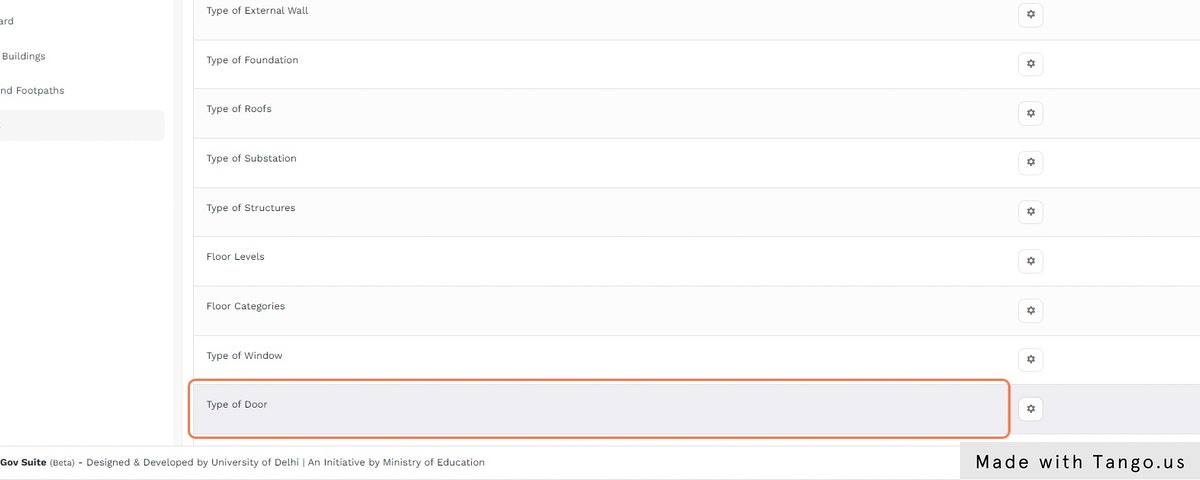
Click on the configuration icon near the “Type of Door” to add details of doors.
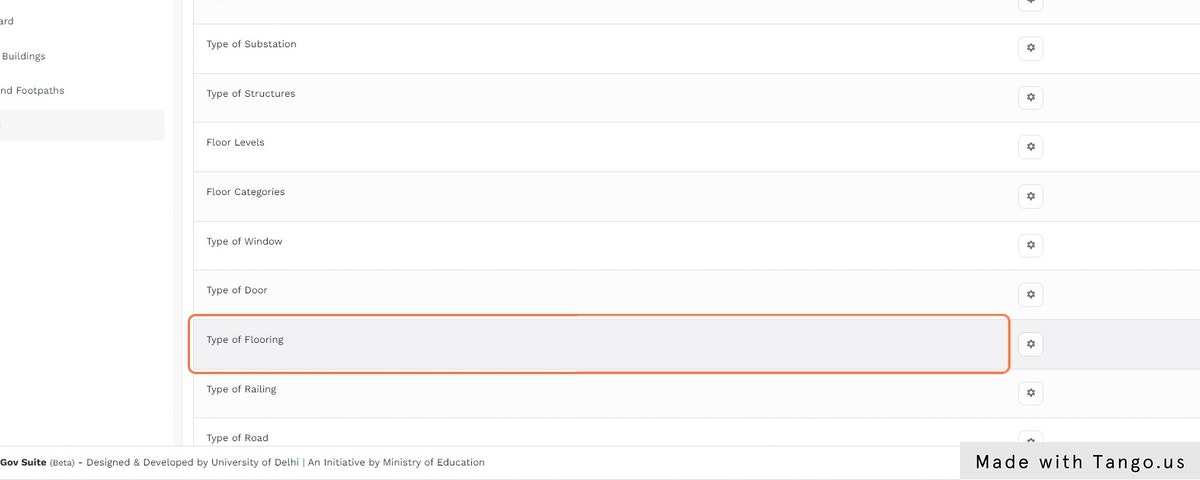
Click on the configuration icon near the “Type of Flooring” to add new corridor.
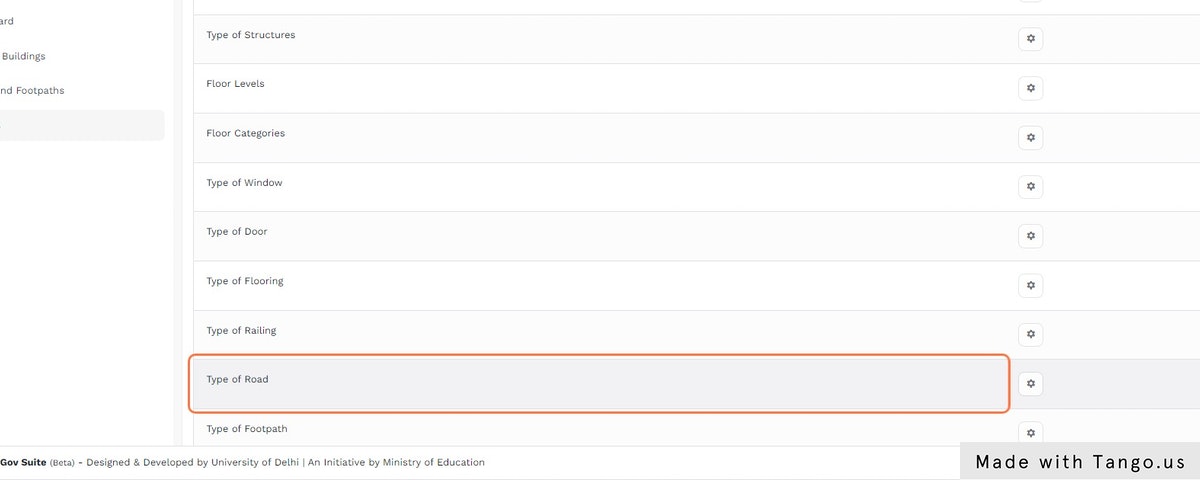
Click on the configuration icon near the “Type of Road” to add road details.
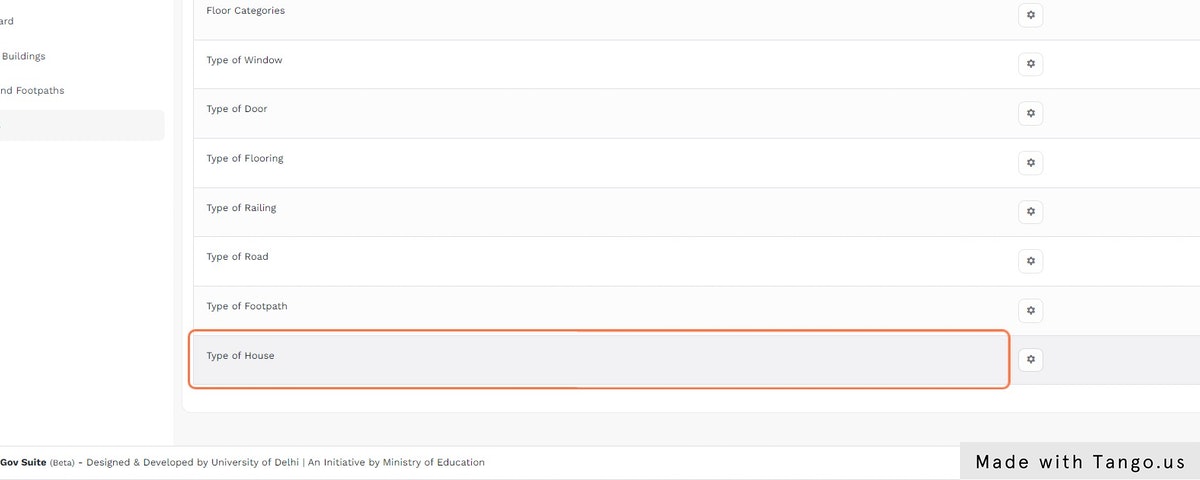
Click on the configuration icon near the “Type of House” to add house details.
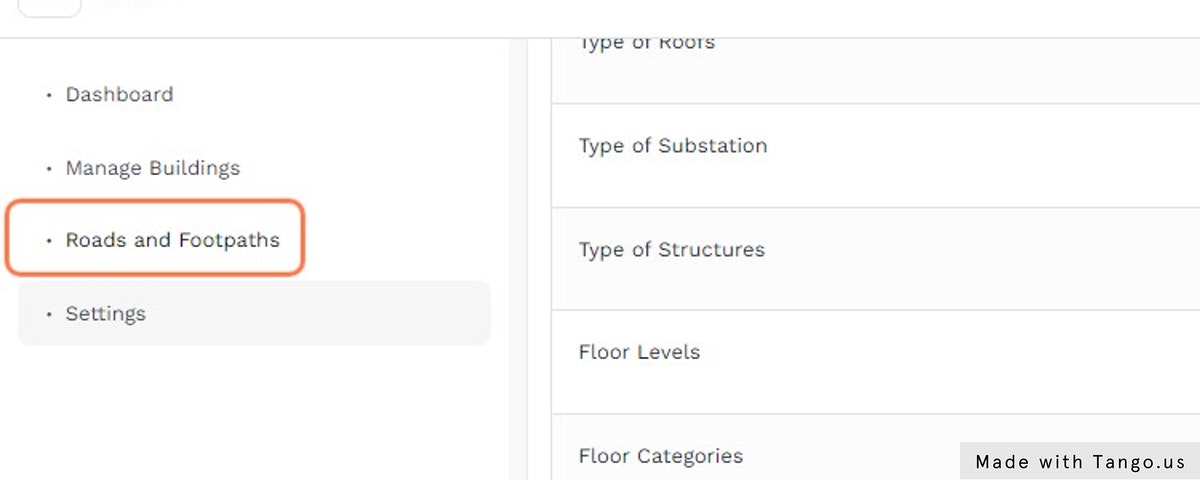
Then click on “Roads and Footpaths” link in the application menu.
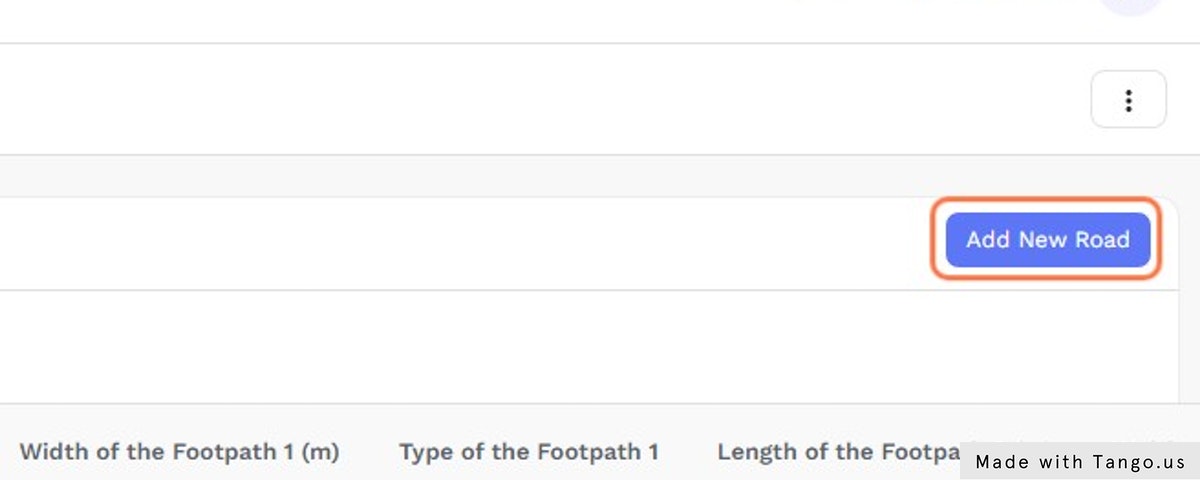
Now click on “Add New Road” button and add the required details.
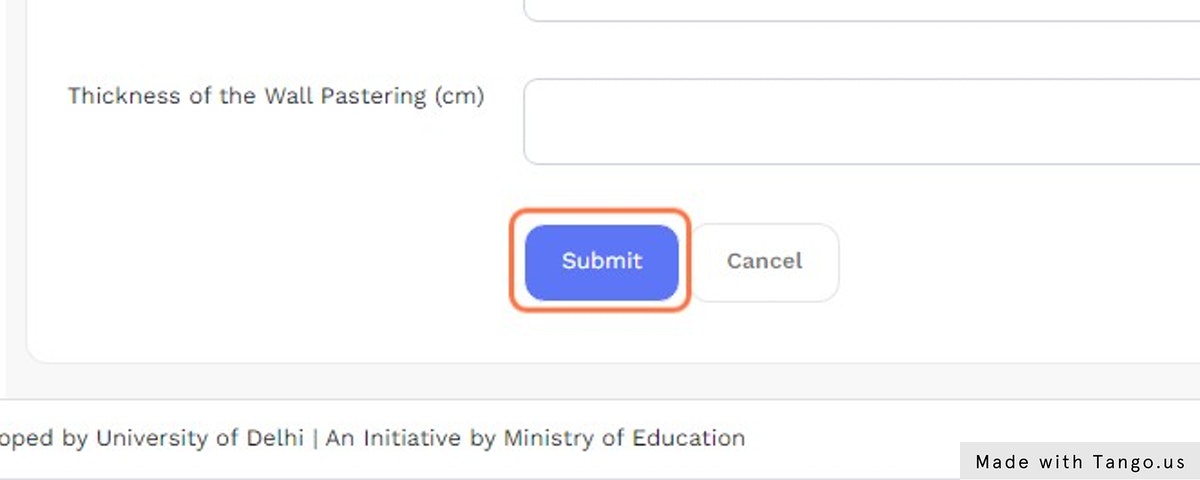
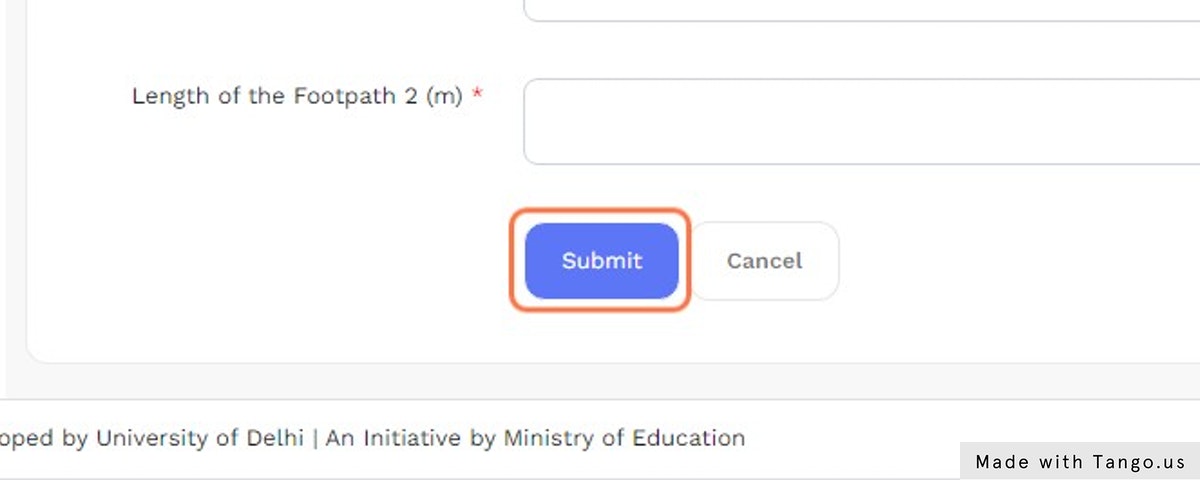
Then click on “Submit” button to add the details.
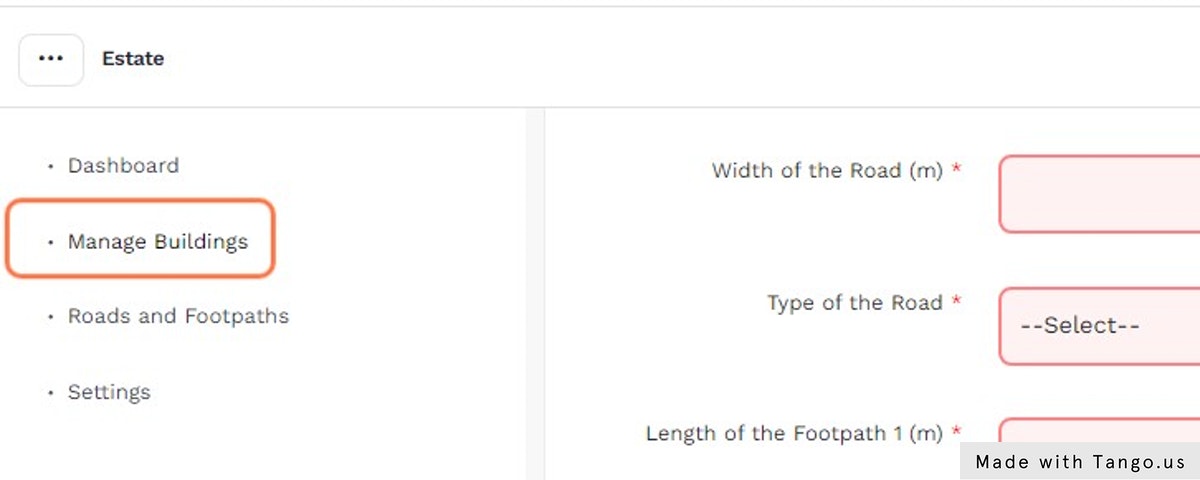
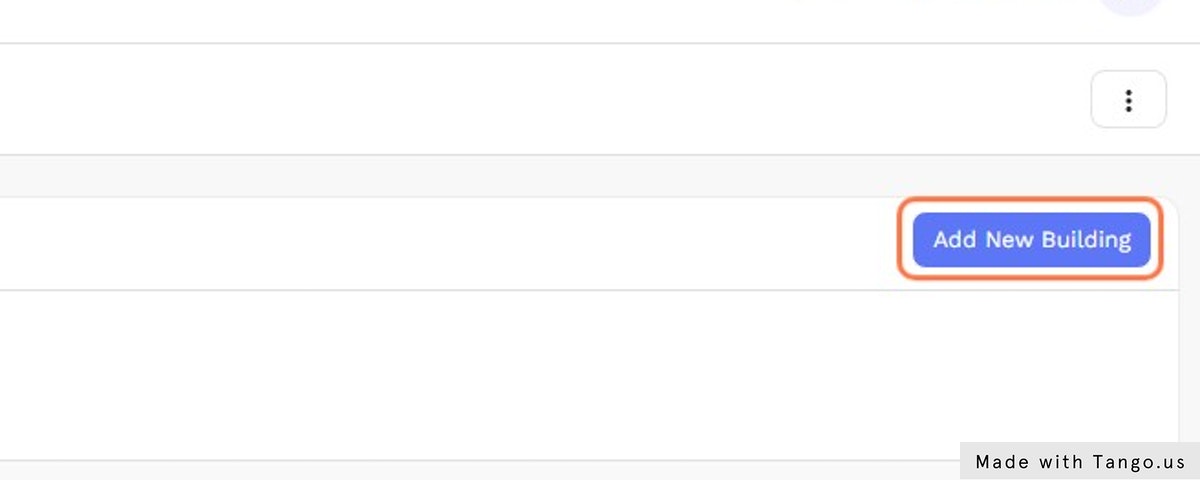
Now, Click on “Manage Buildings” link in the application menu.
Then click on “Add New Building” button and add the required details.
Finally, Click on “Submit” button to save all the details.