Admission Admin guide
| Document Title | Admissions Admin Guide |
|---|---|
| Document Number | ADM - 001 |
| Author(s) | Senior Solution Architect, Product Senior Analyst, Operations |
| Approved by | Senior Manager, Operations |
| Approval Date | April 1, 2026 |
Admission Portal Configuration Guide (2026–27)
1. Pre-launch Readiness Check
Verify all critical items are in place before configuring anything.
Confirm these four items before going further. If any are missing, complete that section first:
- Registration dates are set
- Program eligibility criteria added
- Basic fees configured
- Portal content updated (Introduction, Prospectus, Contact, Help)
TIP
Keep the student portal open in a separate browser tab throughout setup; you can instantly verify each change as you make it.
2. Public Notices
Candidate portal has public notices section which can be configured to show all the announcements.
Steps
2.1 Go to Notifications → Add Notification
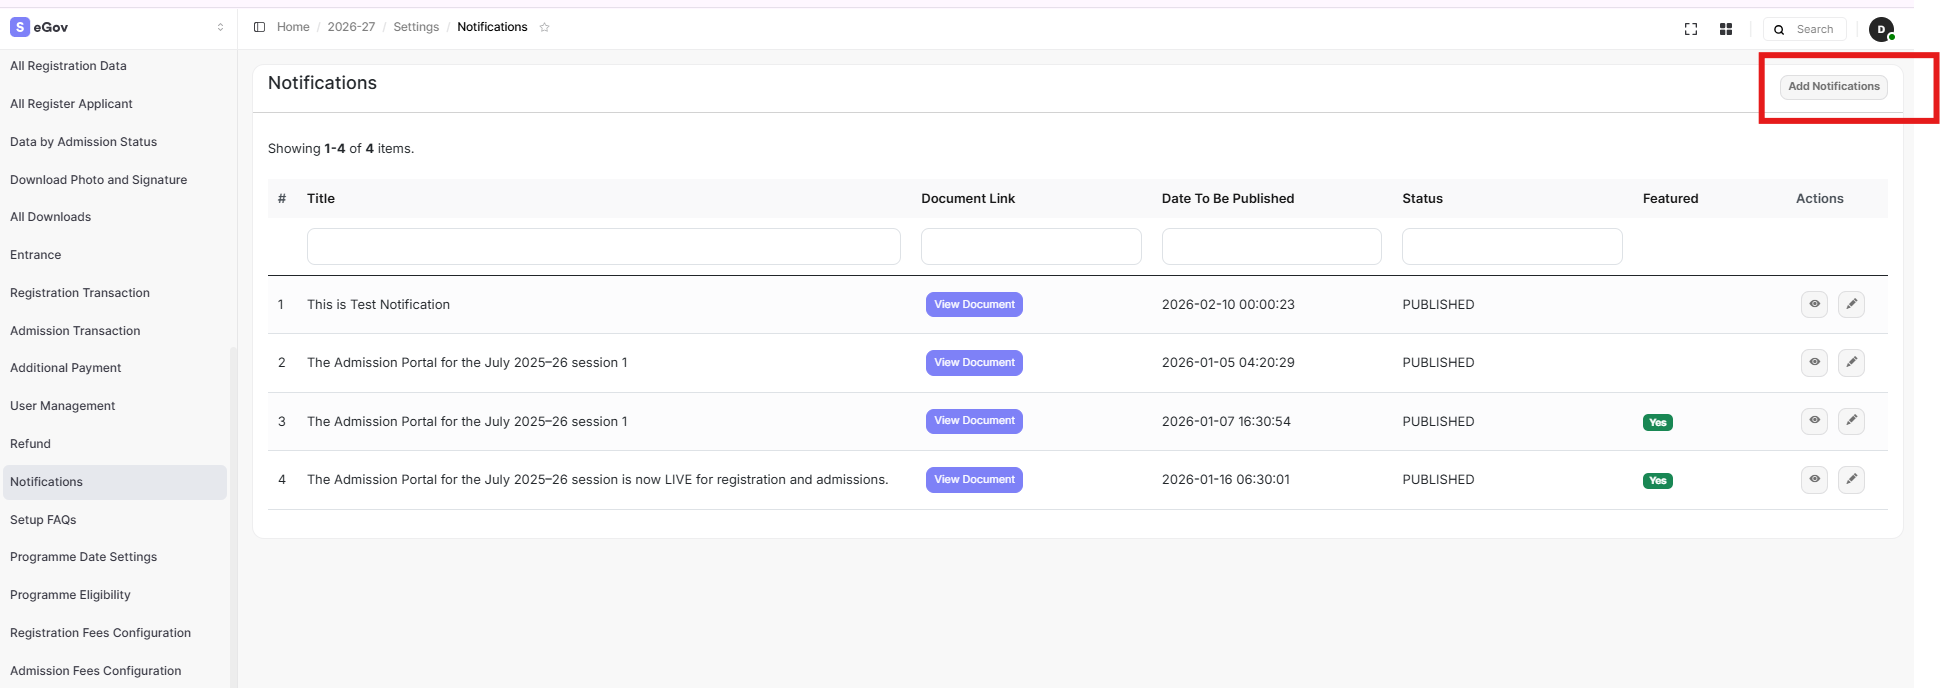
2.2 Fill in the title and description. Attach a file or URL if needed.
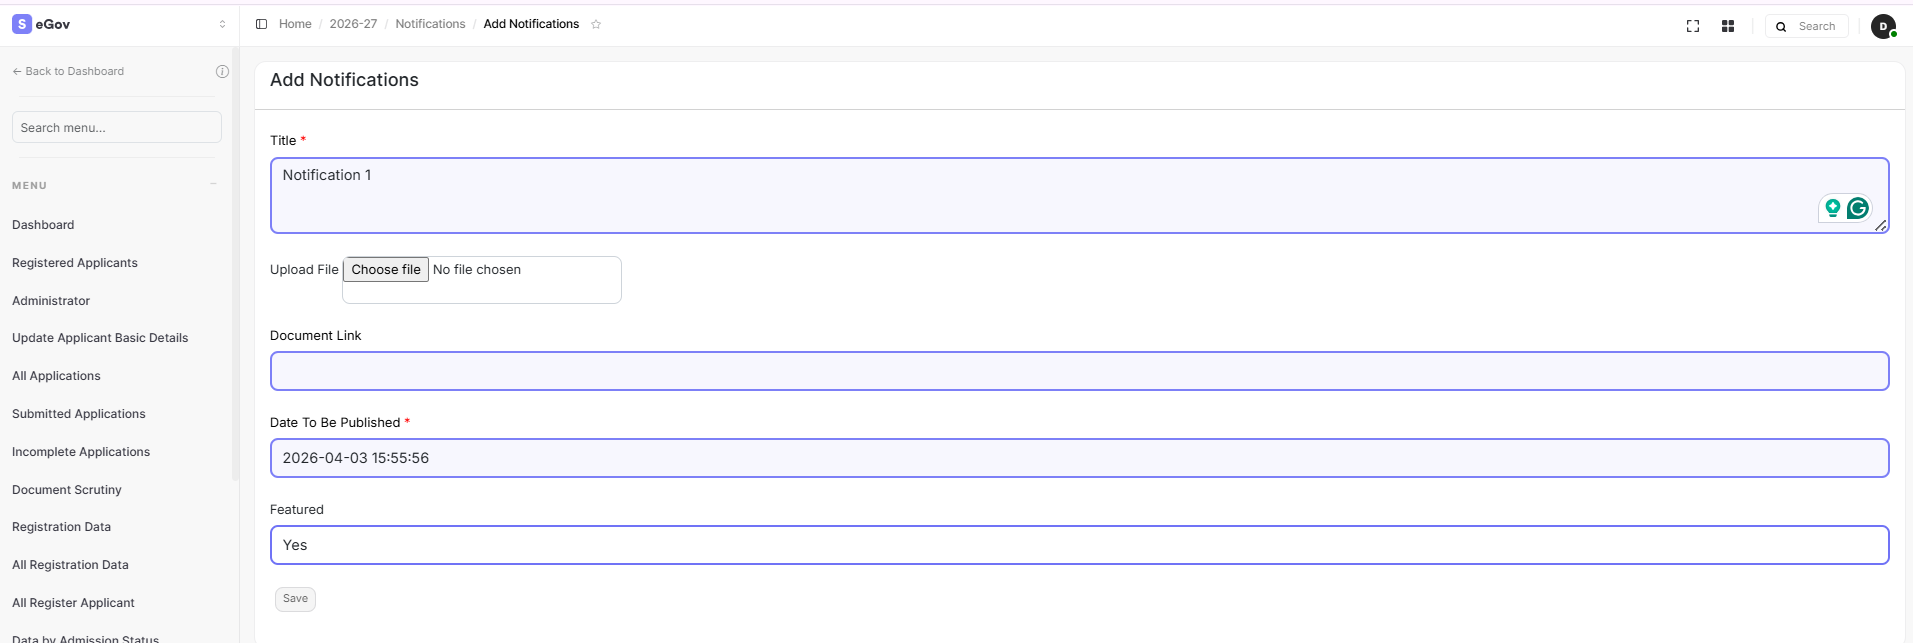
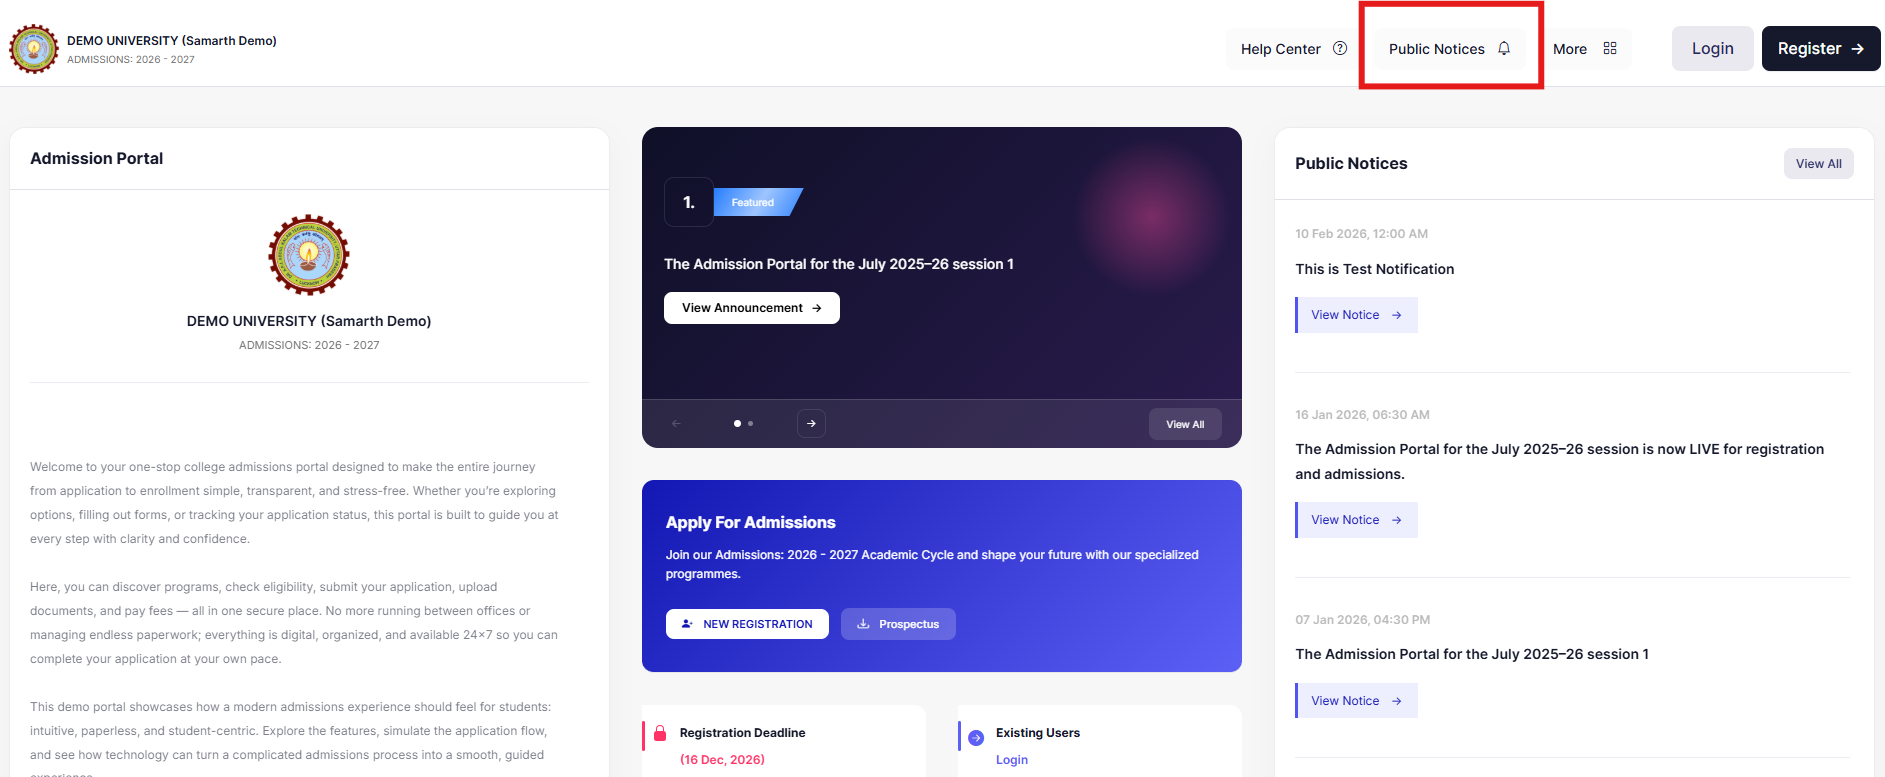
2.3 Set status to Published. For critical announcements, enable the Featured flag — these appear prominently at the top of the portal.
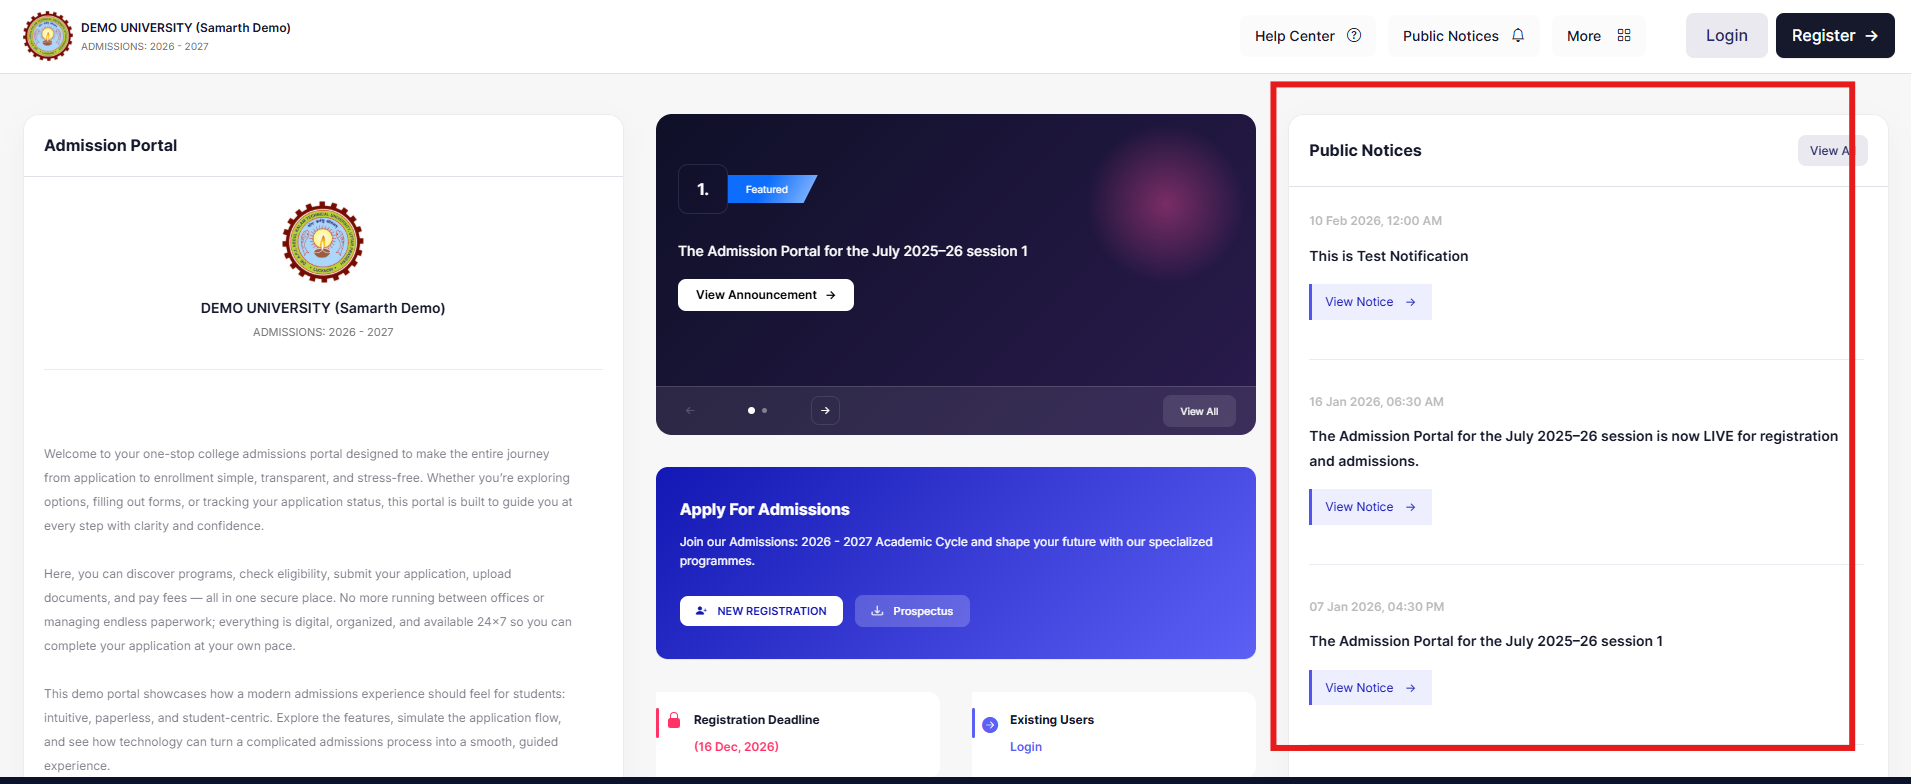
Checklist
- At least one notice is visible on the student portal
- The important notices can be marked as Featured
3. Portal Content
Introduction, prospectus, registration instructions can be configured in this section.
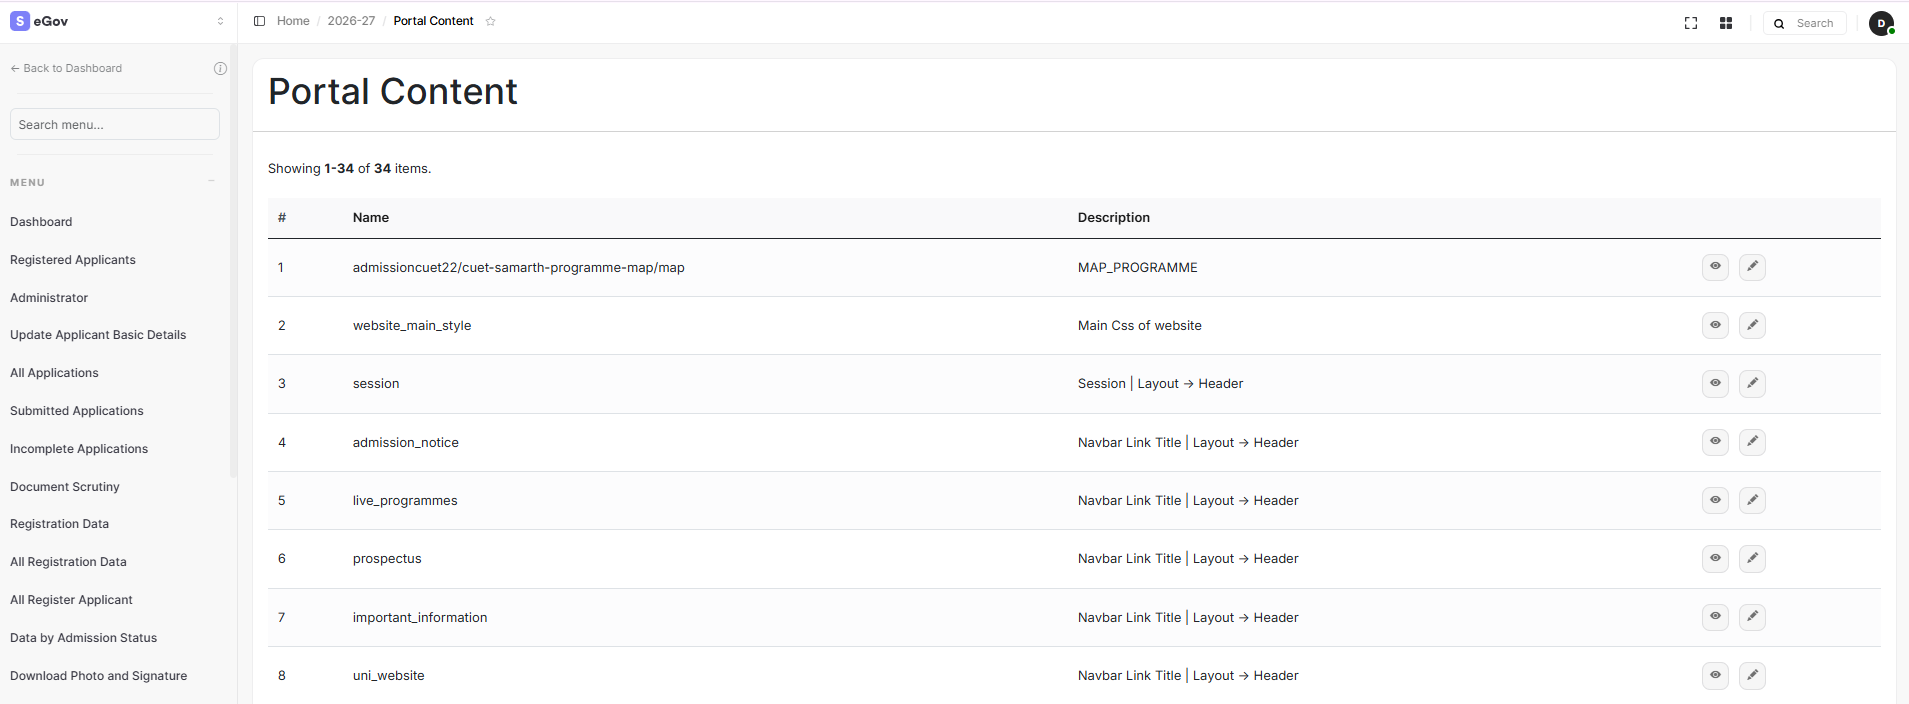
Navigate to Settings → Portal Management for all items below.
3.1 Institution Introduction
- Go to Portal Content
- Find
Admission_intro - Enter the content to be displayed
- Save changes
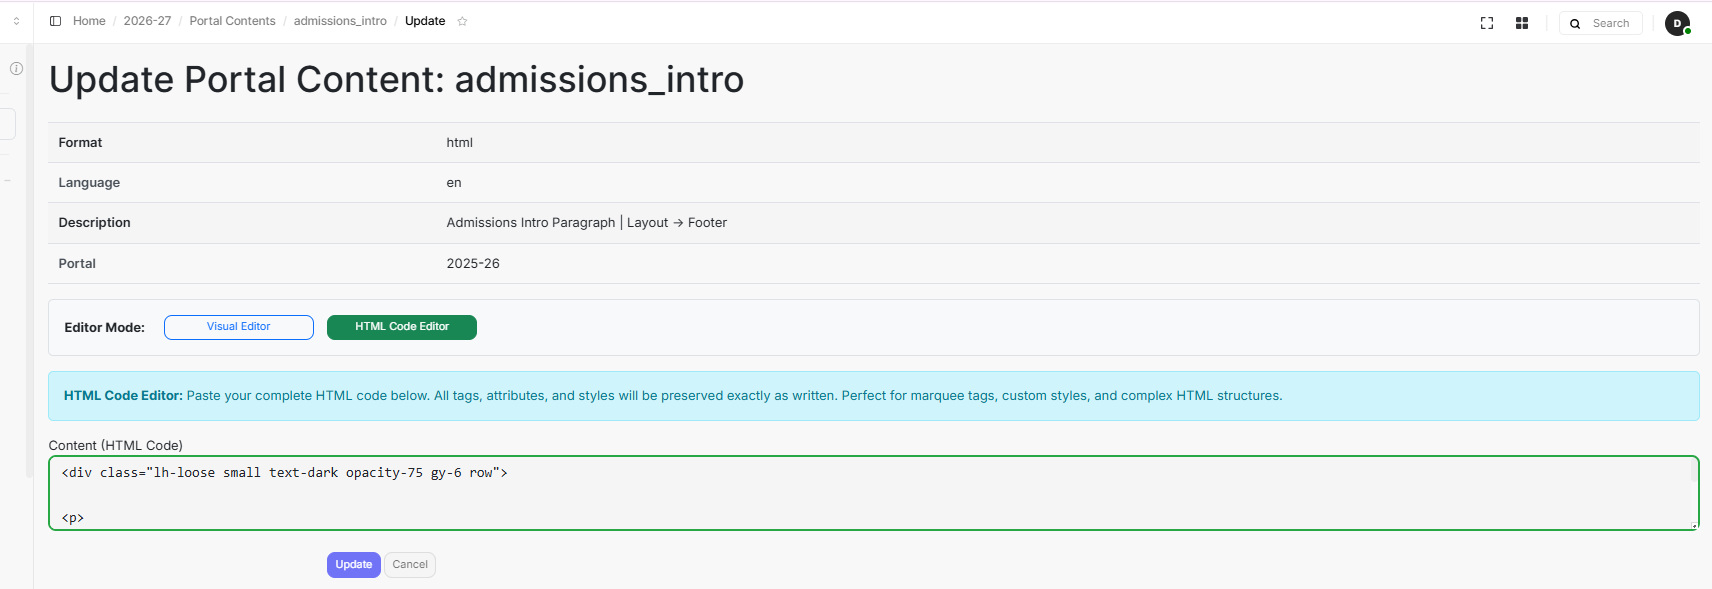
Output

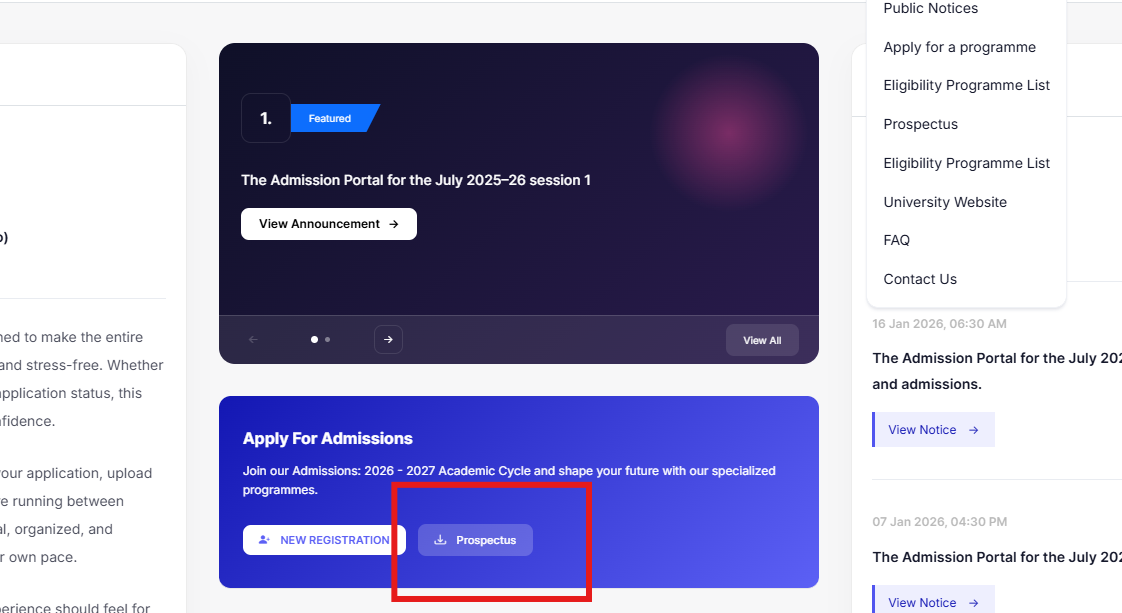
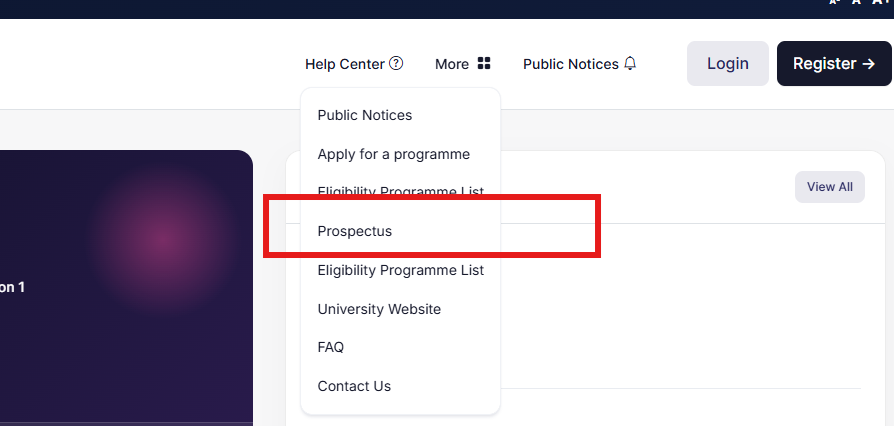
3.2 Prospectus
- Go to Portal Content
- Find
prospectus_link - Add the URL in the content and save changes
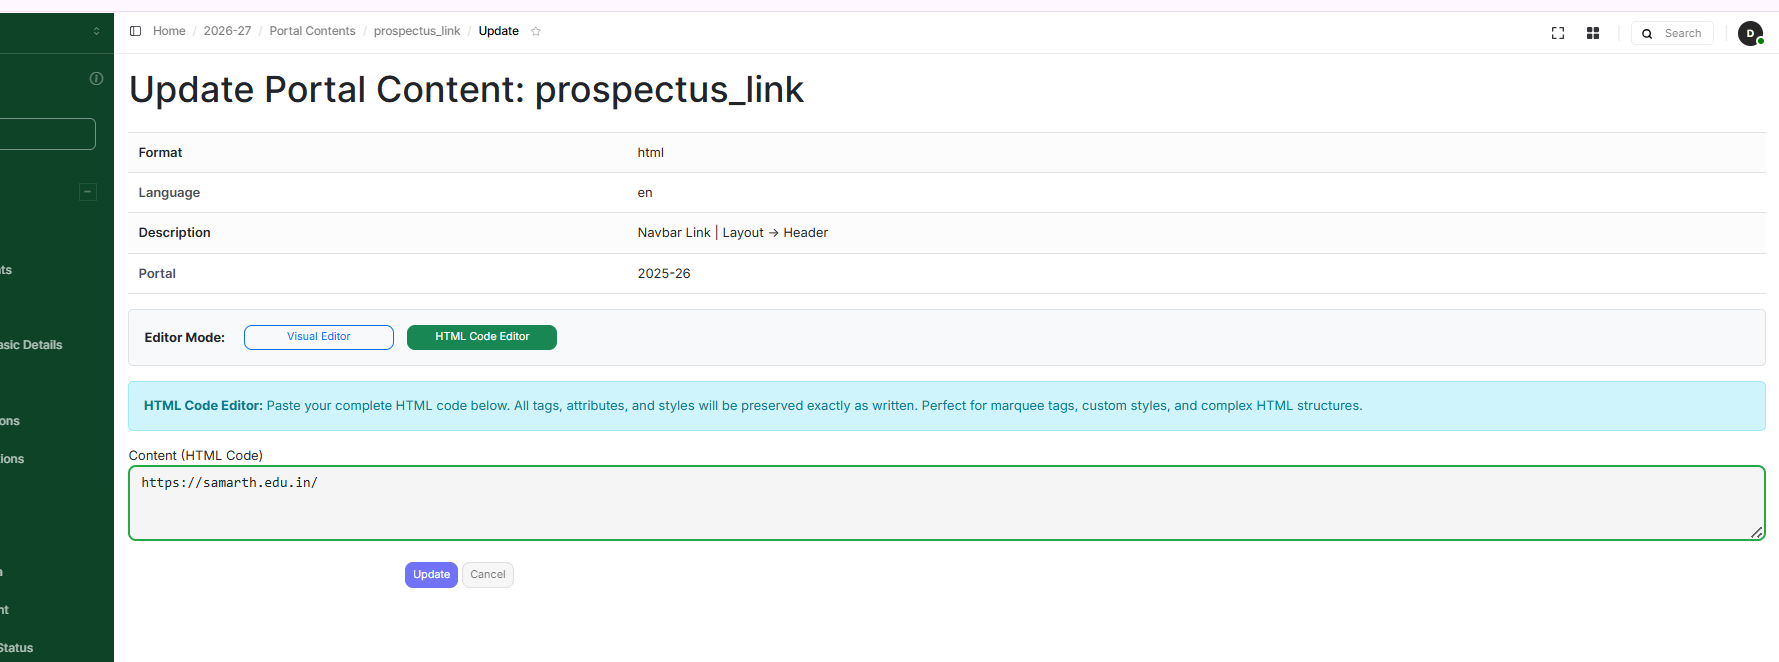
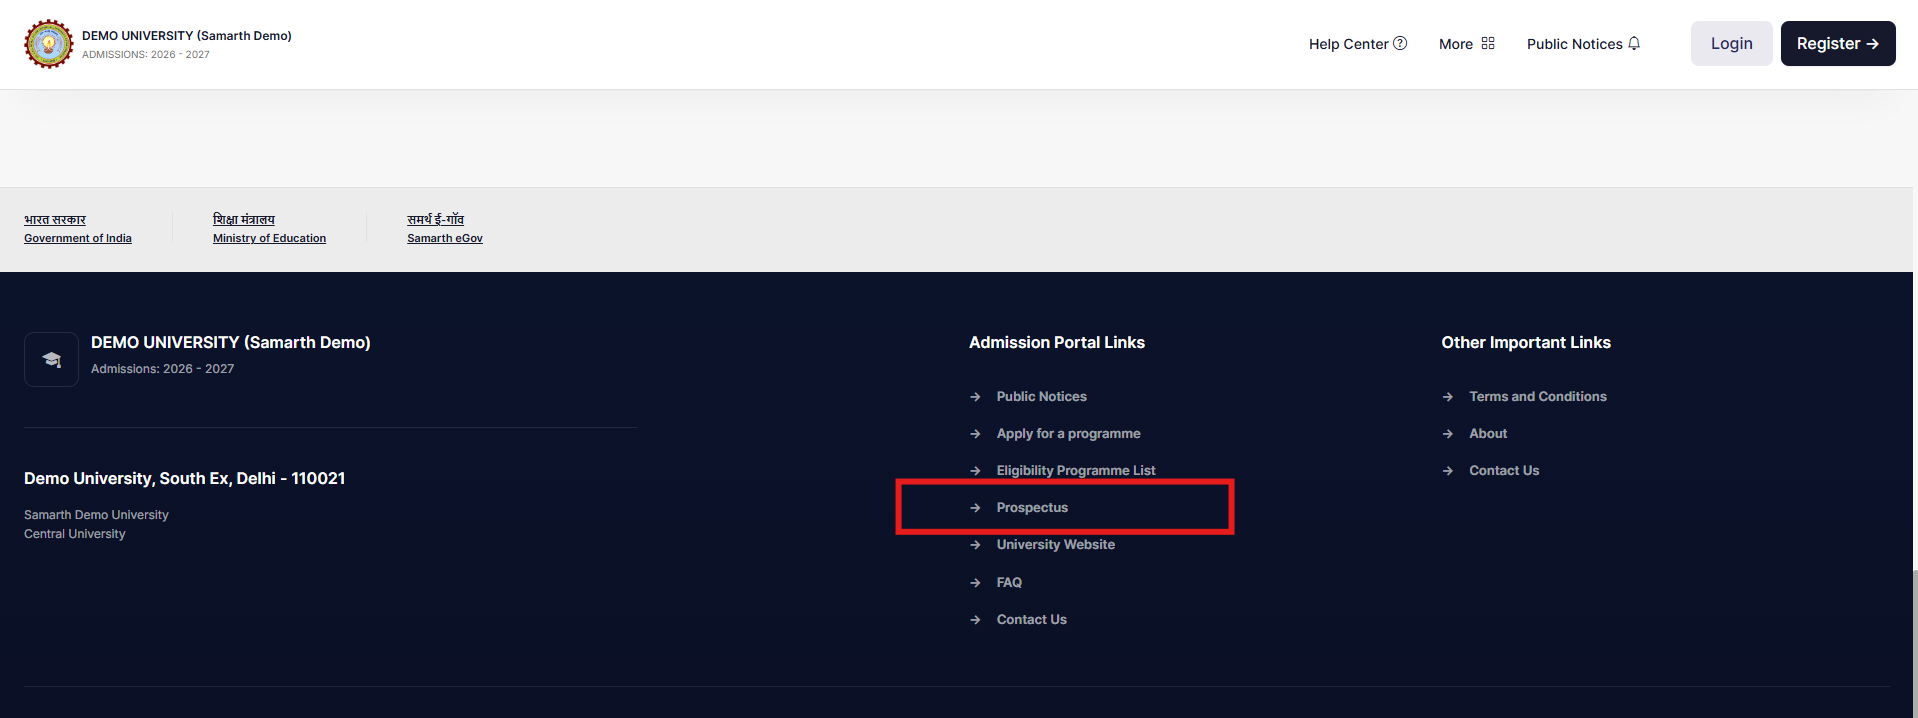
Output
The prospectus will be updated in the following places.
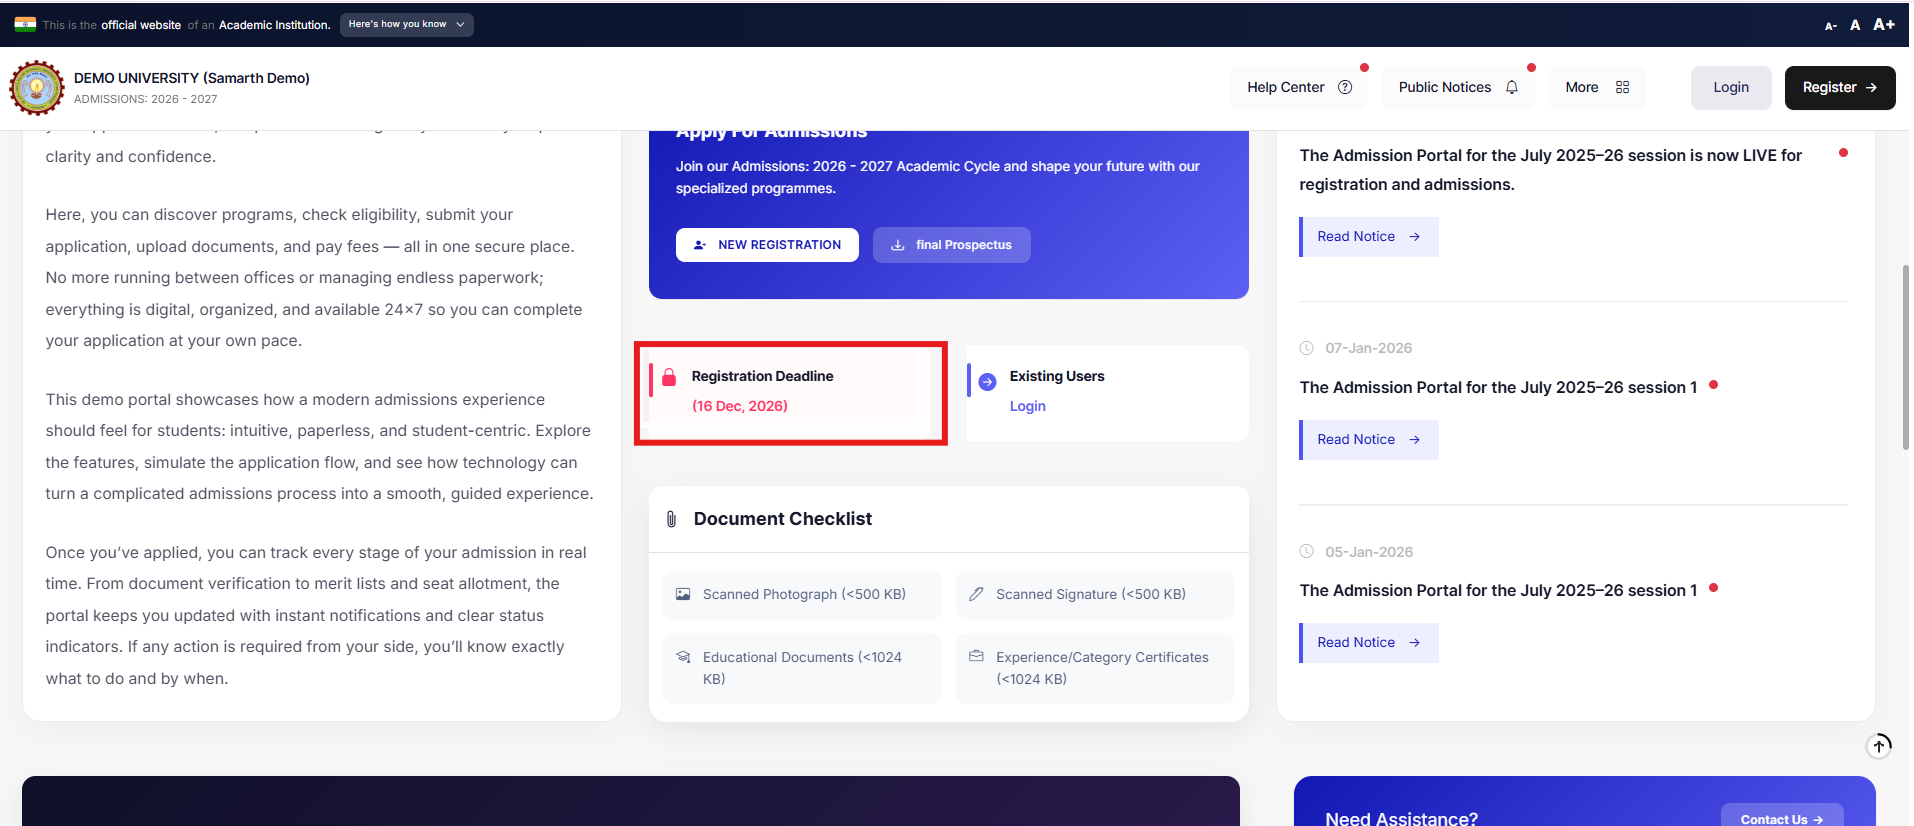
3.3 Registration Deadline
- Go to Settings
- Navigate to Utilities
- Scroll to the bottom of the page
- Click on Configure Registration Date to set the registration deadline
Output
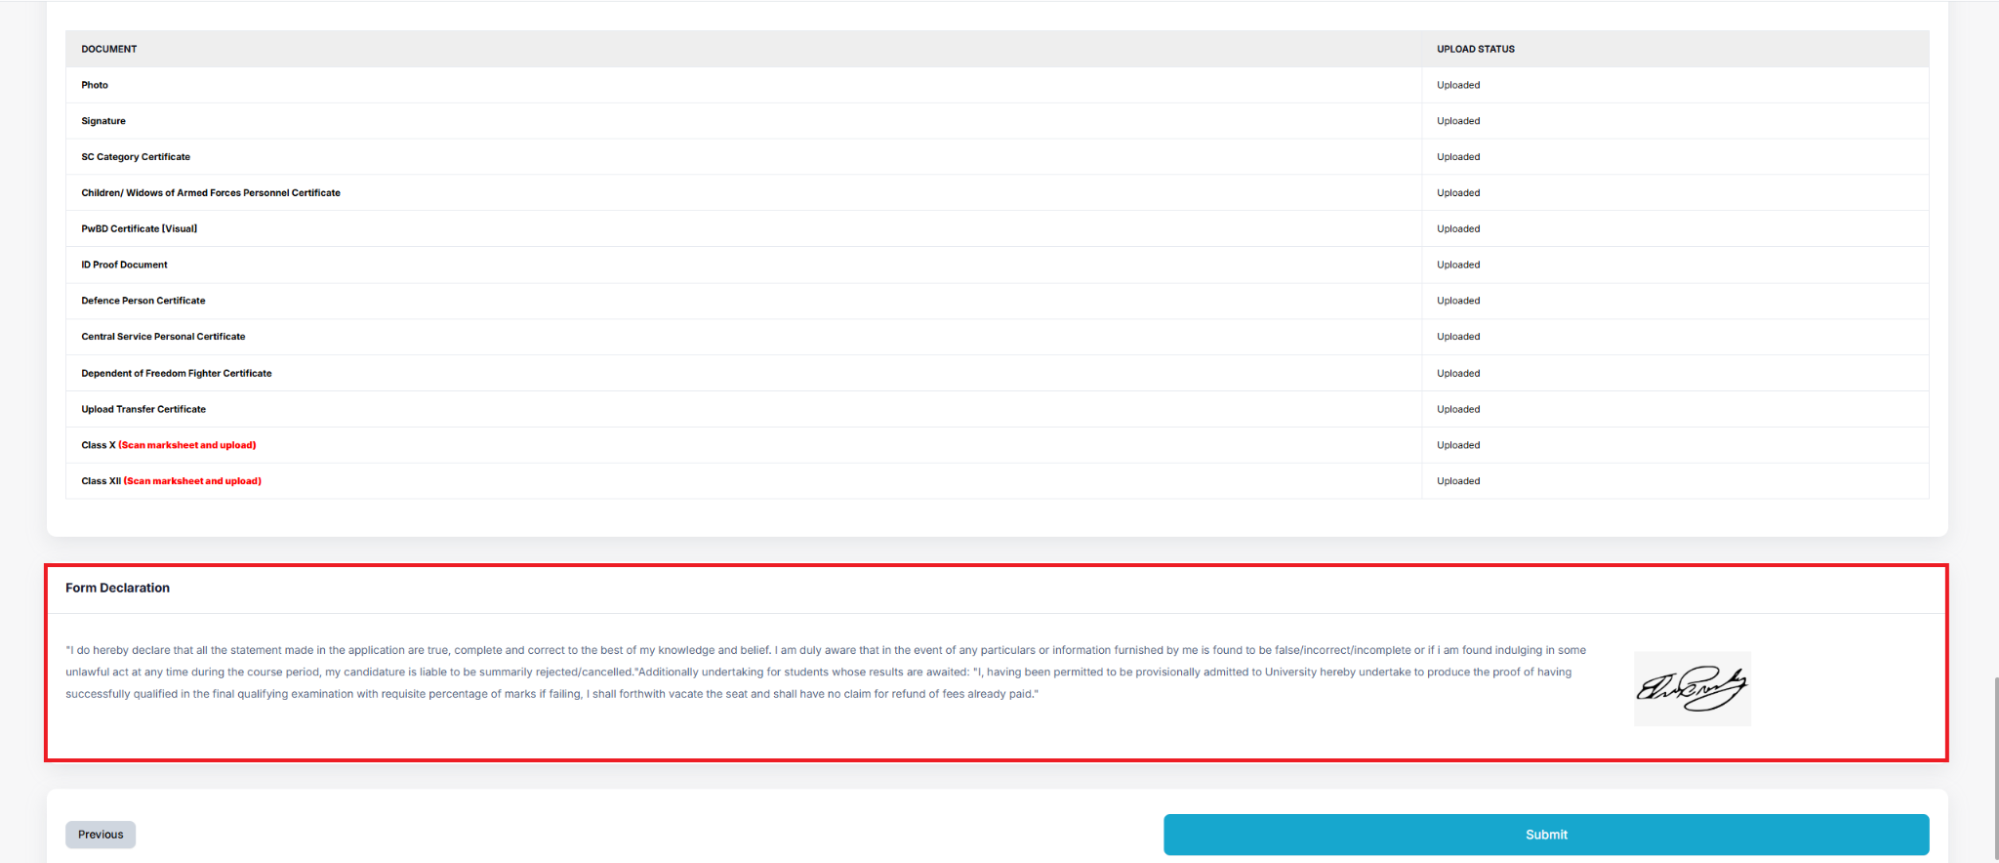
3.4 Instructions & Registration Content
Located under Site Configuration
Includes:
- Registration instructions
- Form declarations
✔️ Check: Are the instructions clear and complete?
Output
Checklist
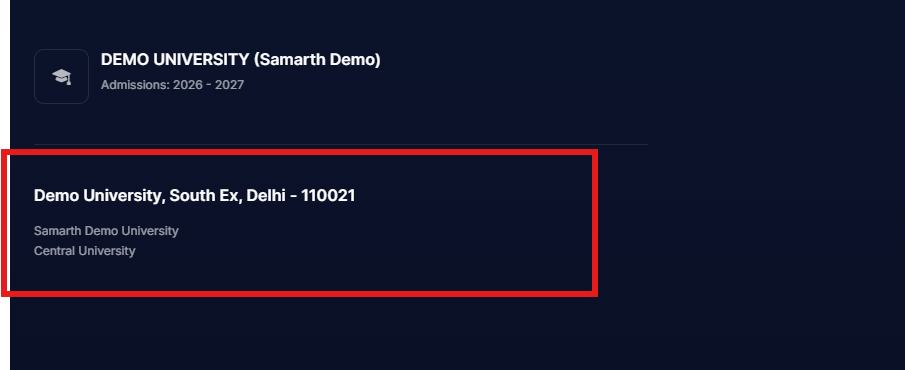
- Introduction displays correctly under the institution name
- Prospectus link opens correctly
- Registration instructions are clear and complete
4. Contact & Support Details
Contact Us, Footer, and “Need Assistance” section
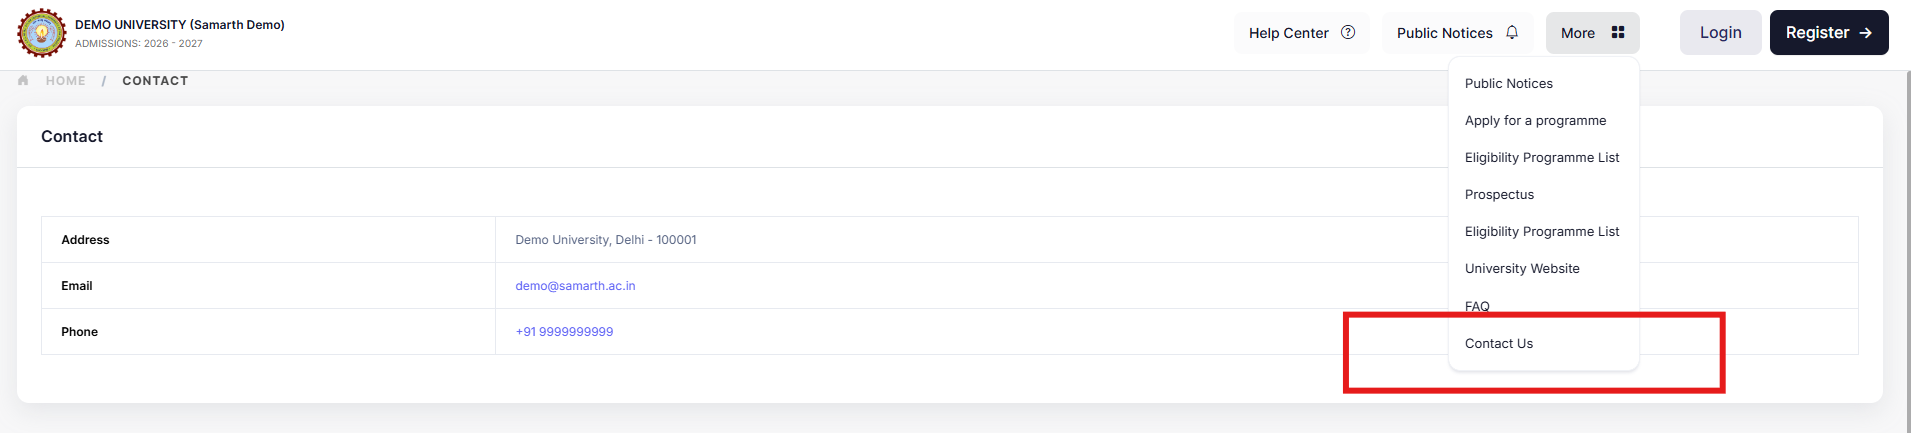
4.1 Contact Us (Address, Email, Phone Number)
- Go to Admin Portal → Portal Content
- Click on
support_address - Update the HEI address
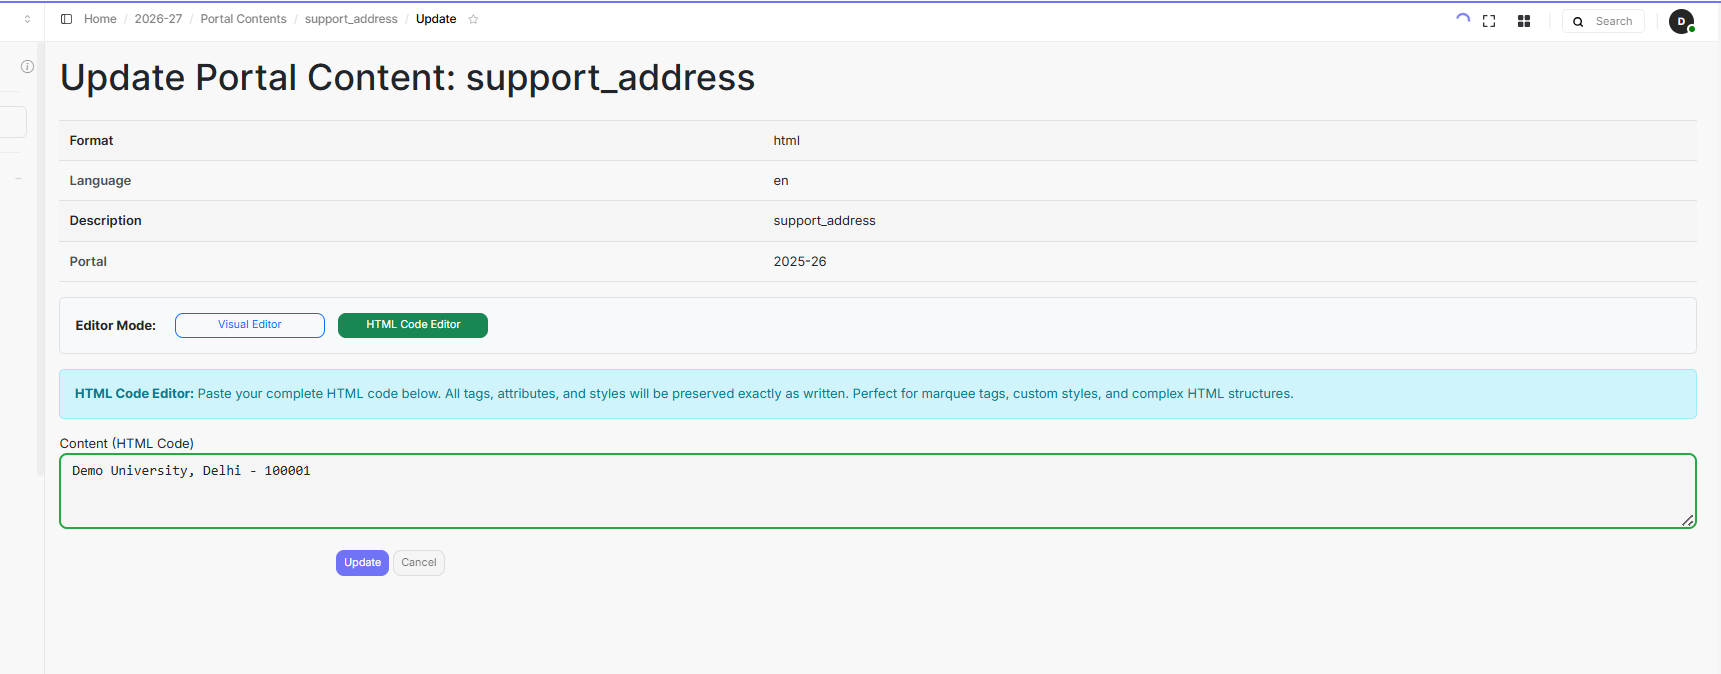
Output
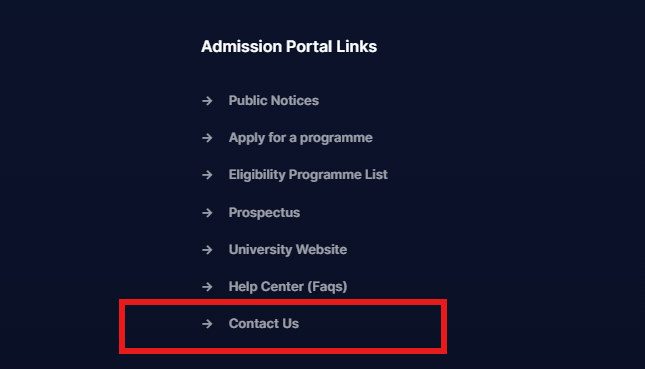
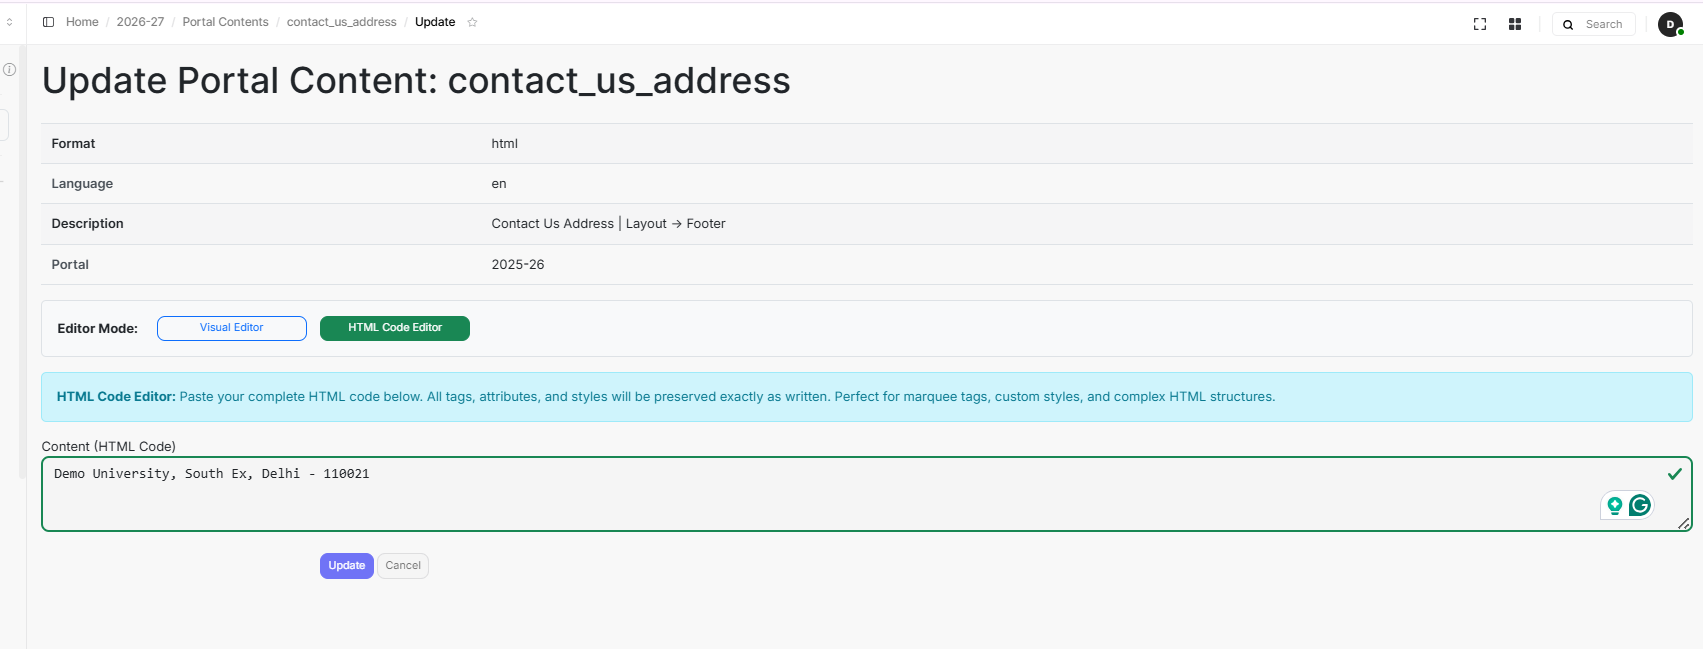
4.2 Contact Us (Footer)
- Go to Portal Content
- Find
contact_us_address - Enter the address in the content
- Click on Update
Output
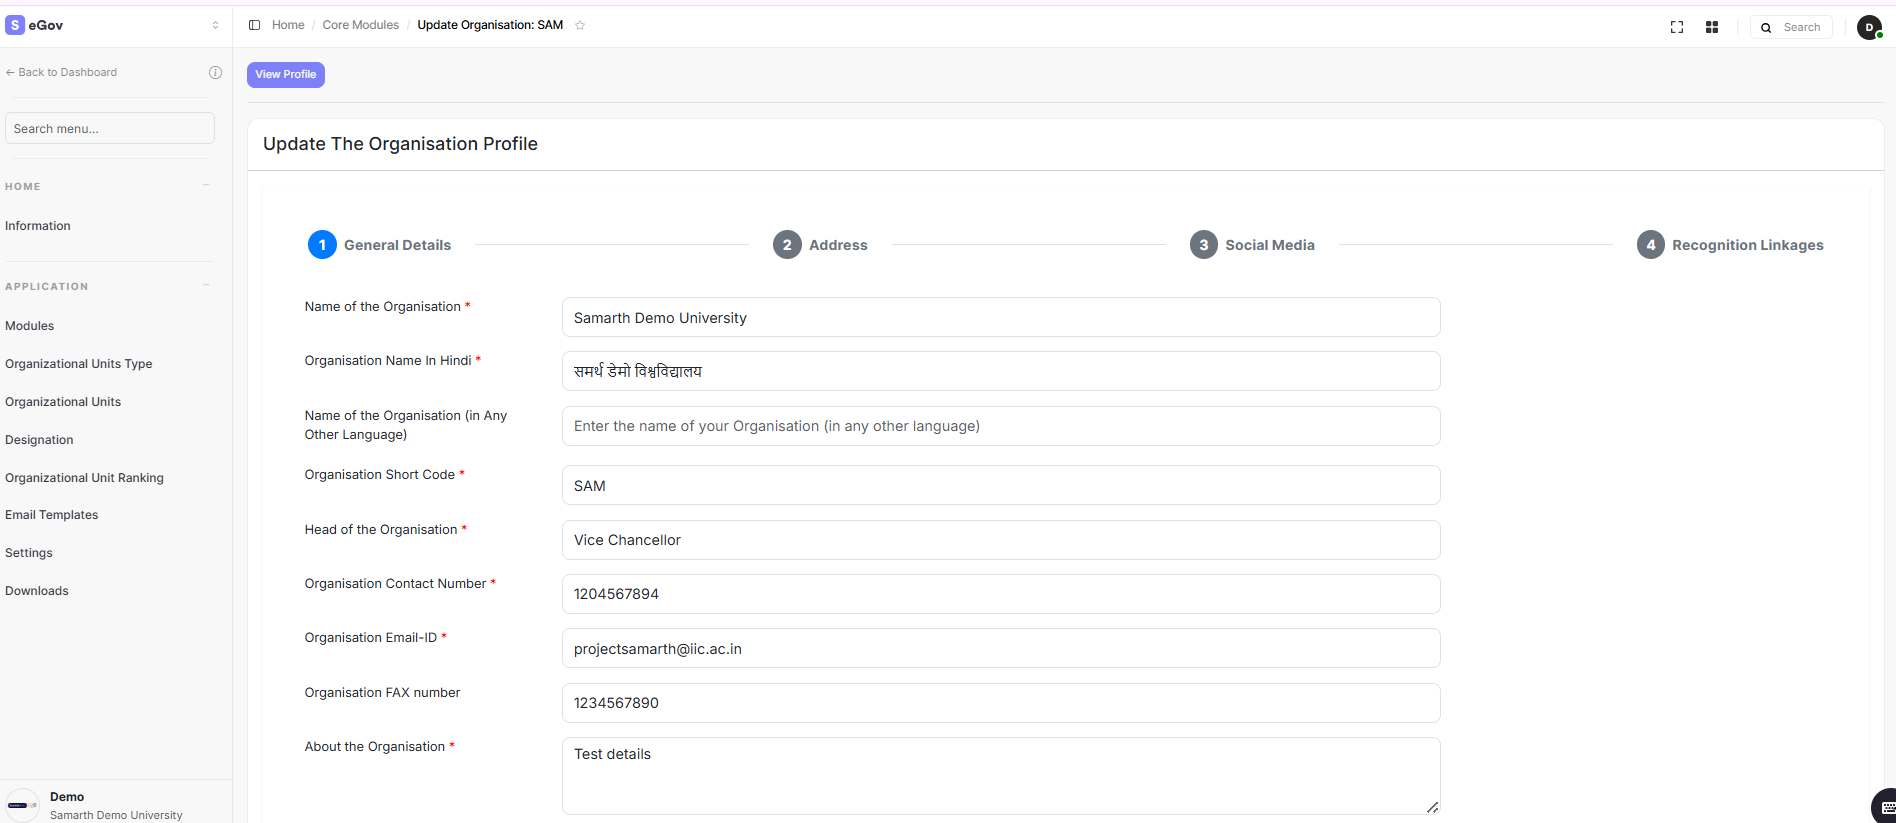
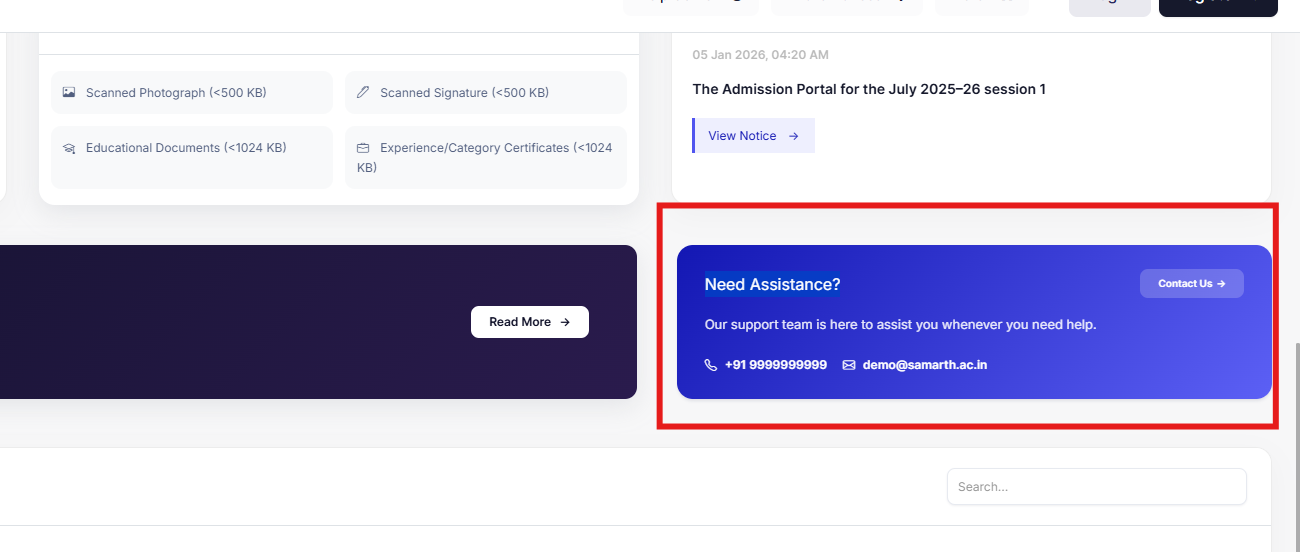
4.3 Need Assistance
This information is fetched from the Information page (Under the Base Module).
To edit:
- Go to the Home Page → Base → Core Module → Information, and update the contact number and email ID
Output
Checklist
- Correct email is shown (Admissions or Registrar, as appropriate)
- Contact details are visible on the “Contact Us” page
- Footer contact details are correct
- “Need Assistance” matches the main contact details
5. Help Center & FAQs
Reduce repetitive support queries before launch
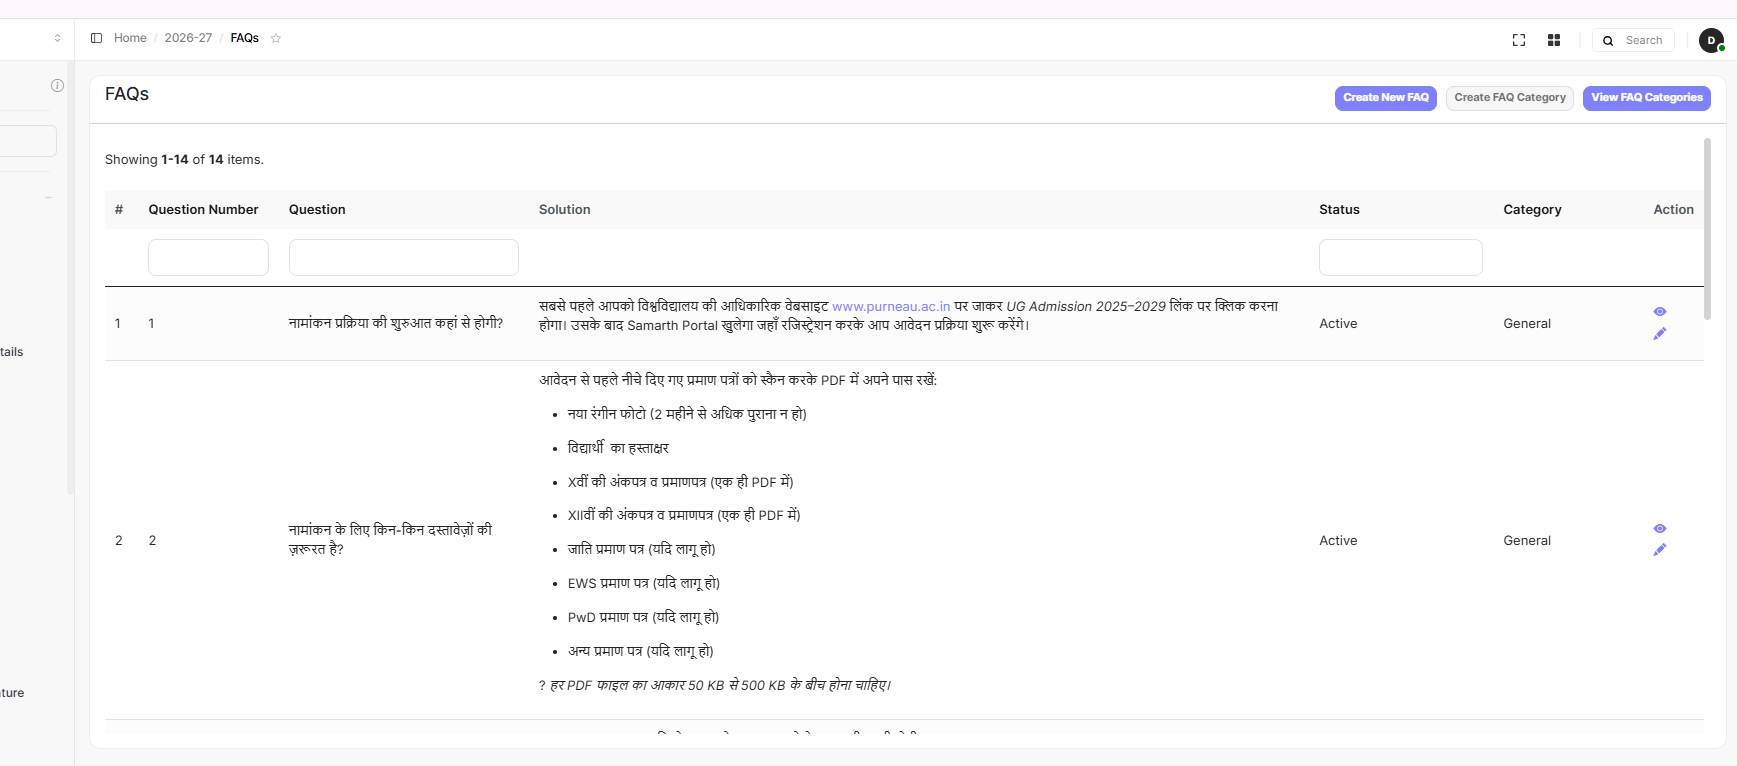
Steps
- Go to Setup FAQs
- Click Create New
- Add:
- Question
- Solution
- Category (optional)
- Status = Active
Common FAQs
- How to apply?
- What documents are required?
- How to pay fees?
- What are the eligibility criteria?
- How to check application status?
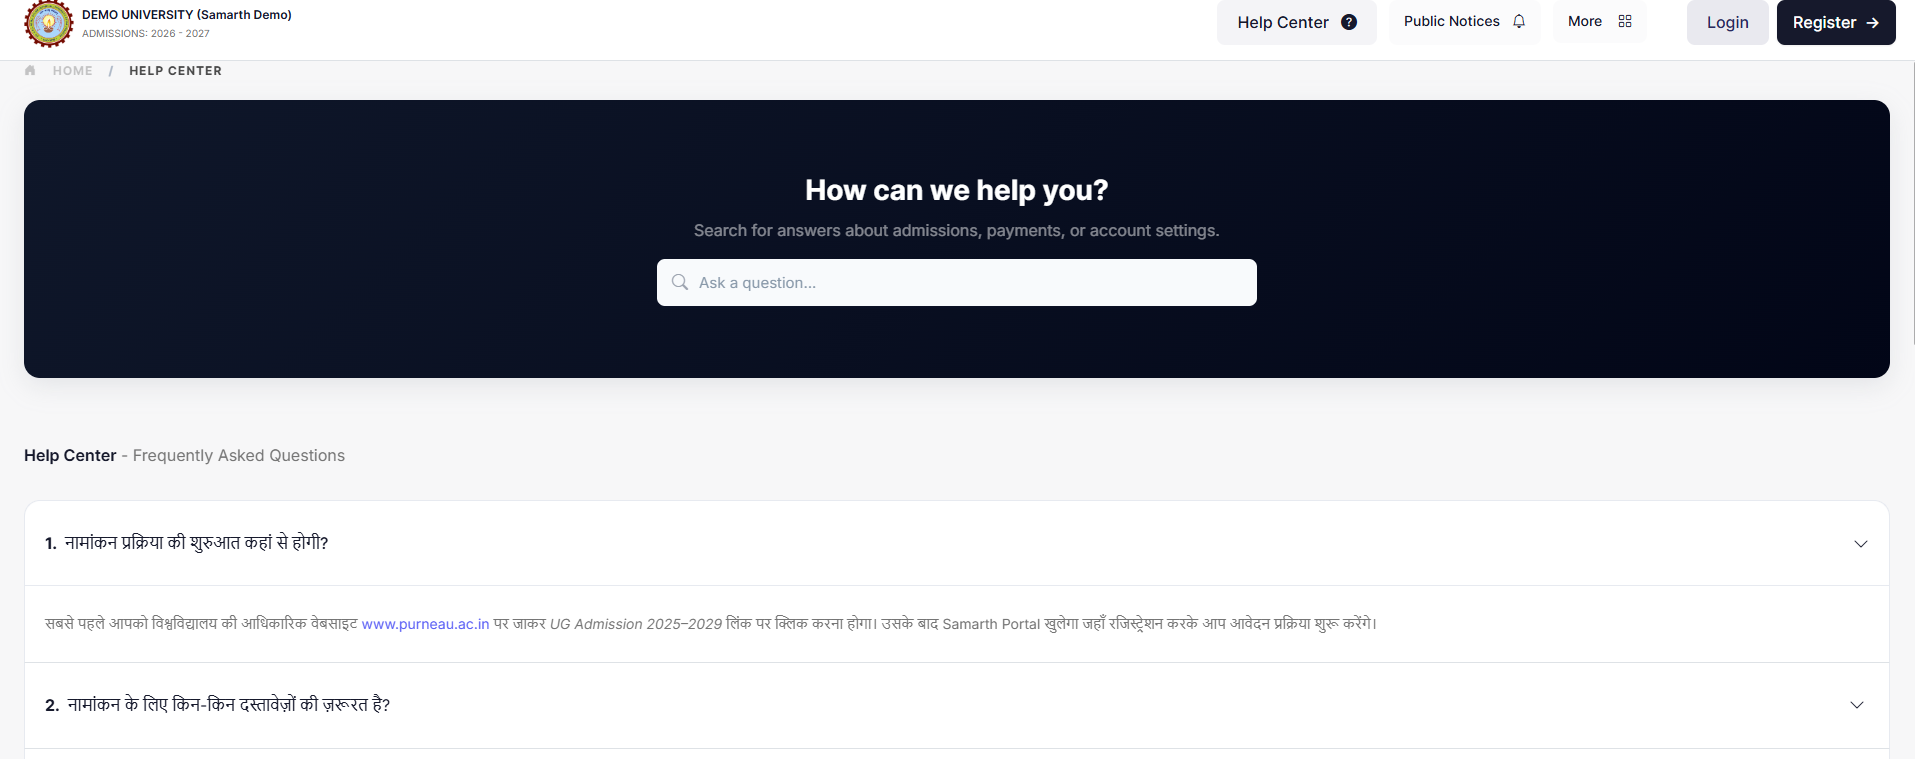
Checklist
- Common student questions are answered in the FAQs section
6. Fee Configuration
Map fee heads to programs — verify values carefully
IMPORTANT
This is a sensitive section. Double-check all values before going live.
Steps
- Click on the Programme Registration/Recurring Fee to configure the category wise(if applicable) registration fee of the programme.
- Select the eligible programme & applicant category and add its registration/recurring fee as mentioned in the admission prospectus.
Fee Types
- Registration Fee: One-time fee
- Recurring Fee: Variable/subsequent fee
If fees are not updating after saving, append site/flush to the candidate portal URL and refresh the page
Checklist
- All programs are mapped to fee heads
- Fee values are correct and visible on the student portal
7. Program Configuration
Admission criteria controls what students see during application
Criteria Settings
| Criteria | Effect on Student Form |
|---|---|
| Entrance | Exam center selection is shown |
| Merit | No exam center selection |
| Both | Depends on the program setup |
Checklist
- The correct admission criteria is selected for each program
8. Student View — End-to-End Check
Open the student portal and verify each item
Walk through the portal exactly as a student would.
Verify
- Public notices are visible
- Programs and eligibility criteria are correct
- Prospectus opens correctly
- Contact details are accurate
- FAQs are accessible and helpful
- Programs are open for application as configured
- Category-wise application fee is correct
- PDF output displays properly (photo issue is a known bug)
⚠️ Known Issues
| Issue | Workaround |
|---|---|
| Fee not reflecting after update | Add /flush to the portal URL and refresh |
| Featured notice display delay | Reflects few minutes after publishing |
Final Go-Live Checklist
Content
- All portal content reviewed (Introduction, Prospectus, Instructions)
- FAQs added and active
- Contact details are correct across all locations
Configuration
- Fees configured and all programs mapped
- Program admission criteria verified
- Registration dates set
Verification
- End-to-end student journey tested
- PDF output reviewed
- Public notices are visible and the Featured notice is set
✅ All items checked? Your portal is ready to go live.