Admission Admin guide
| Document Title | Admissions Admin Guide |
|---|---|
| Document Number | ADM - 001 |
| Author(s) | Senior Solution Architect, Product |
| Approved by | Senior Analyst, Operations |
| Approval Date | April 2, 2026 |
Admission Portal Configuration Guide (2026–27)
1. Pre-launch Readiness Check
Verify all critical items are in place before configuring anything.
Confirm these four items before going further. If any are missing, complete that section first:
- Registration dates are set
- Program eligibility criteria added
- Basic fees configured
- Portal content updated (Introduction, Prospectus, Contact, Help)
TIP
Keep the student portal open in a separate browser tab throughout setup — you can instantly verify each change as you make it.
2. Public Notices
What students see first — announcements and instructions
Steps
2.1 Go to Notifications → Add Notification
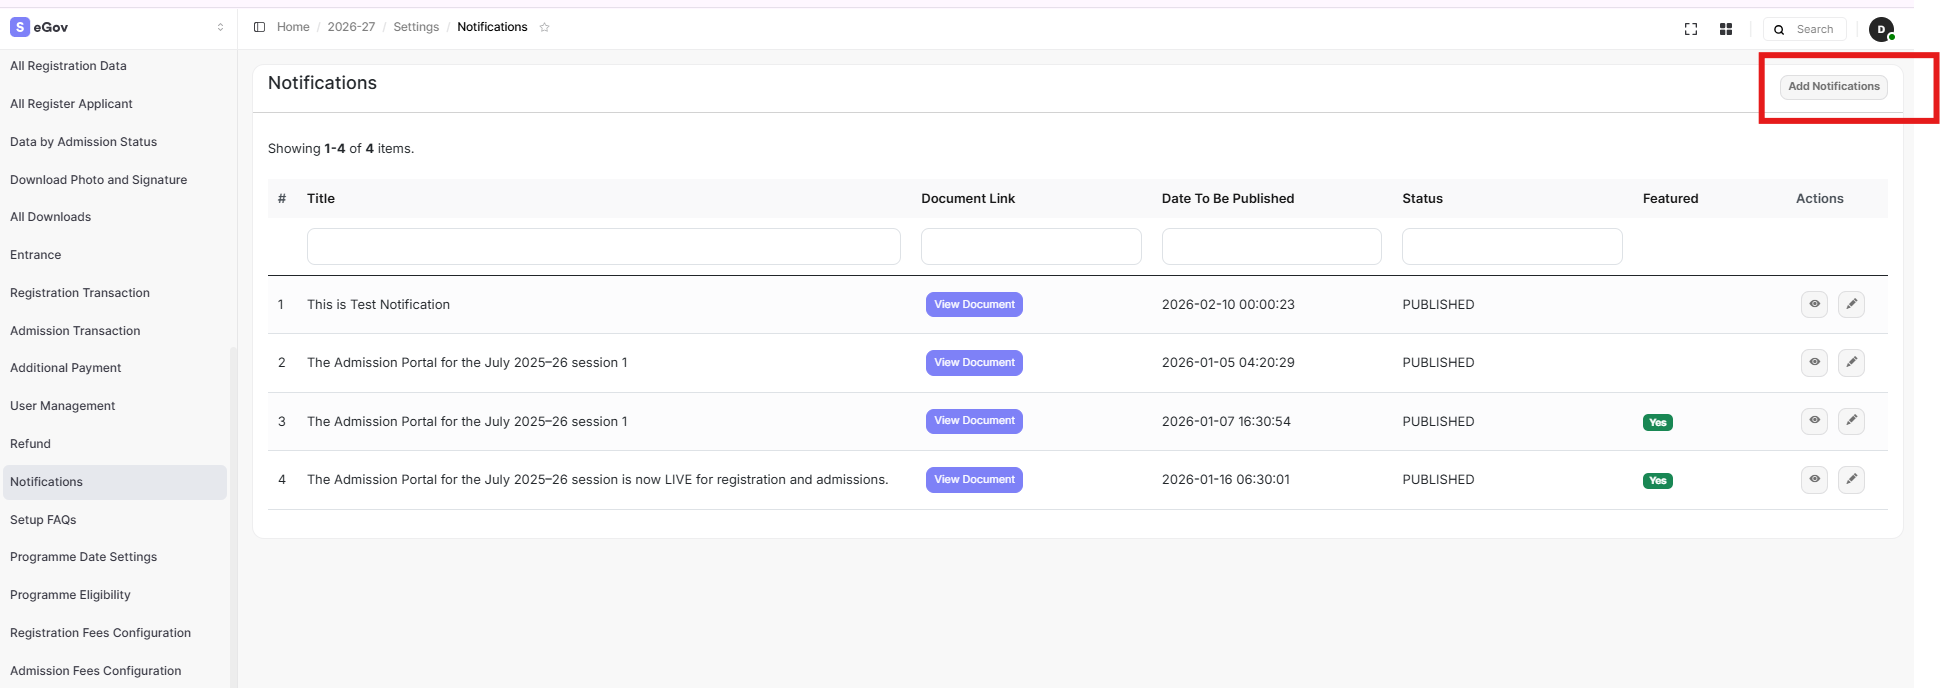
2.2 Fill in the title and description. Attach a file or URL if needed.
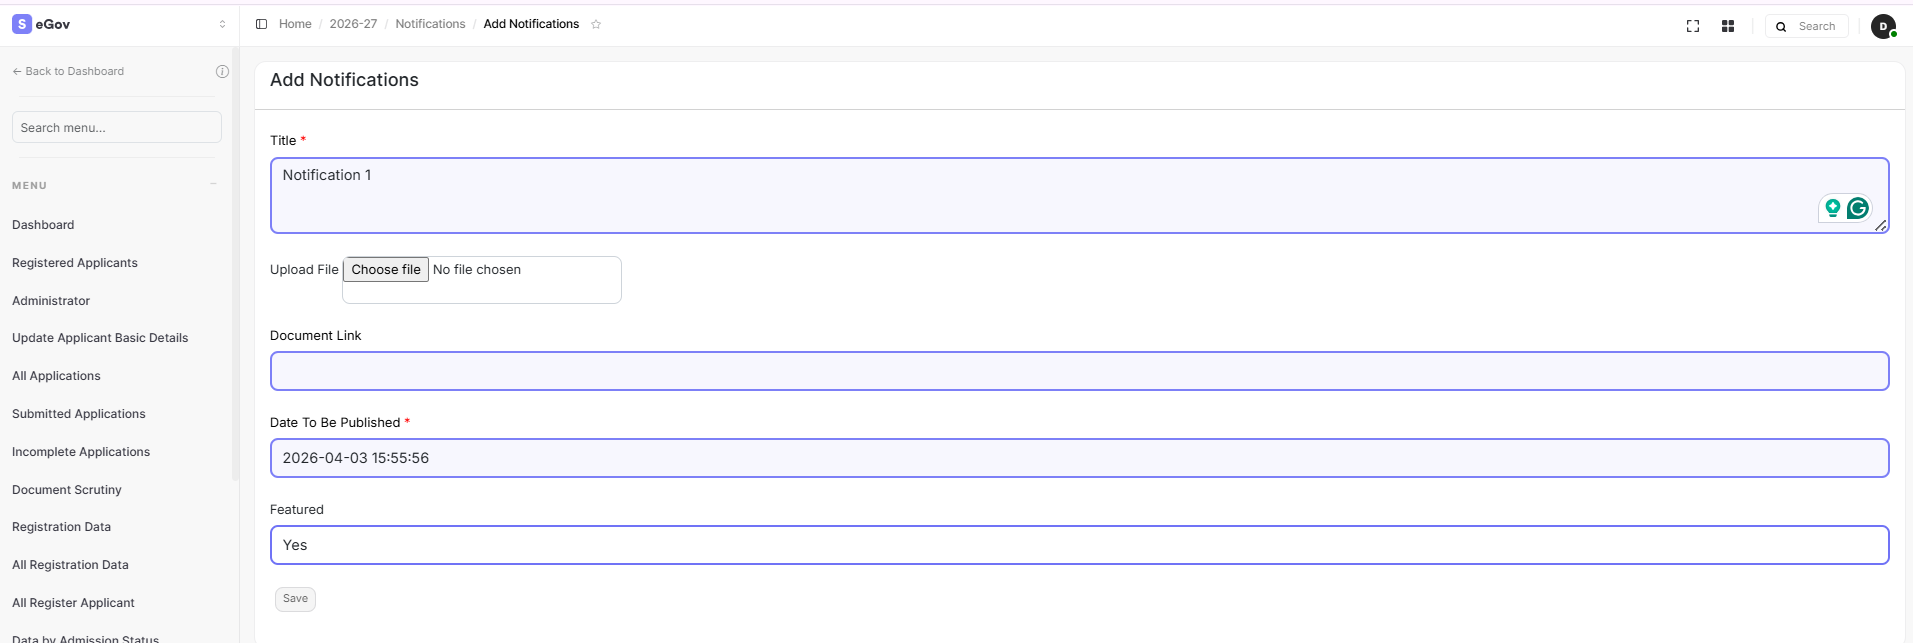
2.3 Set status to Published. For critical announcements, enable the Featured flag — these appear prominently at the top of the portal.
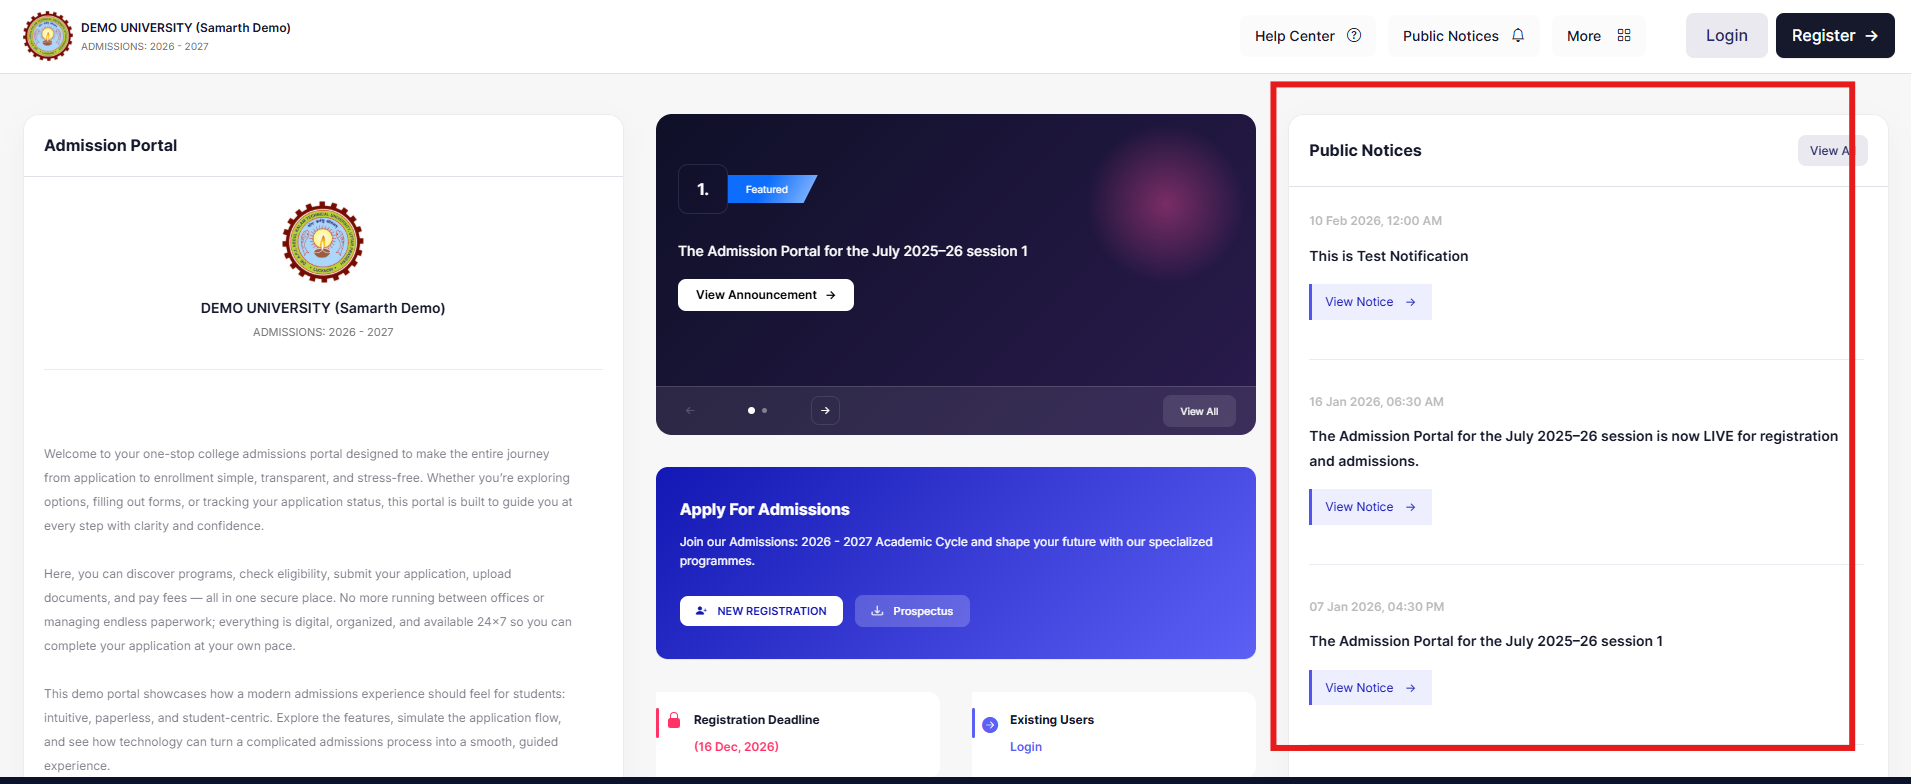
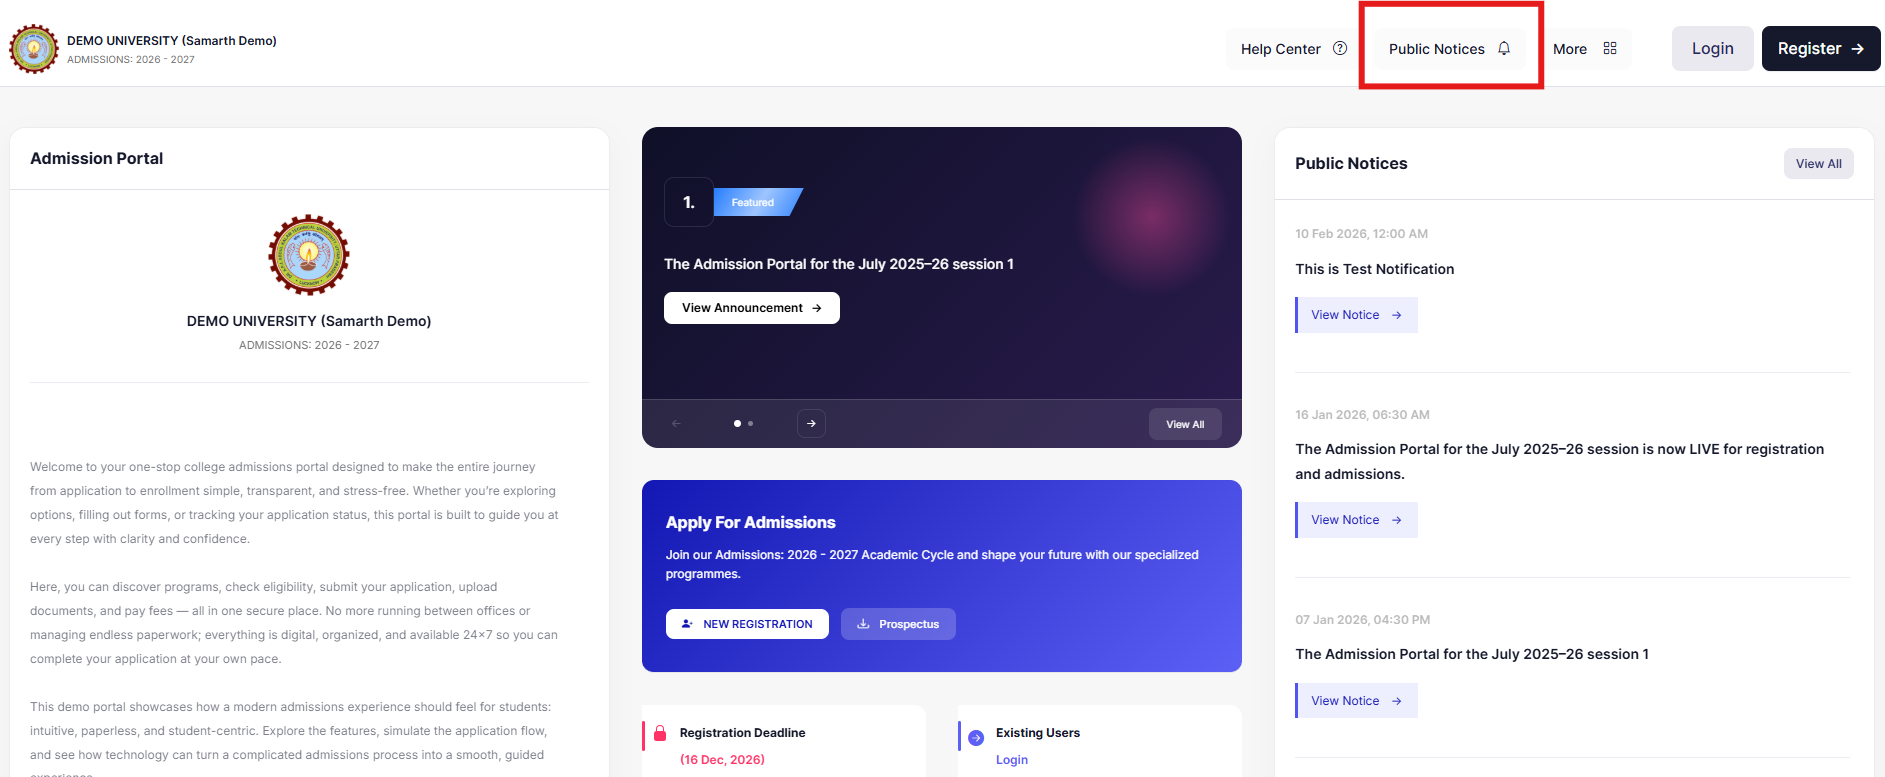
Checklist
- At least one notice is visible on the student portal
- The most important notice is marked as Featured
3. Portal Content
Introduction, prospectus, registration instructions
Navigate to Settings → Portal Management for all items below.
3.1 Institution Introduction
- Go to Portal Content
- Find
intro_content_block - Enter the content to be displayed
- Save changes
Output
3.2 Prospectus
- Go to Portal Content
- Find
Prospectus_link - Add the URL in the content and save changes
Output
The prospectus will be updated in the following places.
3.3 Instructions & Registration Content
Located under Site Configuration
Includes:
- Registration instructions
- Form declarations
✔️ Check: Are the instructions clear and complete?
Output
Checklist
- Introduction displays correctly under the institution name
- Prospectus link opens correctly
- Registration instructions are clear and complete
4. Contact & Support Details
Contact Us, Footer, and “Need Assistance” section
4.1 Contact Us (Address, Email, Phone Number)
- Go to Admin Portal → Portal Content
- Click on
support_address - Update the HEI address
Output
4.2 Contact Us (Footer)
- Go to Portal Content
- Find
contact_us_address - Enter the address in the content
- Click Update
Output
4.3 Need Assistance
This information is fetched from the Information page (Base Module).
To edit:
- Go to Home → Base → Core Module → Information
- Update the contact number and email ID
Output
Checklist
- Correct email is shown (Admissions or Registrar, as appropriate)
- Contact details are visible on the “Contact Us” page
- Footer contact details are correct
- “Need Assistance” matches the main contact details
5. Help Center & FAQs
Reduce repetitive support queries before launch
Steps
- Go to Setup FAQs
- Click Create New
- Add:
- Question
- Solution
- Category (optional)
- Status = Active
Common FAQs
- How to apply?
- What documents are required?
- How to pay fees?
- What are the eligibility criteria?
- How to check application status?
Checklist
- Common student questions are answered in the FAQs section
6. Fee Configuration
Map fee heads to programs — verify values carefully
IMPORTANT
This is a sensitive section. Double-check all values before going live.
Steps
- Click on Programme Registration/Recurring Fee
- Select the eligible program & applicant category
- Add the registration/recurring fee as per the admission prospectus
Fee Types
- Registration Fee: One-time fee
- Recurring Fee: Variable/subsequent fee
If fees are not updating after saving, append
/flushto the portal URL and refresh.
Checklist
- All programs are mapped to fee heads
- Fee values are correct and visible on the student portal
7. Program Configuration
Admission criteria controls what students see during application
Criteria Settings
| Criteria | Effect on Student Form |
|---|---|
| Entrance | Exam center selection is shown |
| Merit | No exam center selection |
| Both | Depends on the program setup |
Checklist
- The correct admission criteria is selected for each program
8. Student View — End-to-End Check
Open the student portal and verify each item
Walk through the portal exactly as a student would.
Verify
- Public notices are visible
- Programs and eligibility criteria are correct
- Prospectus opens correctly
- Contact details are accurate
- FAQs are accessible and helpful
- Programs are open for application as configured
- Category-wise application fee is correct
- PDF output displays properly (photo issue is a known bug)
⚠️ Known Issues
| Issue | Status | Workaround |
|---|---|---|
| Fee not reflecting after update | Workaround available | Add /flush to the portal URL and refresh |
| Featured notice display delay | Under review | Wait a few minutes after publishing |
Final Go-Live Checklist
Content
- All portal content reviewed (Introduction, Prospectus, Instructions)
- FAQs added and active
- Contact details are correct across all locations
Configuration
- Fees configured and all programs mapped
- Program admission criteria verified
- Registration dates set
Verification
- End-to-end student journey tested
- PDF output reviewed
- Public notices are visible and the Featured notice is set
✅ All items checked? Your portal is ready to go live.